
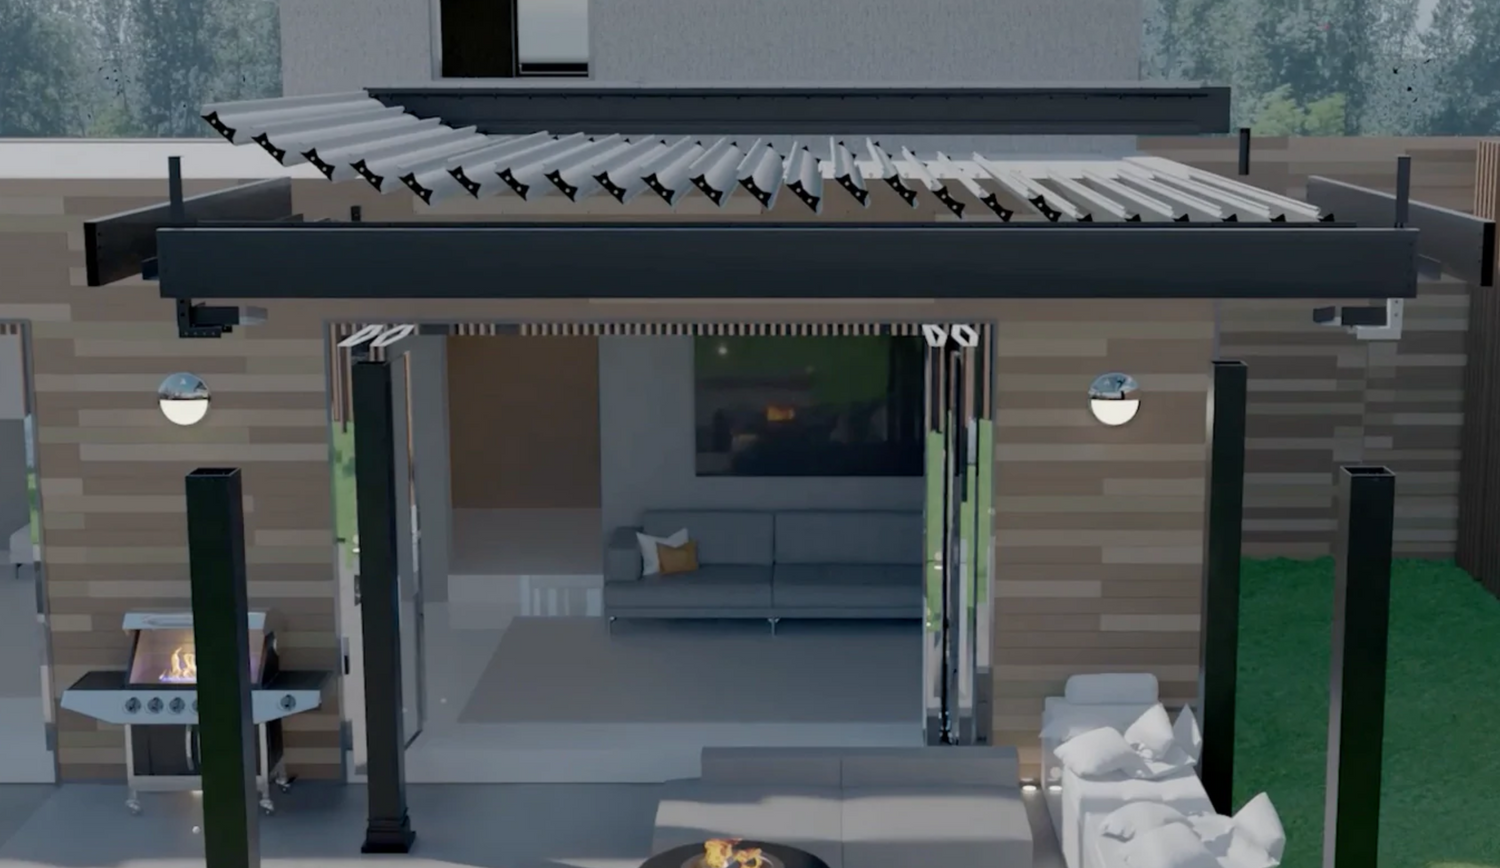
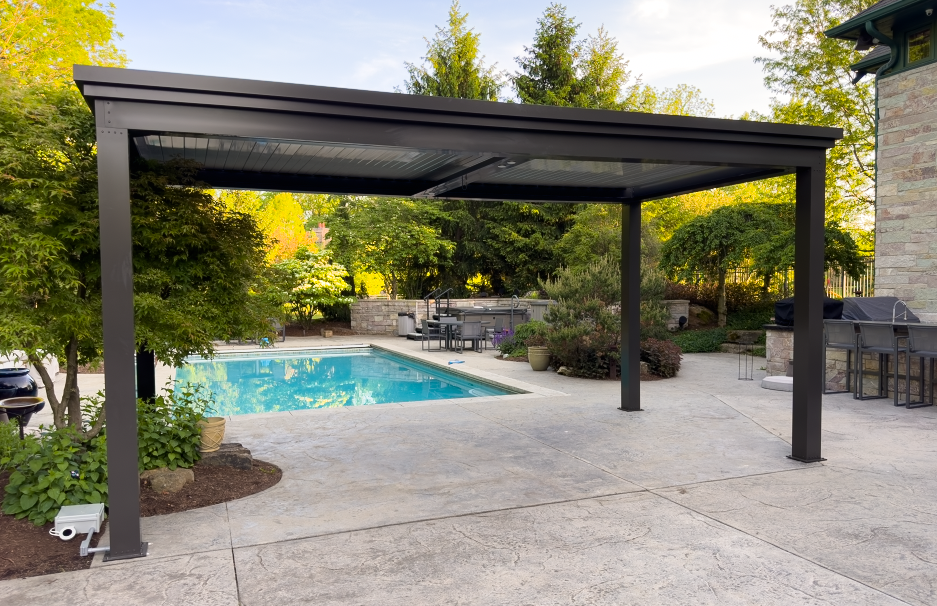
If you are looking at the Luxury Pergola to get a great shaded area in your backyard, you'll need to know how to build a pergola.
The Luxury Pergola is the strongest pergola kit in the world and you get a modern pergola kit that is used in commercial applications at a DIY price. It is a cost effective option for those who want the best.
Here we will go over the steps in how to build a pergola and get the free standing shade of your dreams. With this you can get a pergola built in about a day.
How the Pergola will Arrive
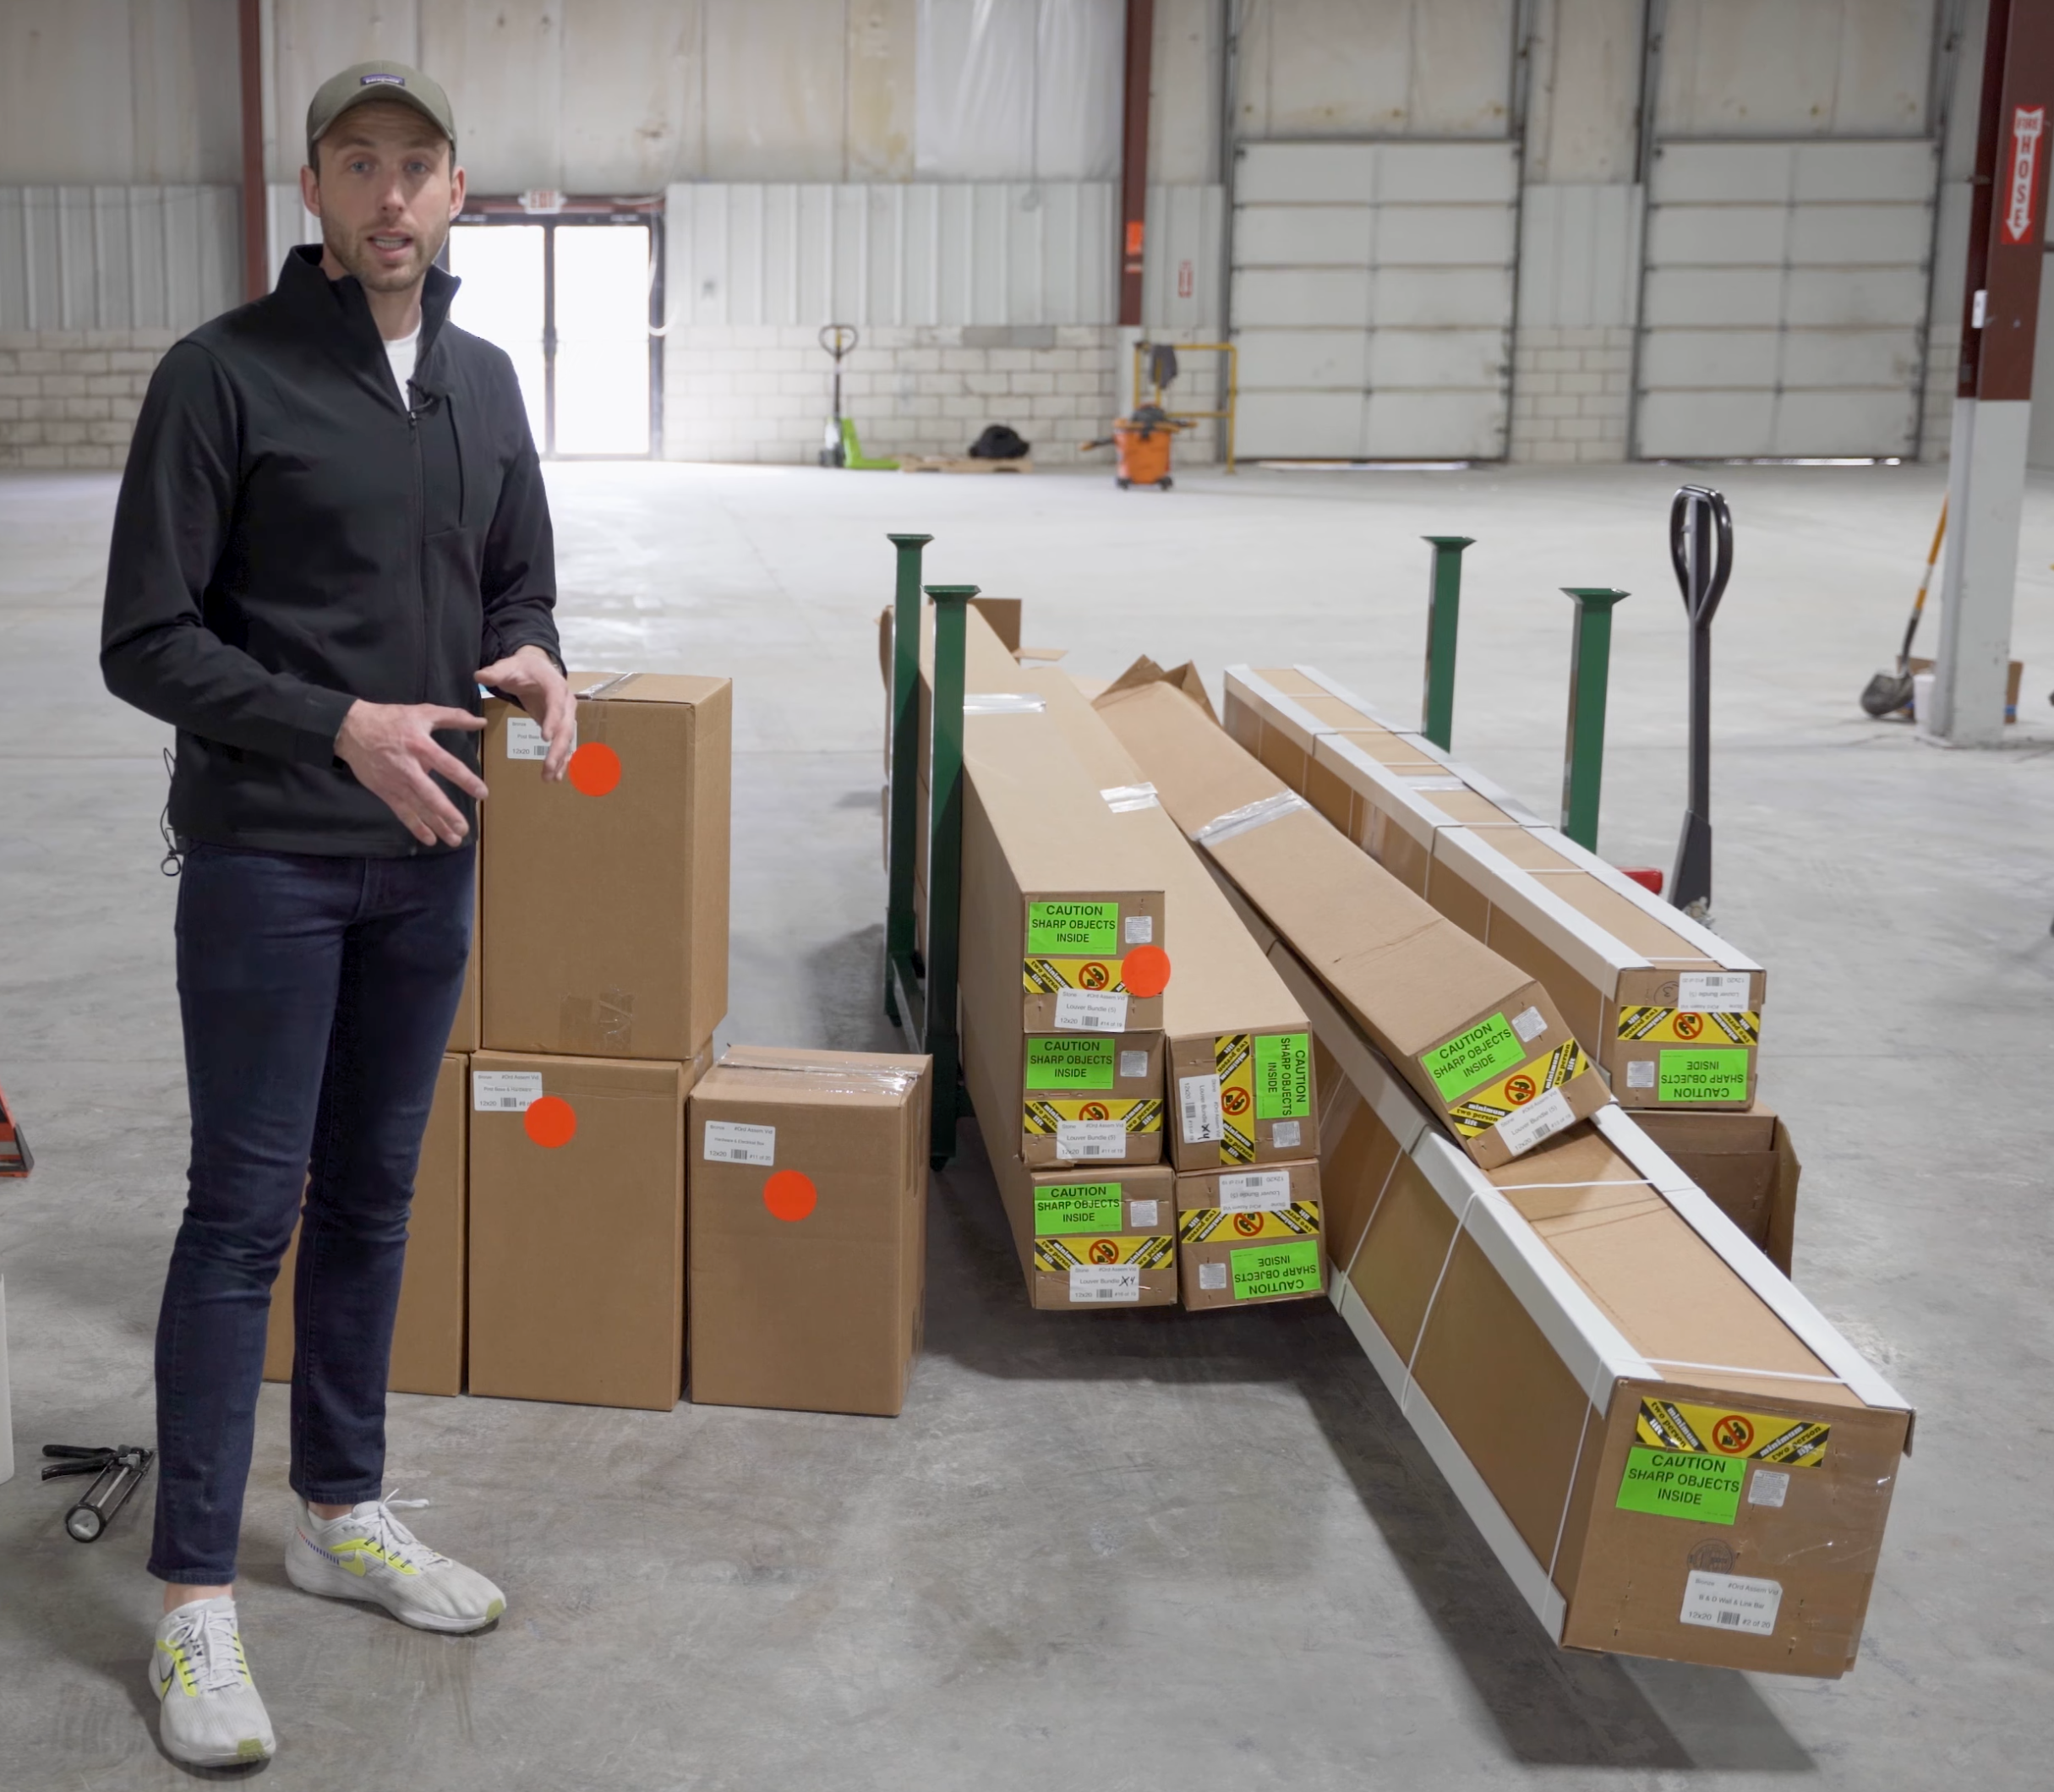
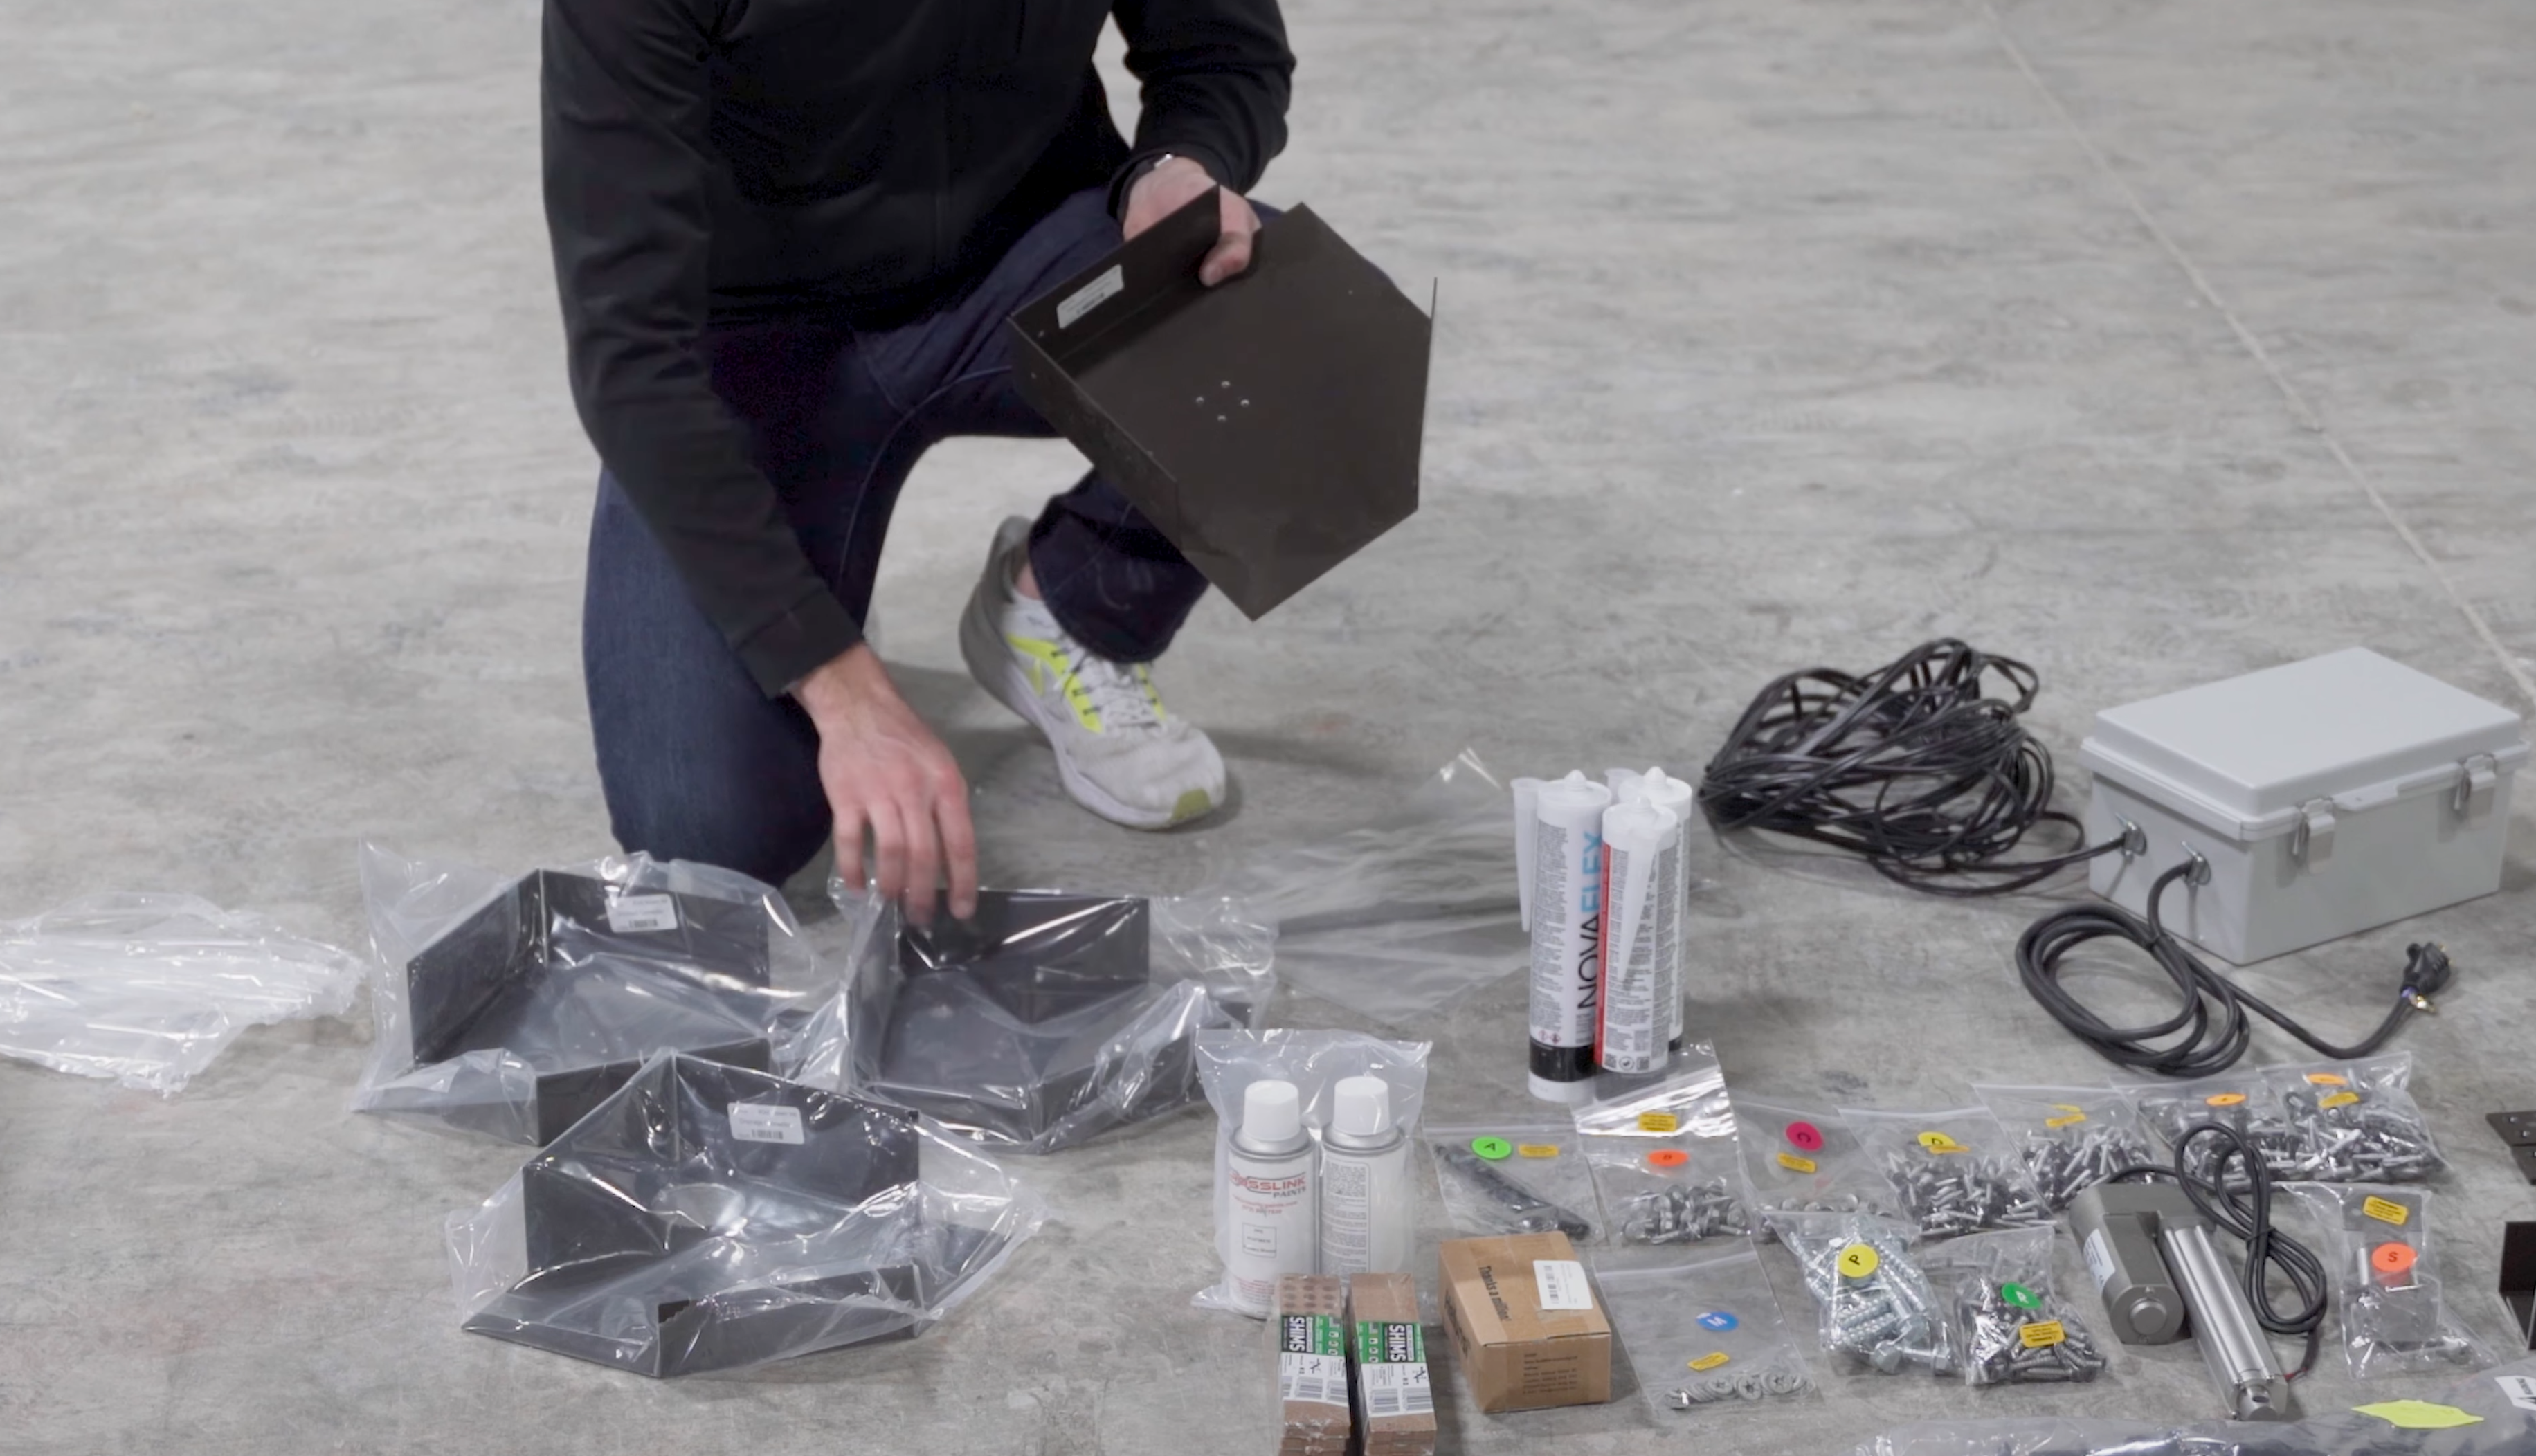
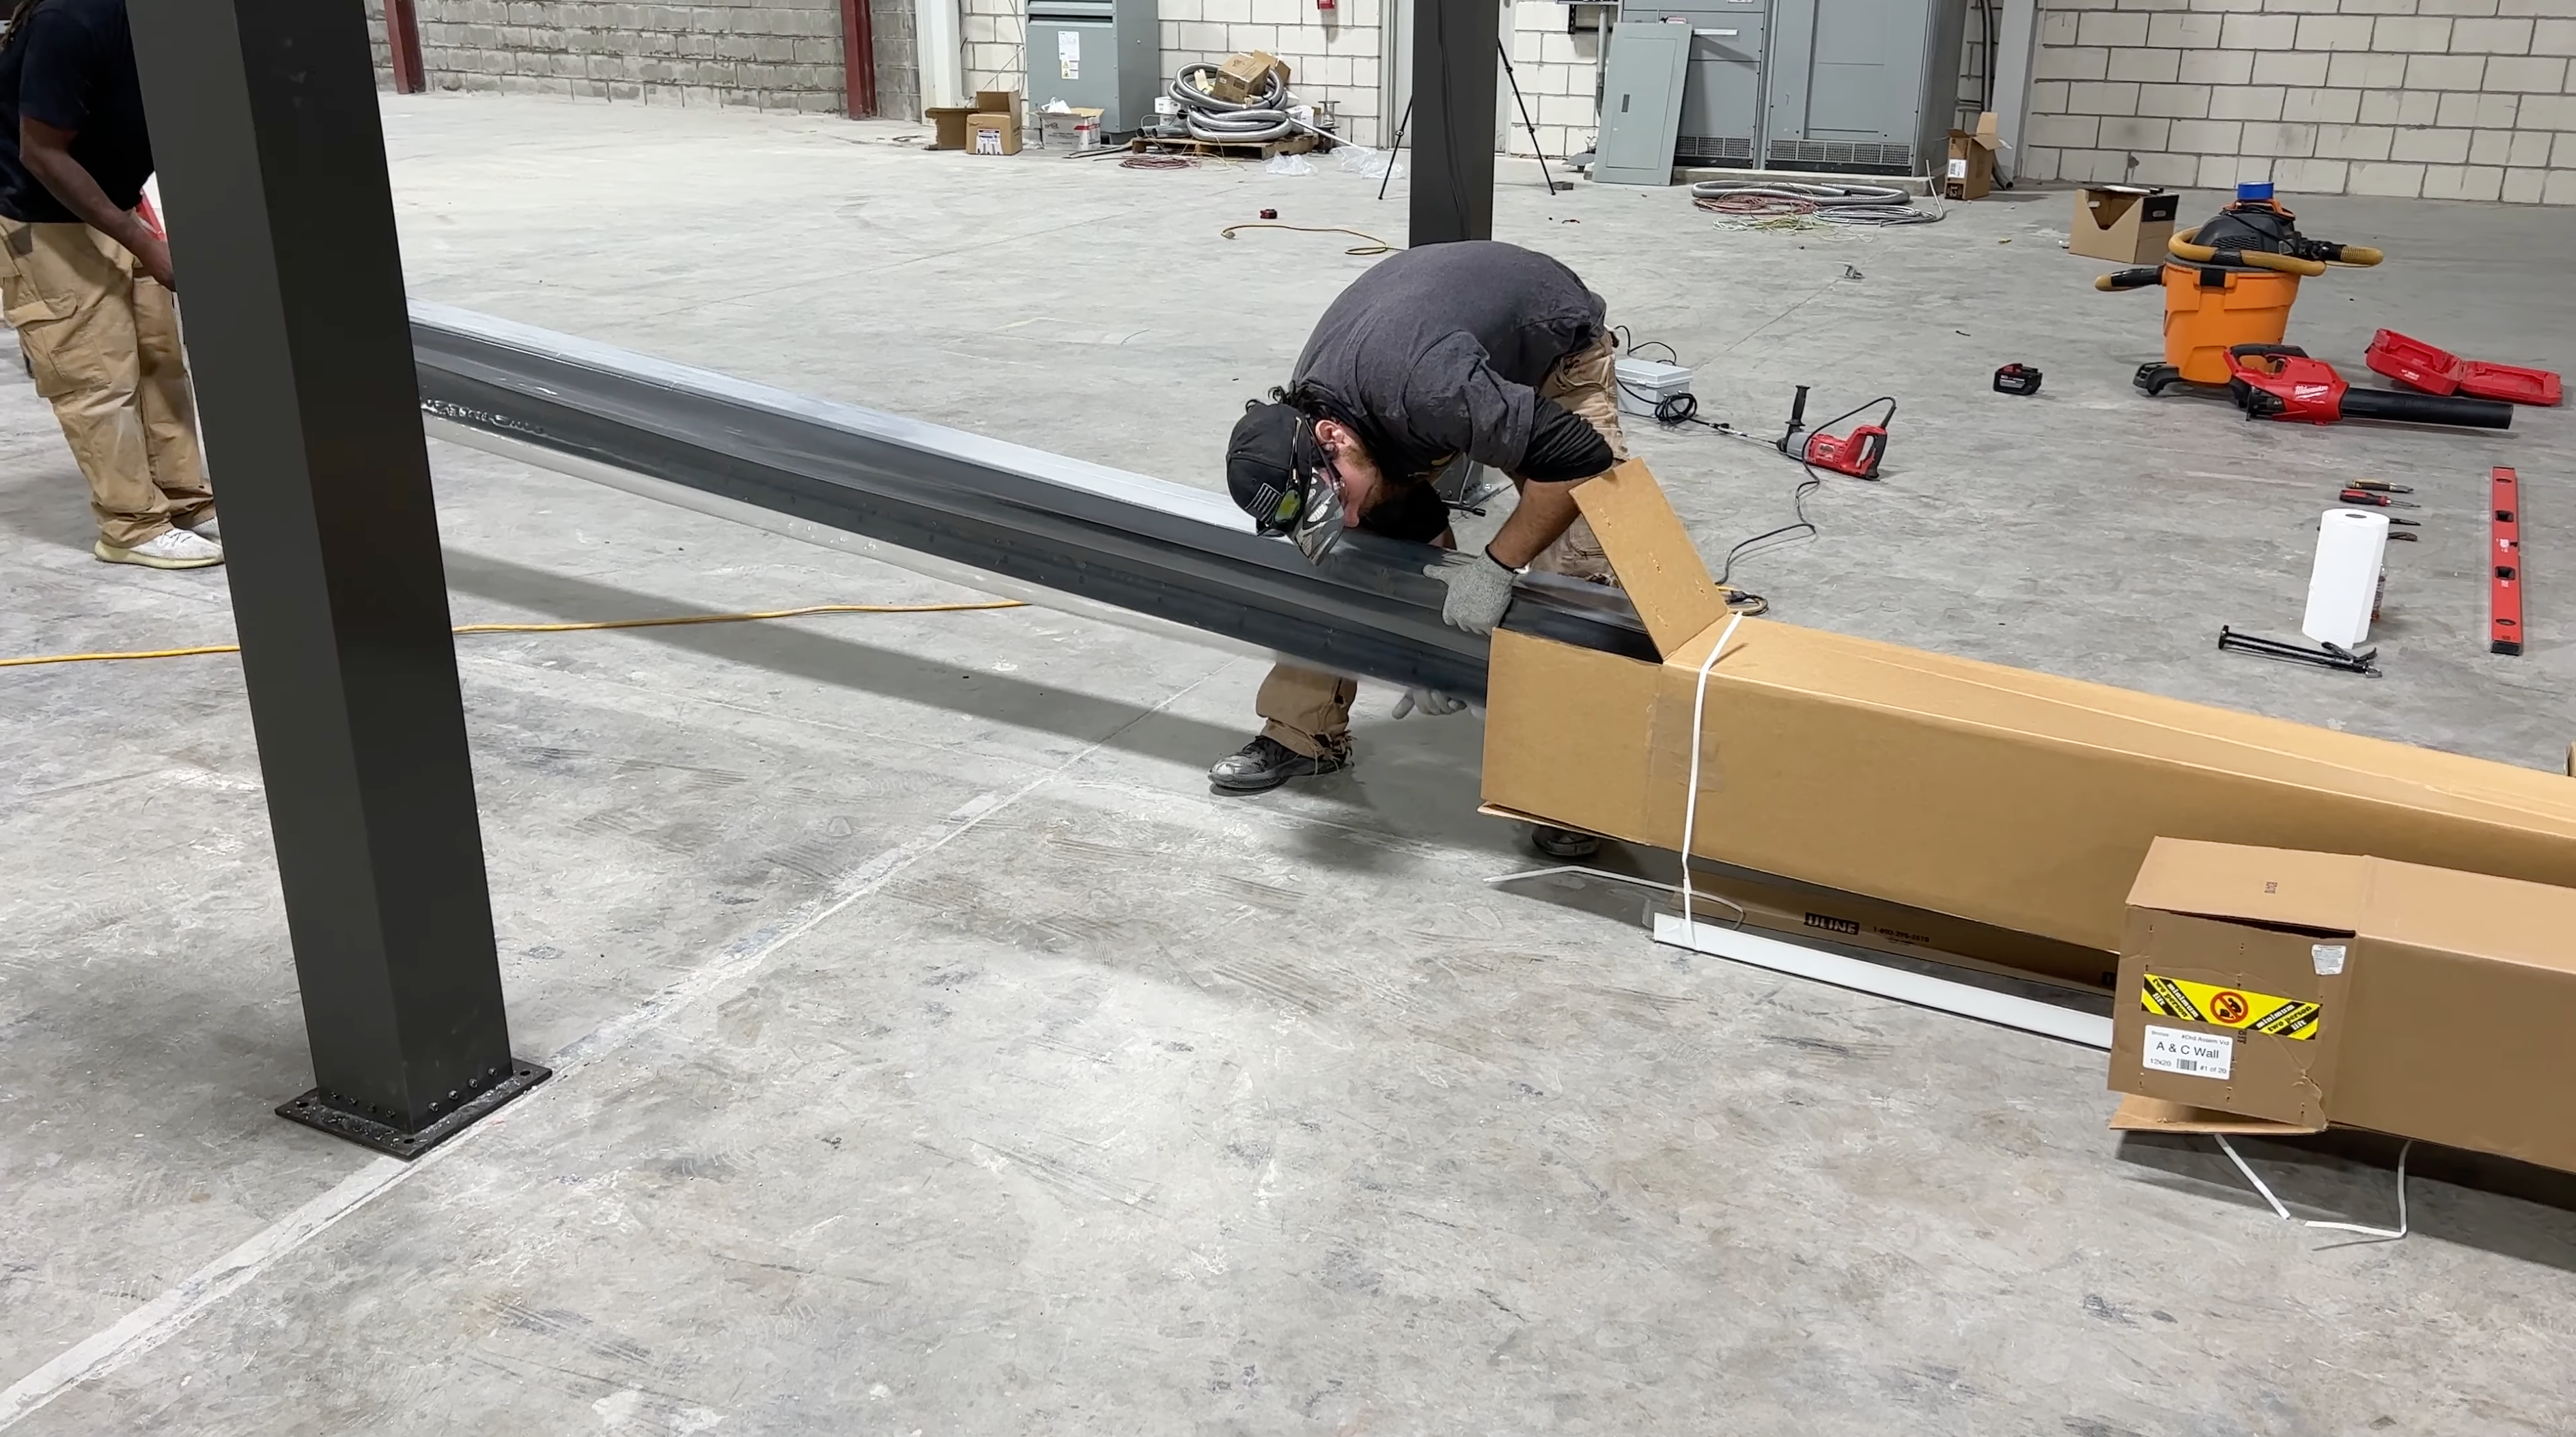
This is a picture of the boxes associated with a 12 x 20 unit. That's the largest 4 post unit we offer at the Luxury Pergola. The pergola designs can be anywhere from 8 x 8 to 12 x 20 with only 4 posts needed for all of them.
If you are going to get an aluminum pergola kit like this for your house. It is important to make sure you have an area to store your materials as you wait for the perfect time to install the unit.
The material list should match your boxes. Your DIY pergola kit will have the highest quality screws and rafters available. This is important when you get a motorized pergola.
Table of Contents
- How the Pergola will Arrive
- Tools Needed for your Own Pergola
- What to expect in the Box
- Preparing the Install on Concrete Patio
- Starting the Frame Build
- Attach the Gutter Connector
- Add the Beam to Beam connector
- Run Preliminary Wiring
- Anchor One Bolt on One of the Posts
- Adding Connectors to all Posts
- If Applicable: Add Base Trim
- Screw the Corner Connectors on the Posts
- Assembling the Frame
- Set Exterior Walls
- Make sure Unit is Square After Placing all Beams
- Square, Plumb and Anchor Posts
- Seal the Unit
- Adding the Louvers for Shade
- It's Motor Connection Time
- Conclusion
Tools Needed for your Own Pergola
If you are going to build a pergola you need the following basic tools.
Required Tools:
Rotary Hammer
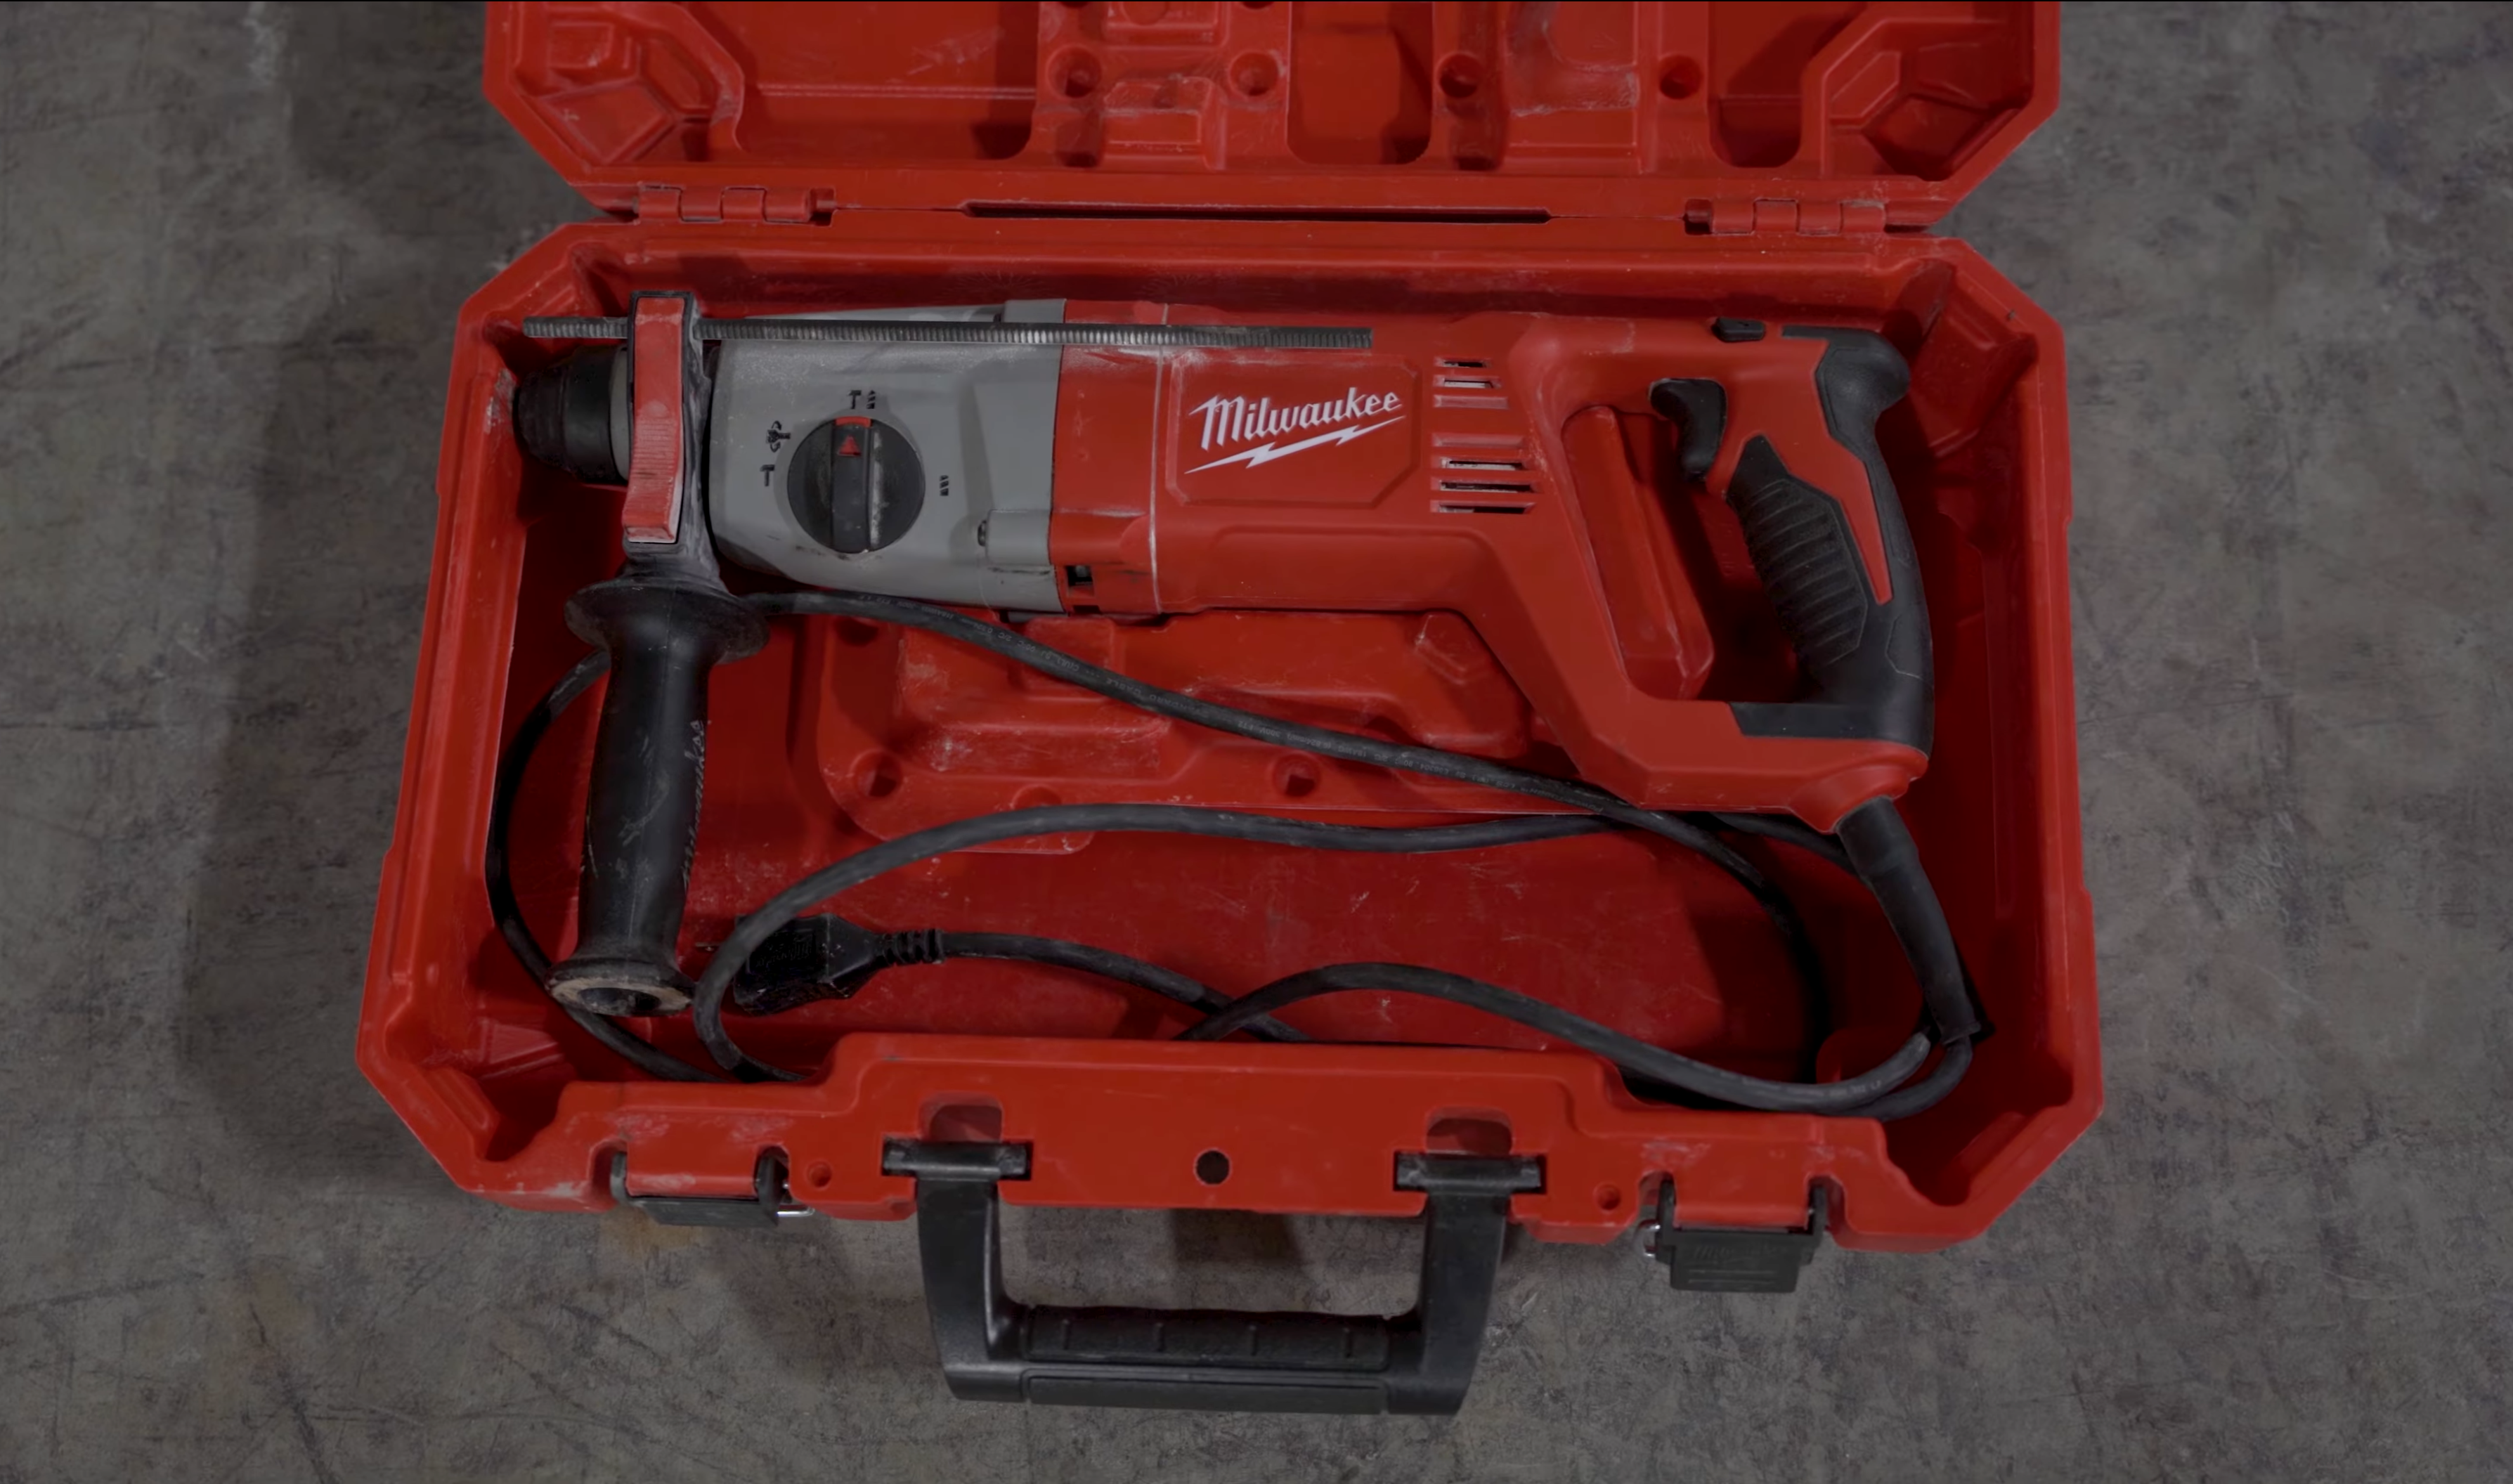
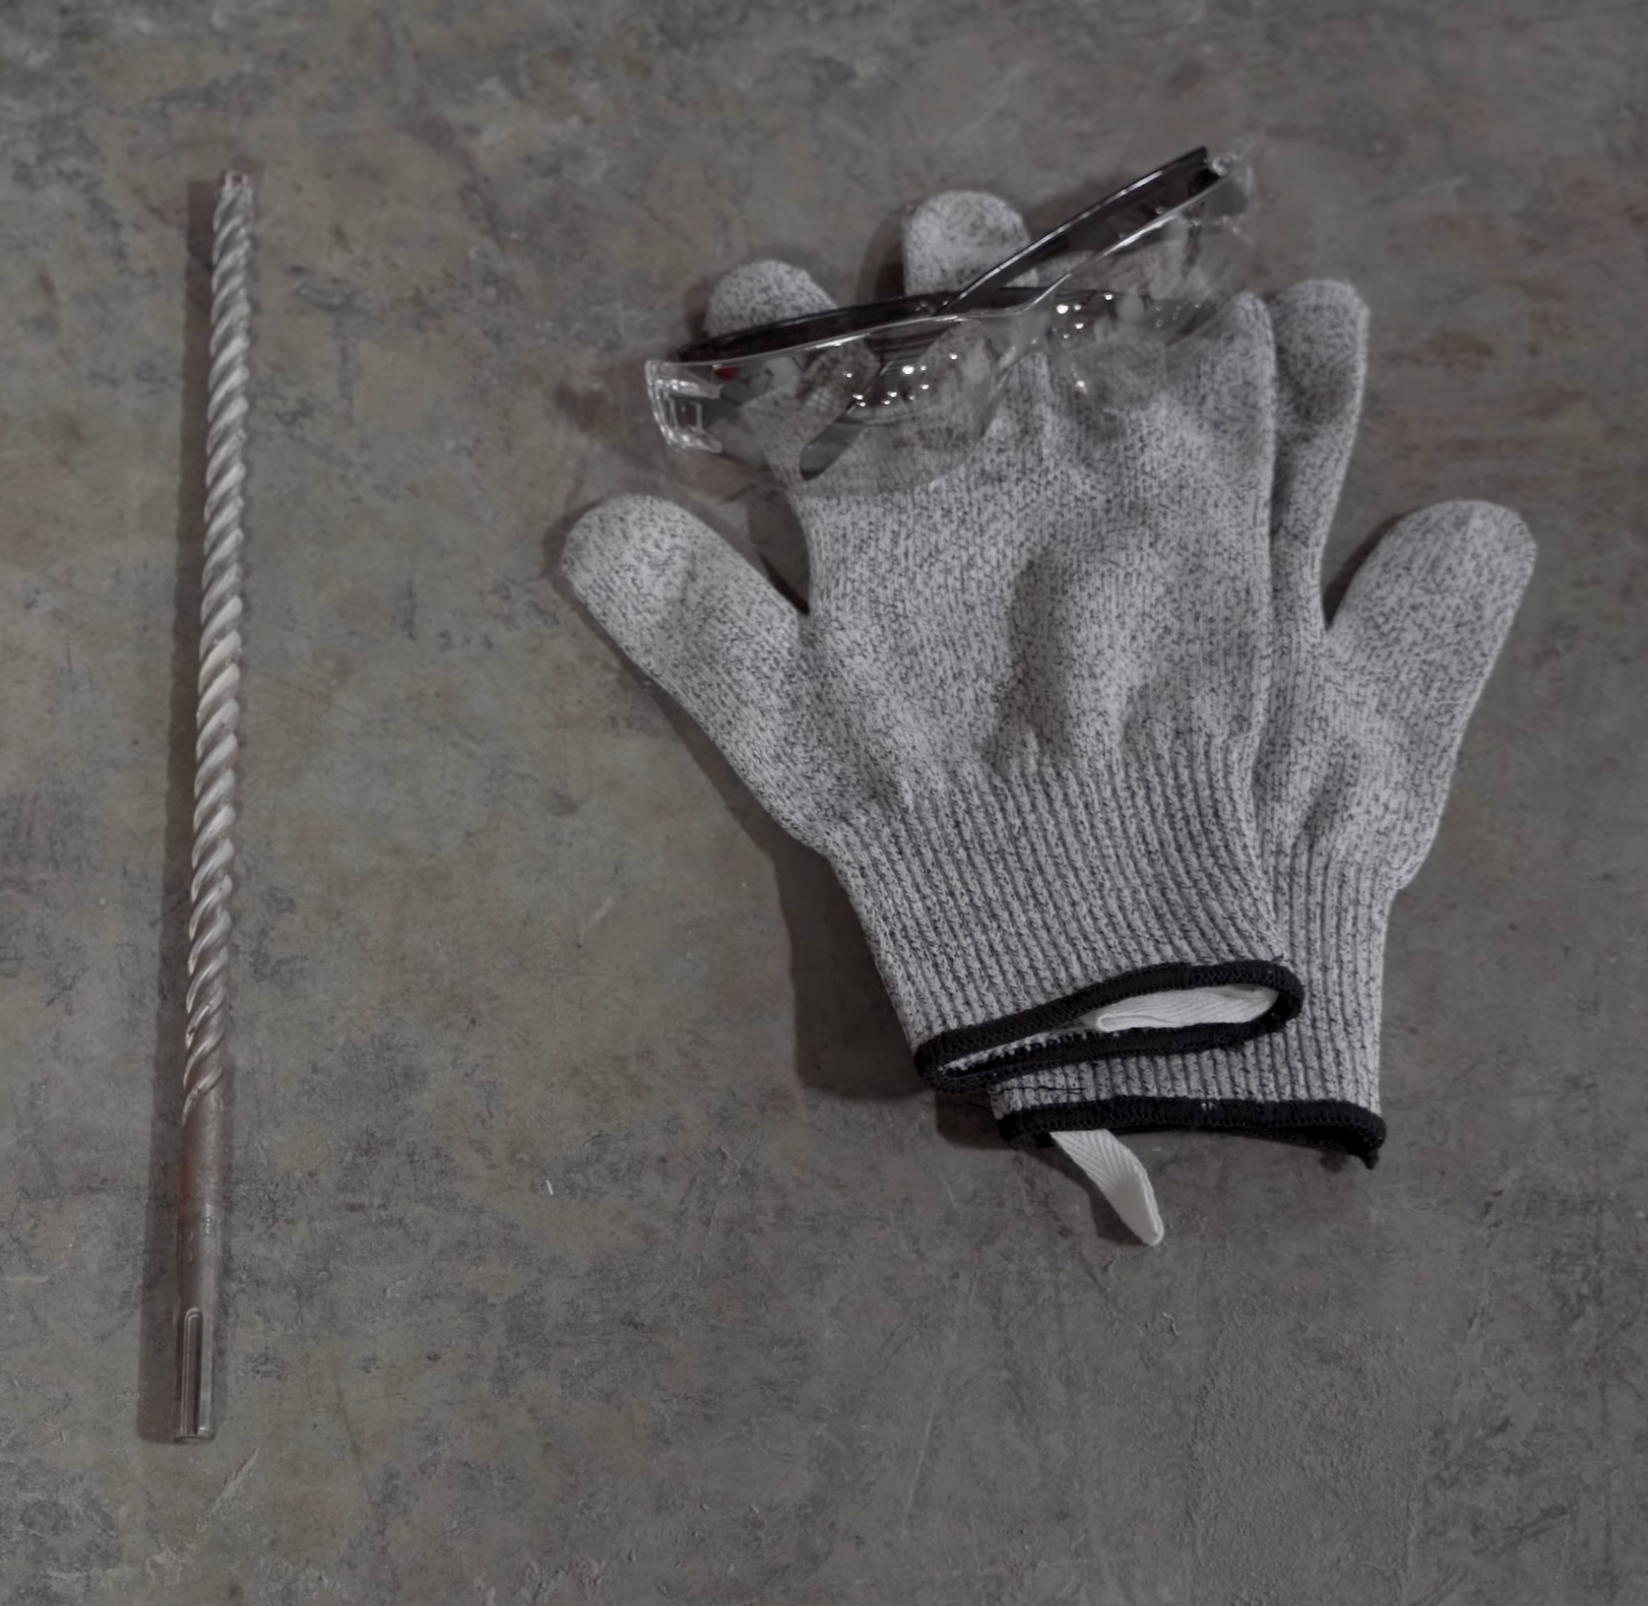
3/8 Inch Rotary Hammer Bit and Safety Protection
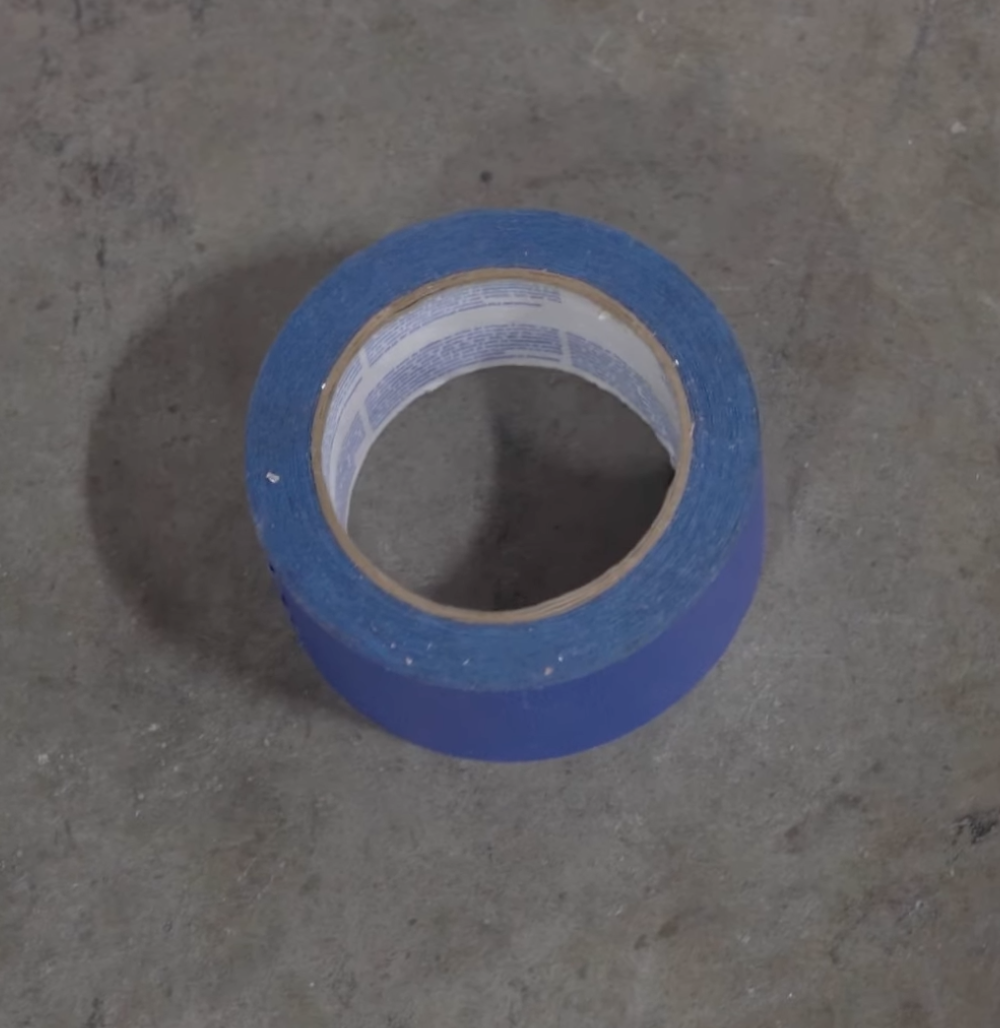
Painters Tape
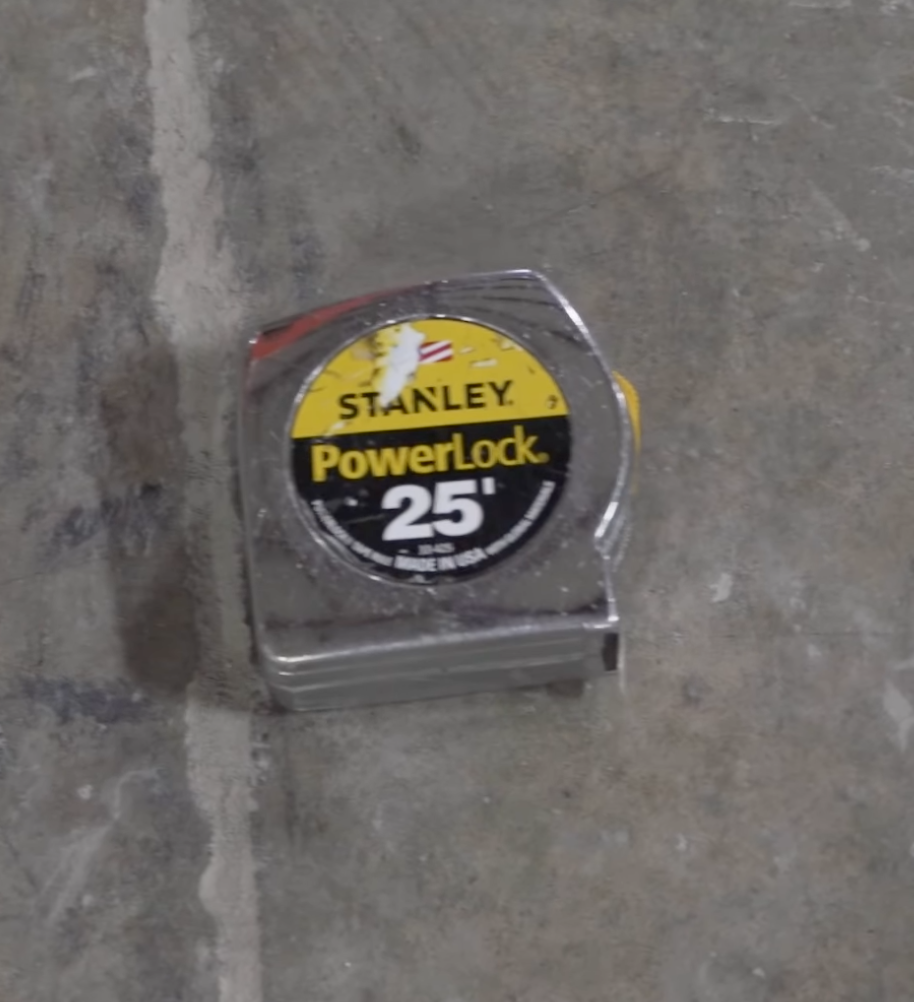
25 Foot Tape Measure
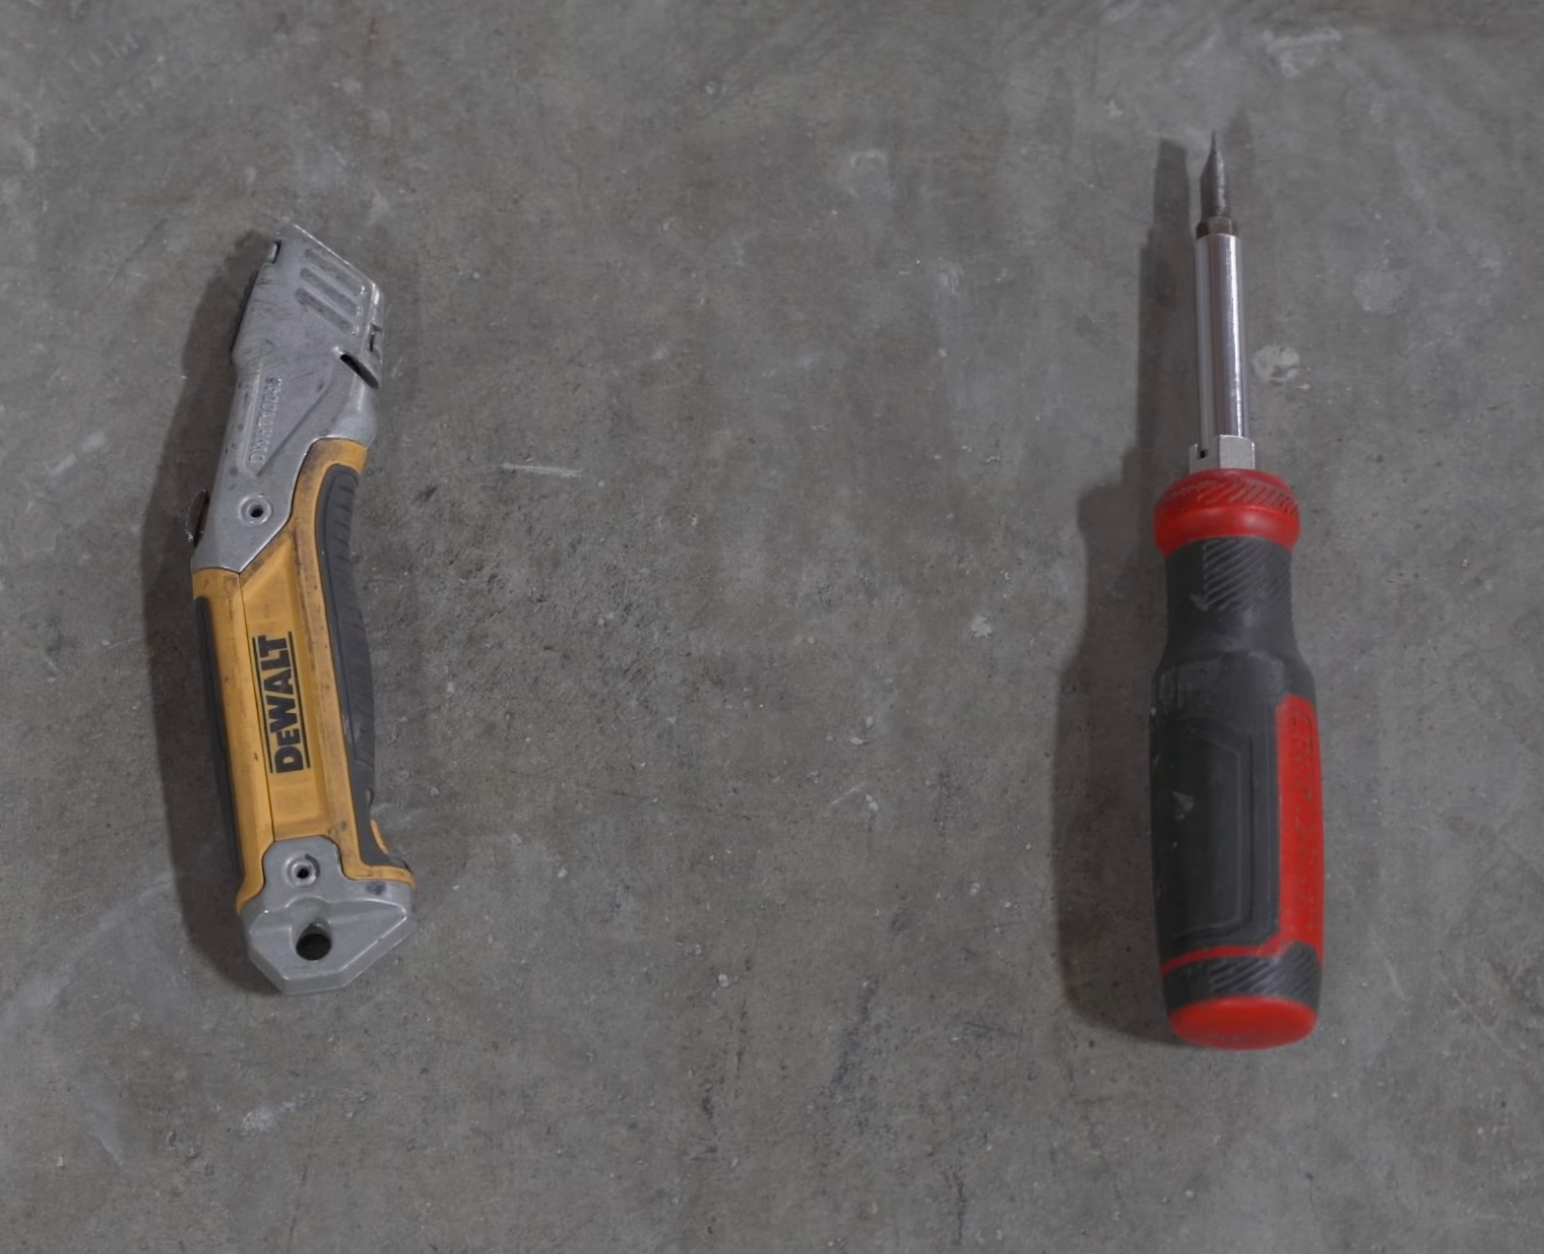
Utility Knife and Screw Driver
Wire Strippers and Channel Lock Pliers

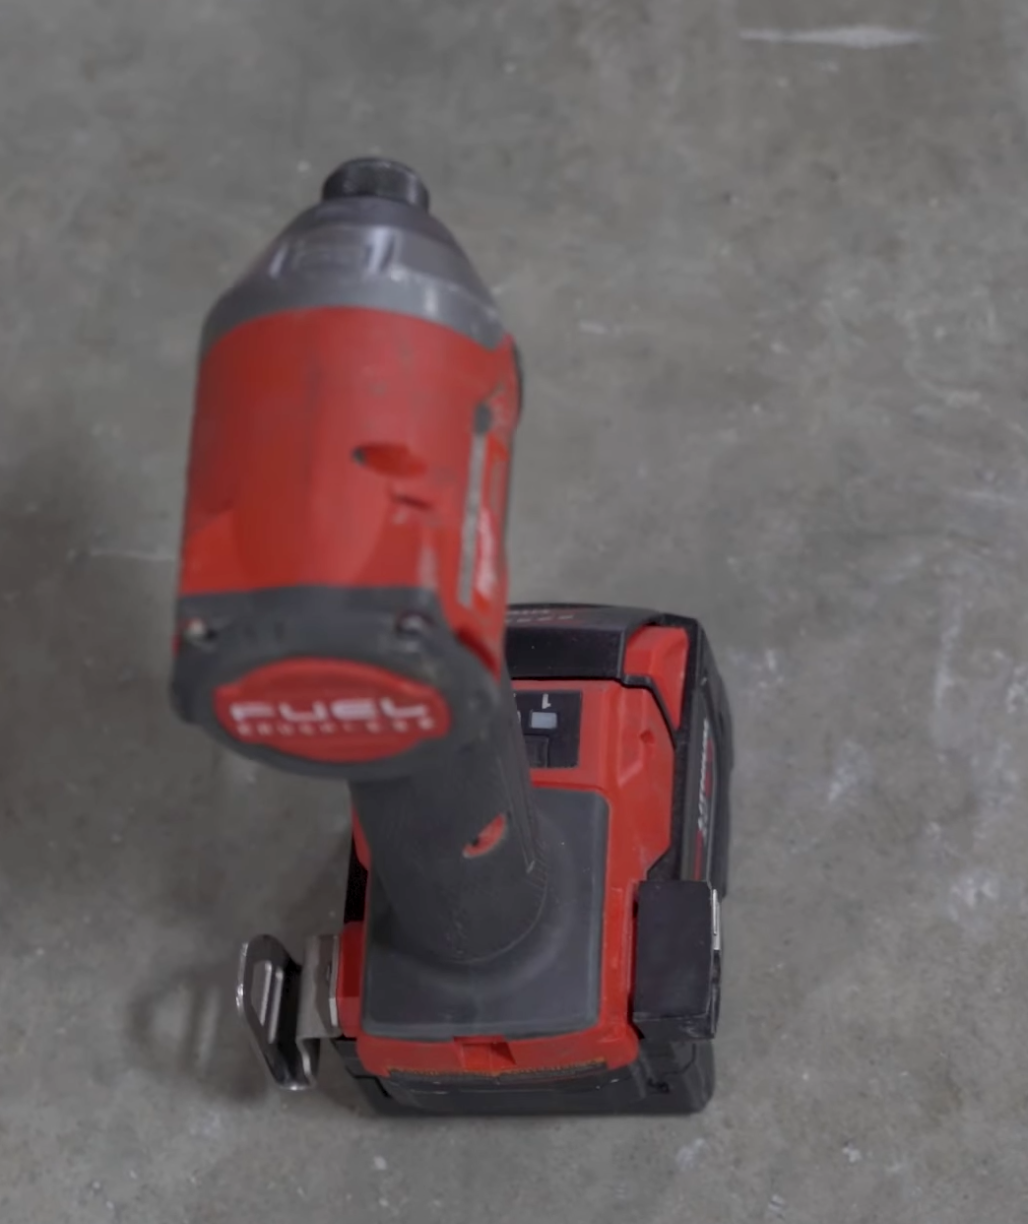
Impact Driver
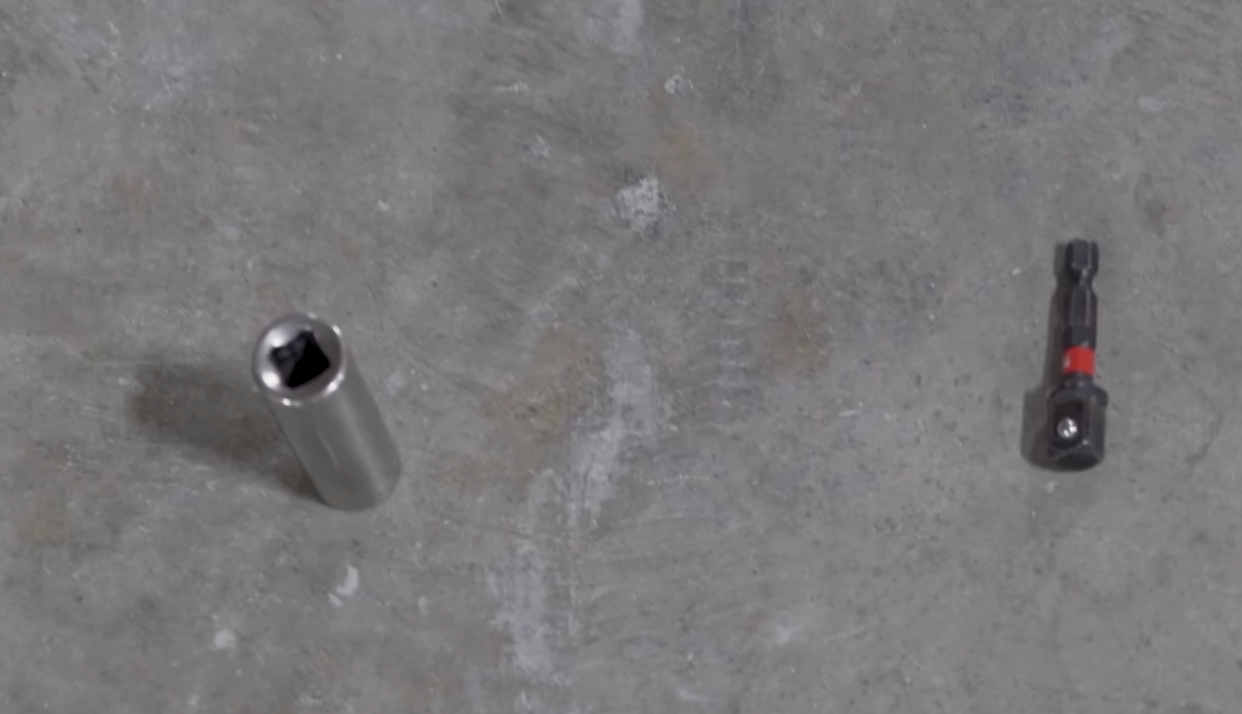
9/16 in Socket and Socket Adaptor
Paper Towels
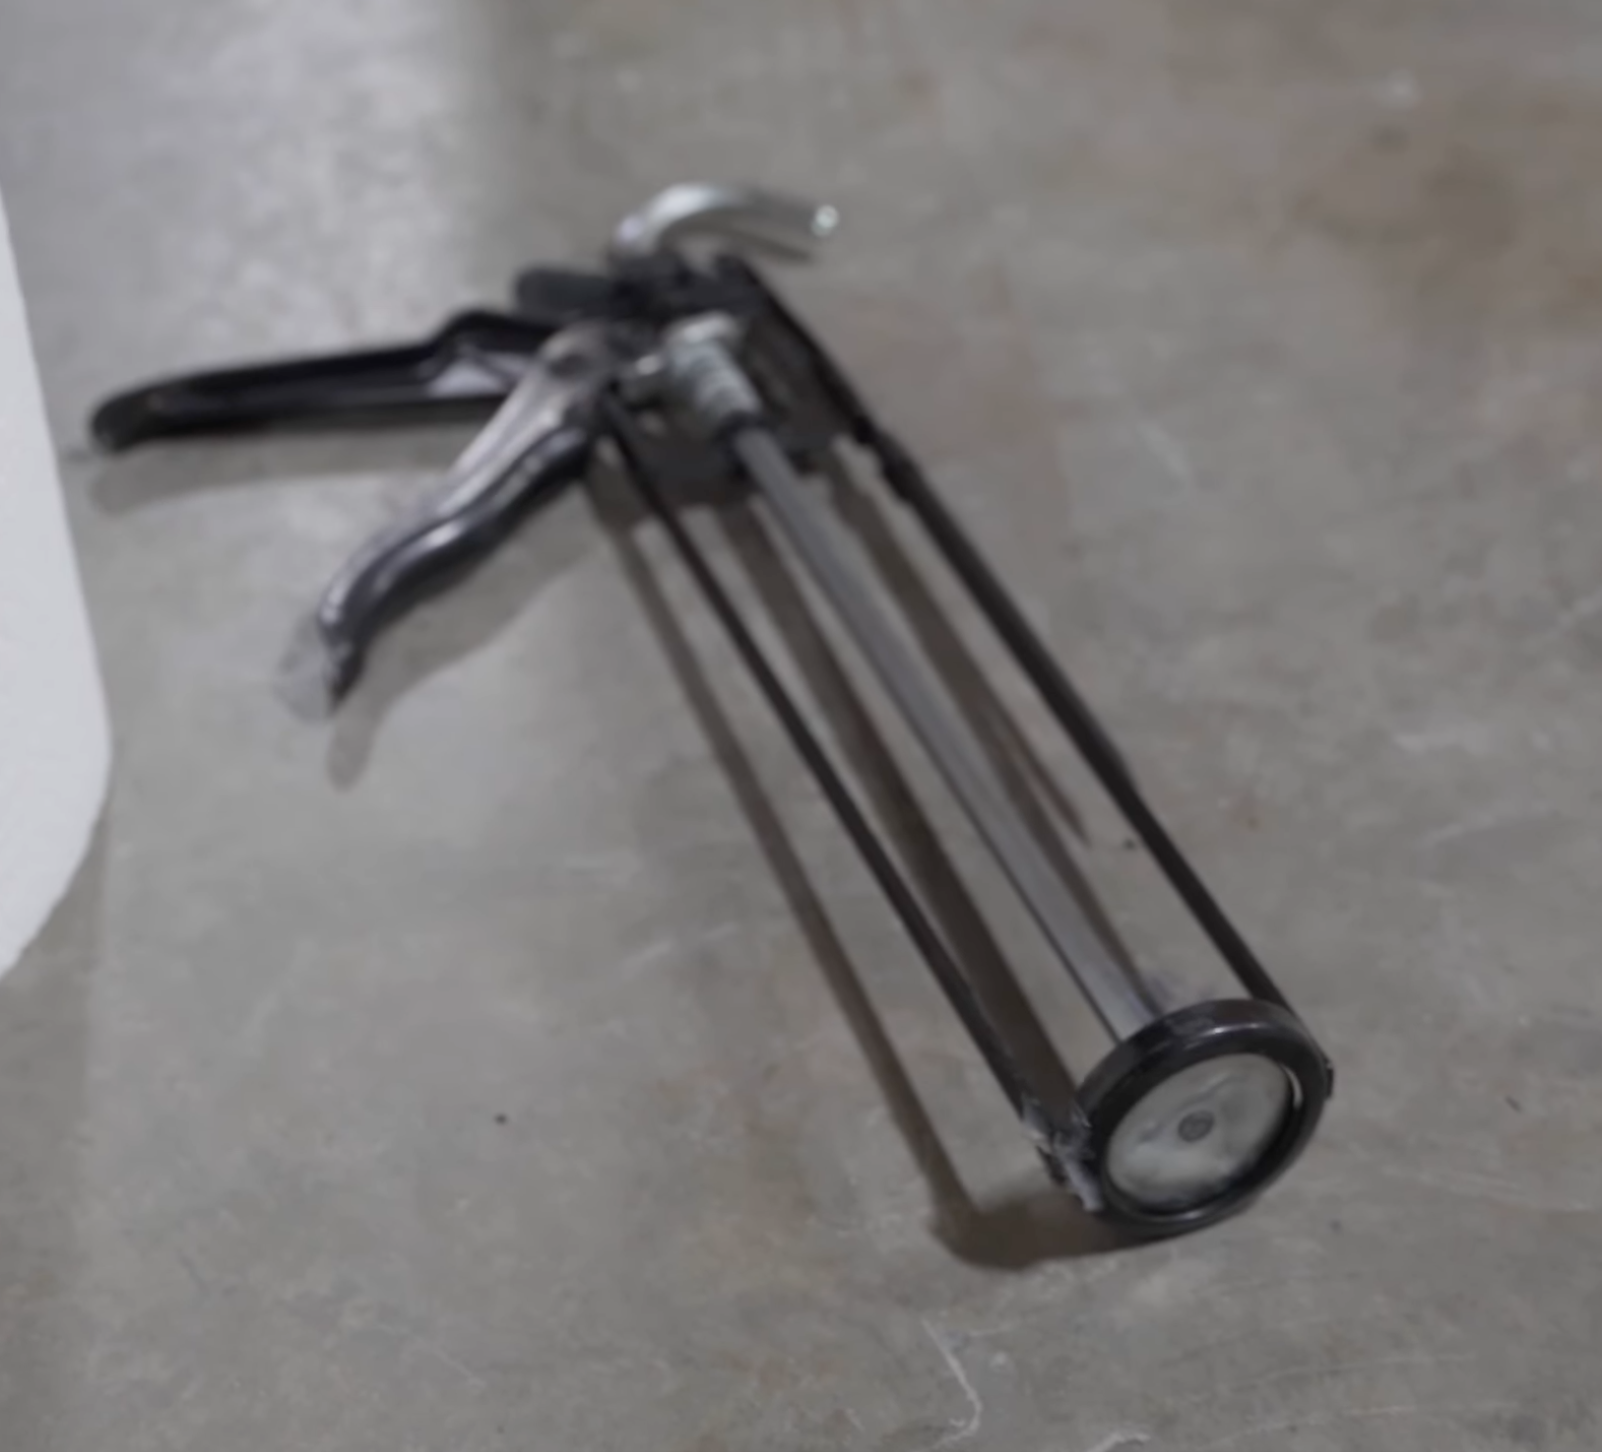
Caulk Gun
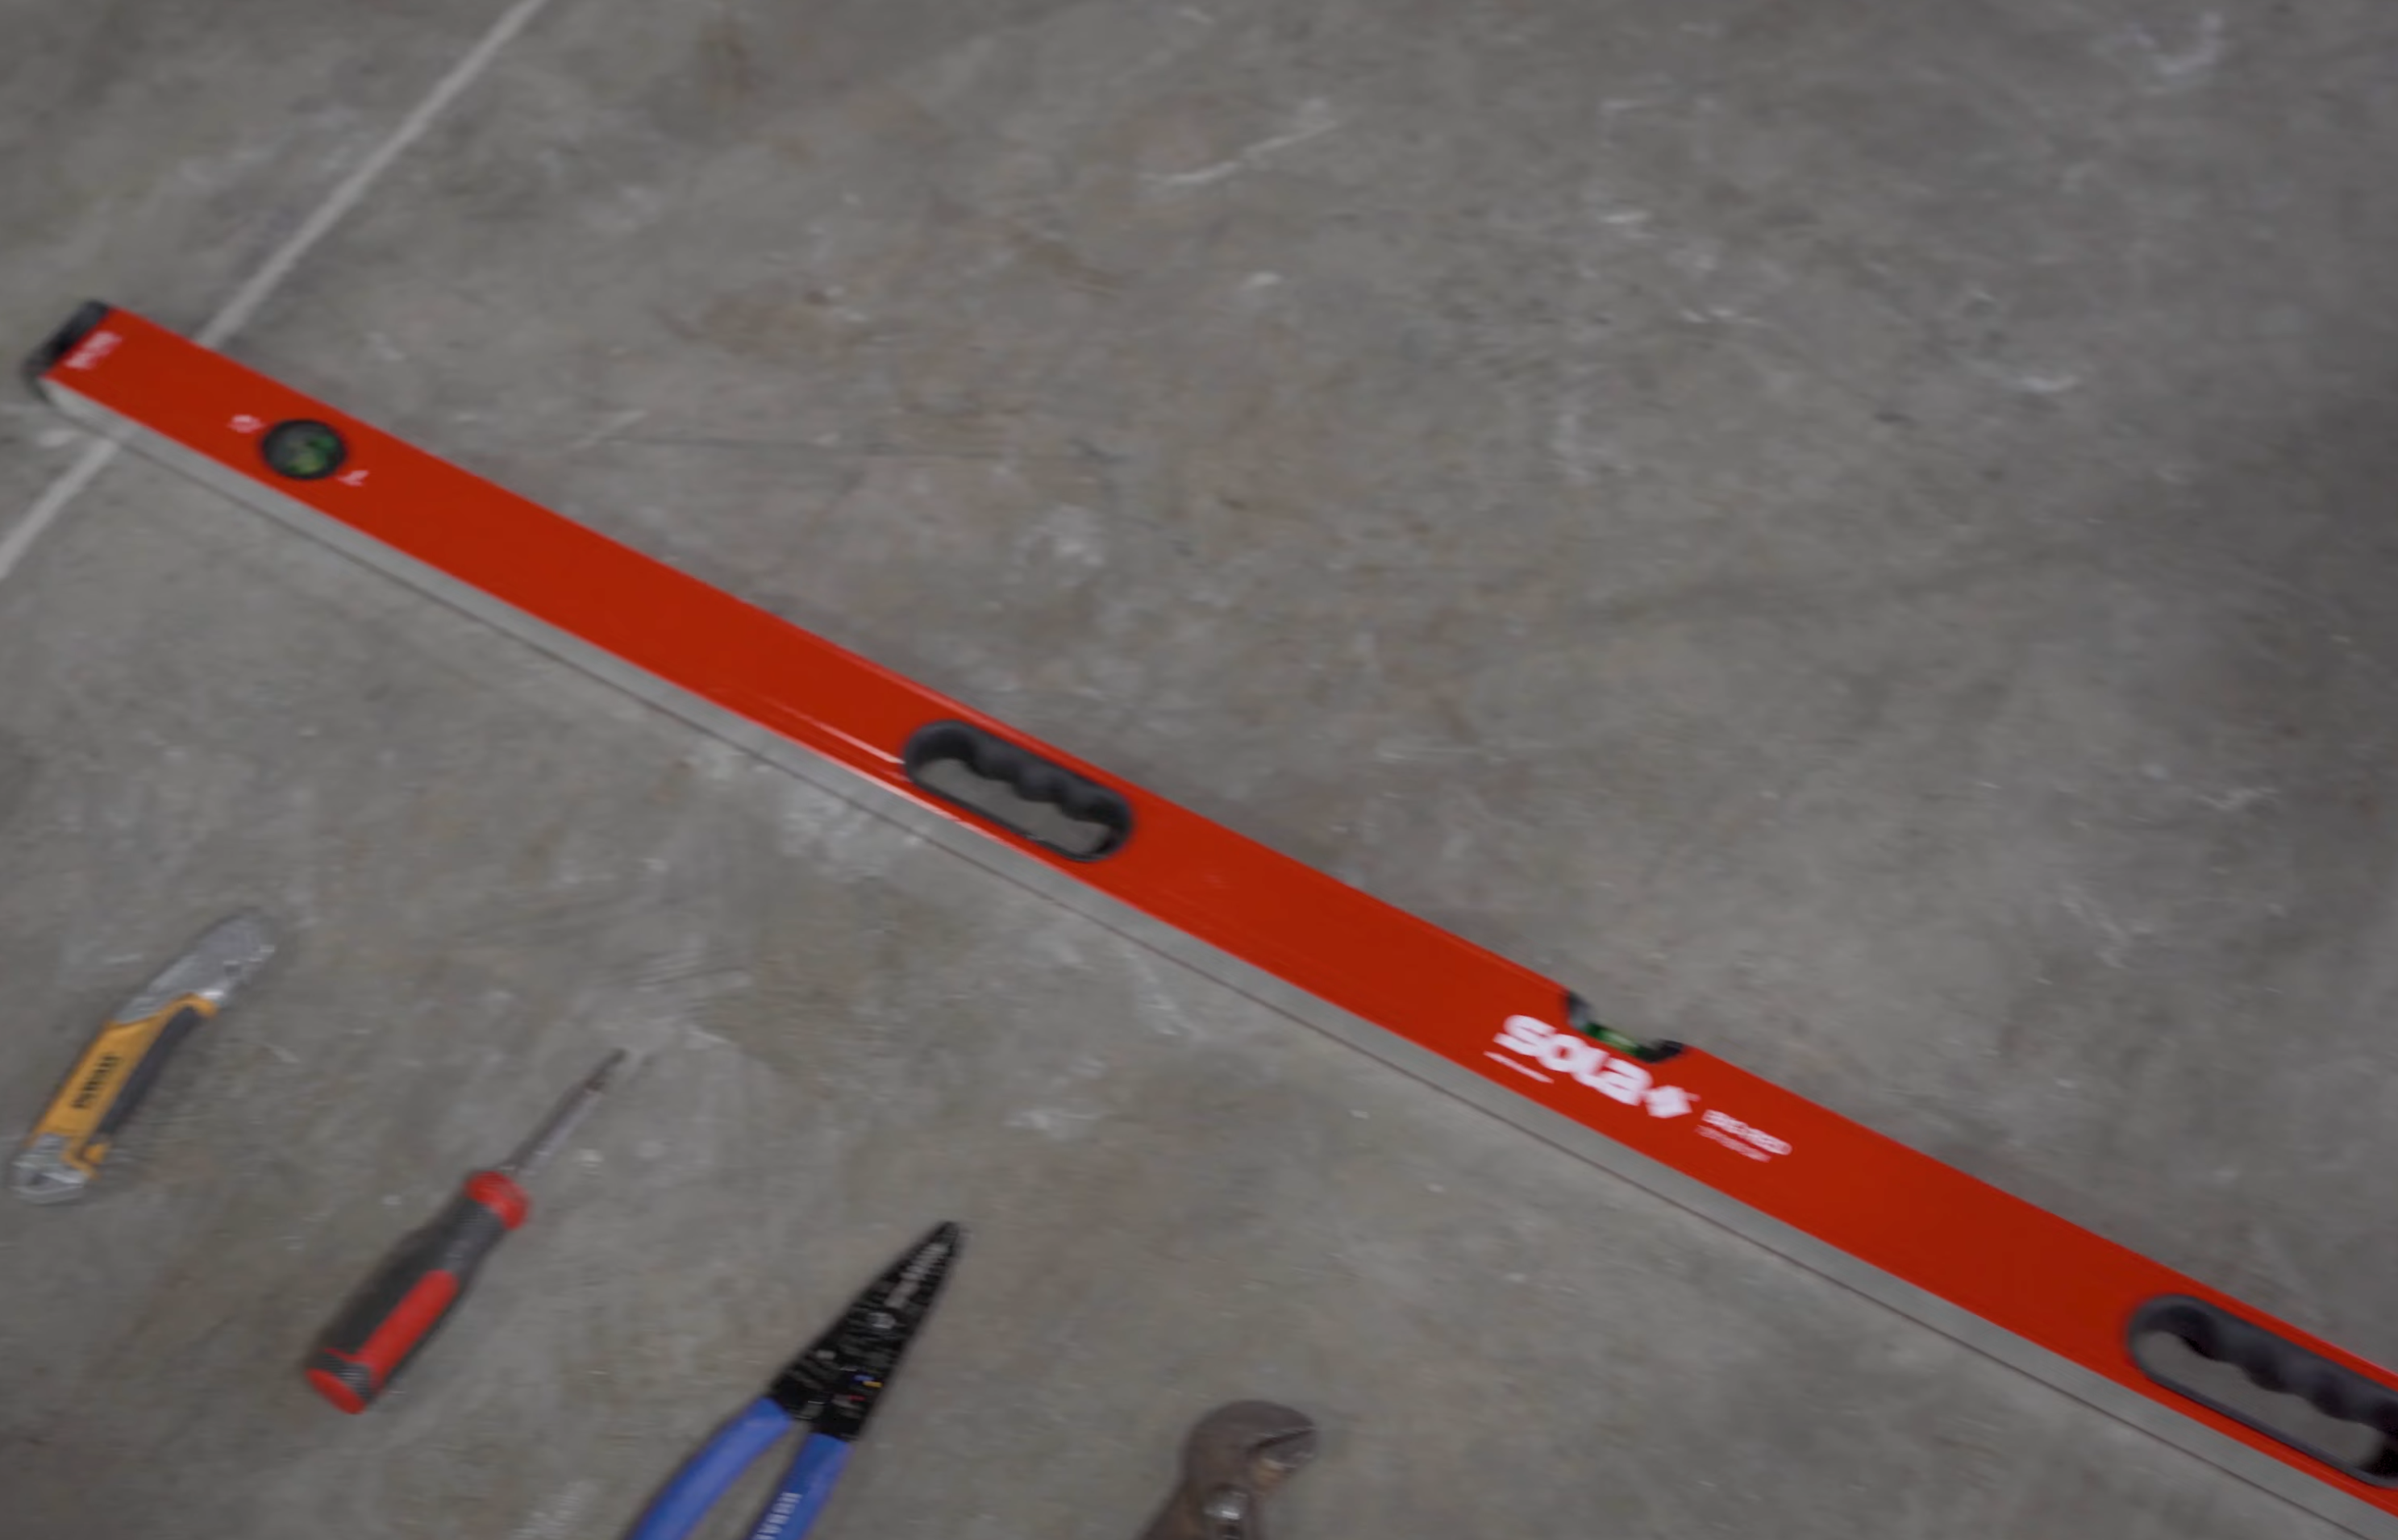
72 Inch Level
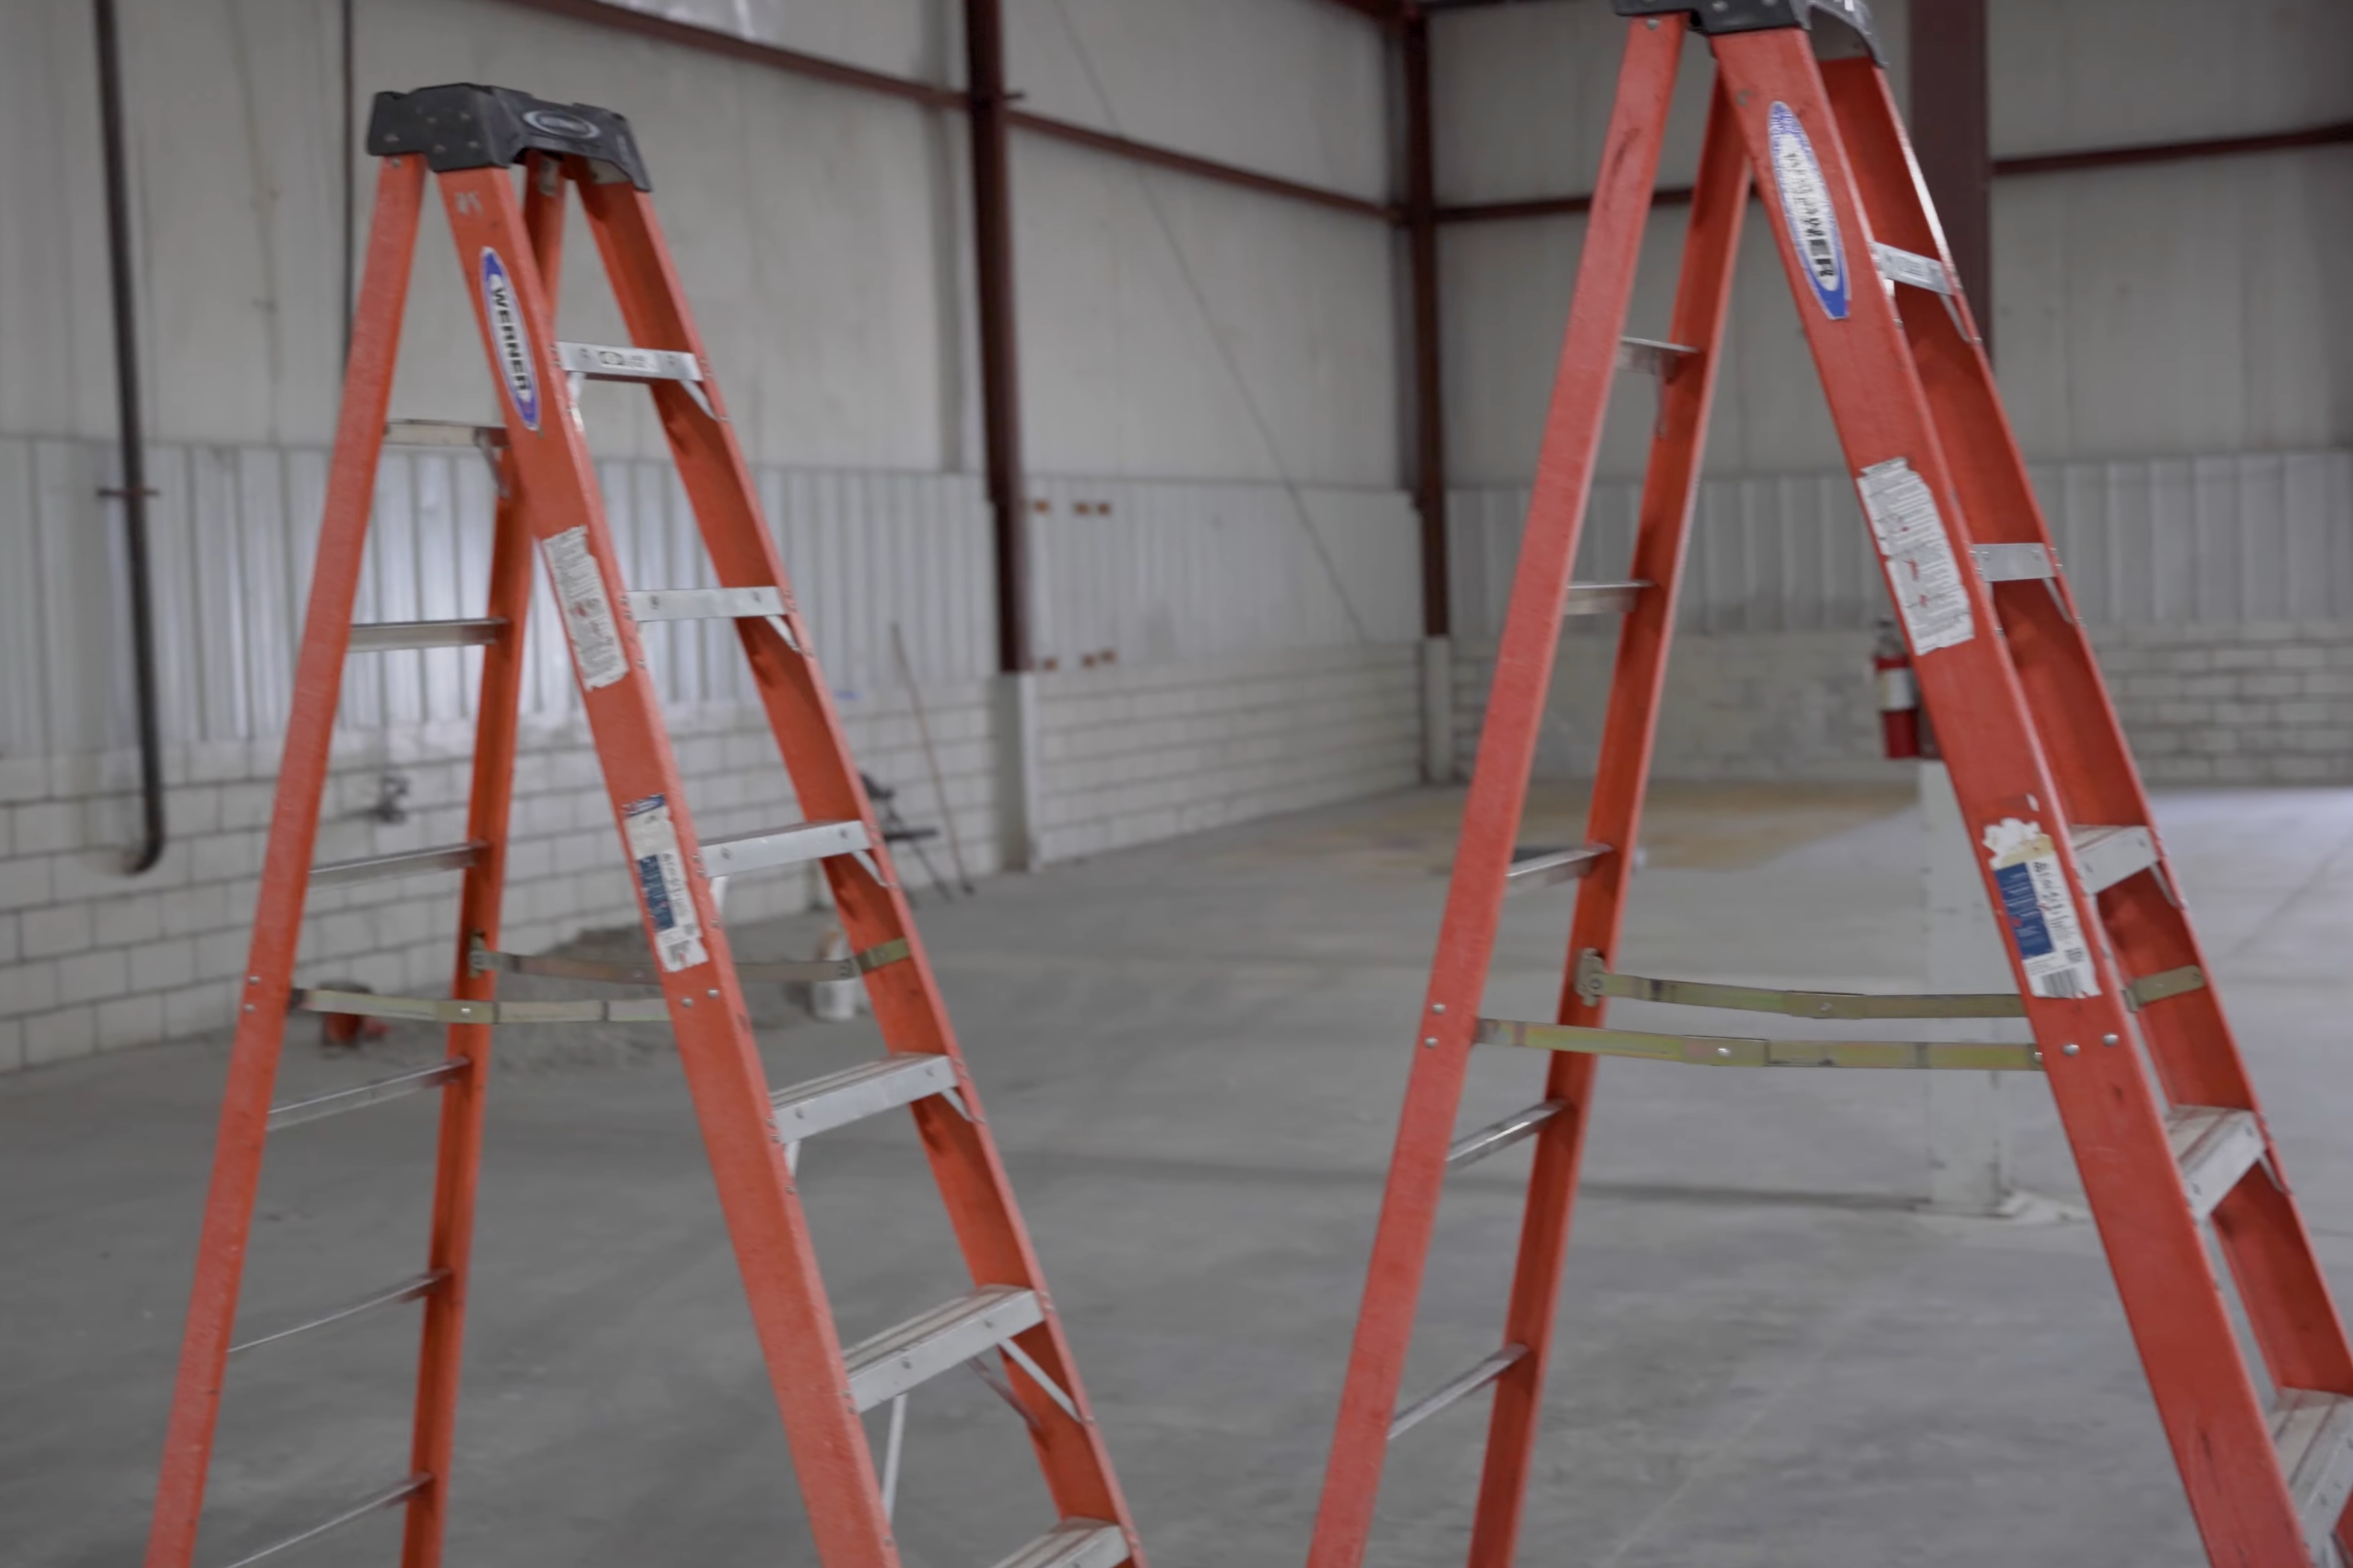
Two 8 Foot Ladders
Optional Tools
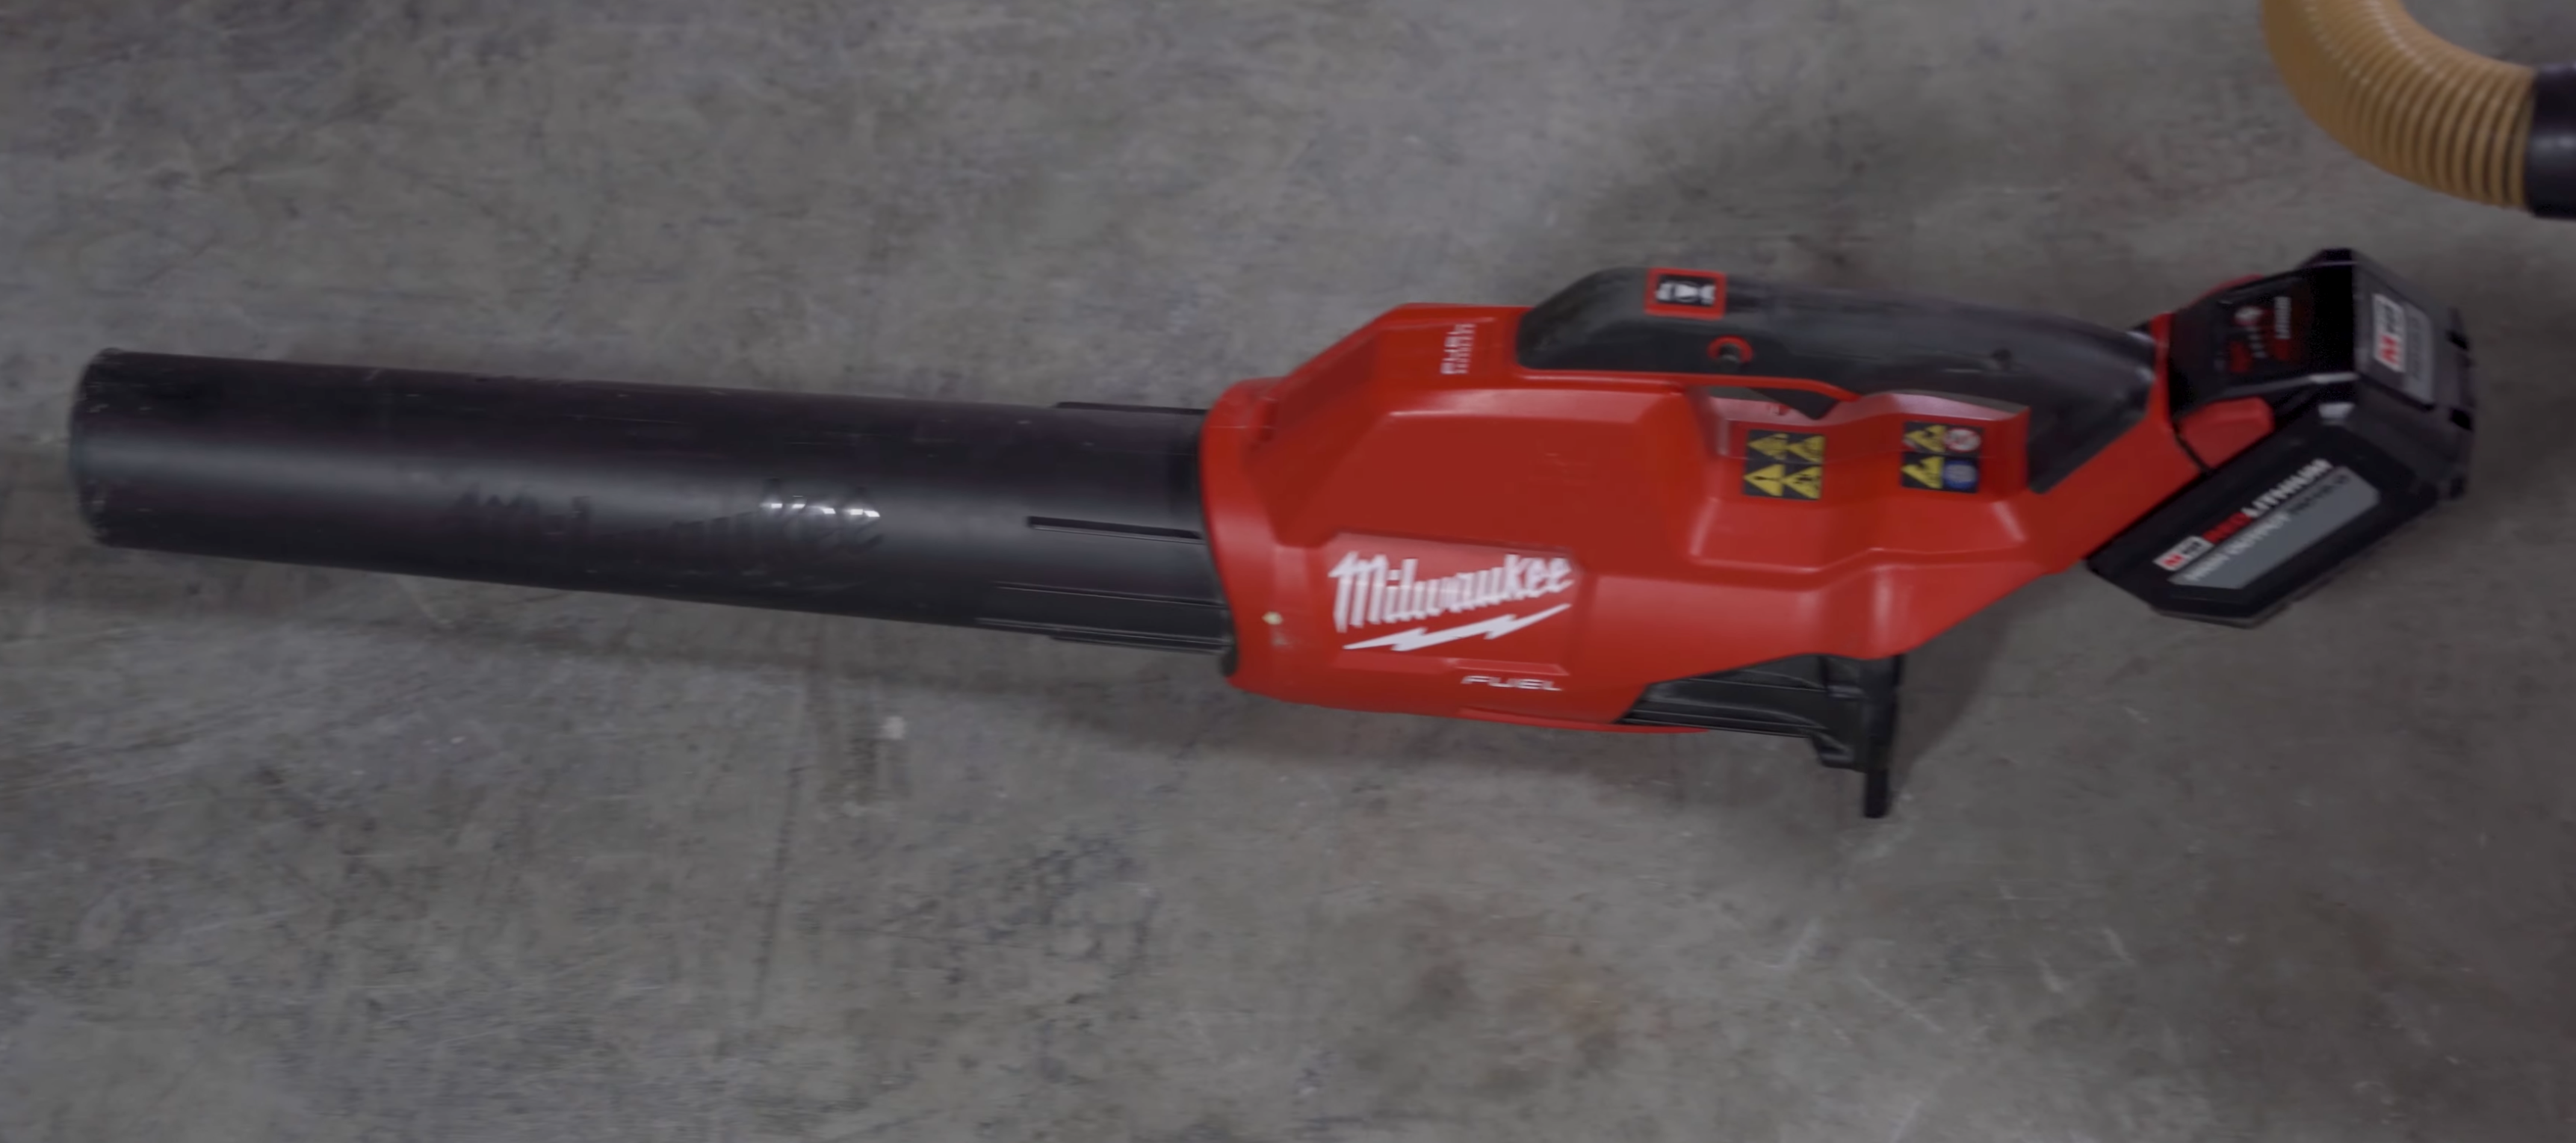
Cordless Blower
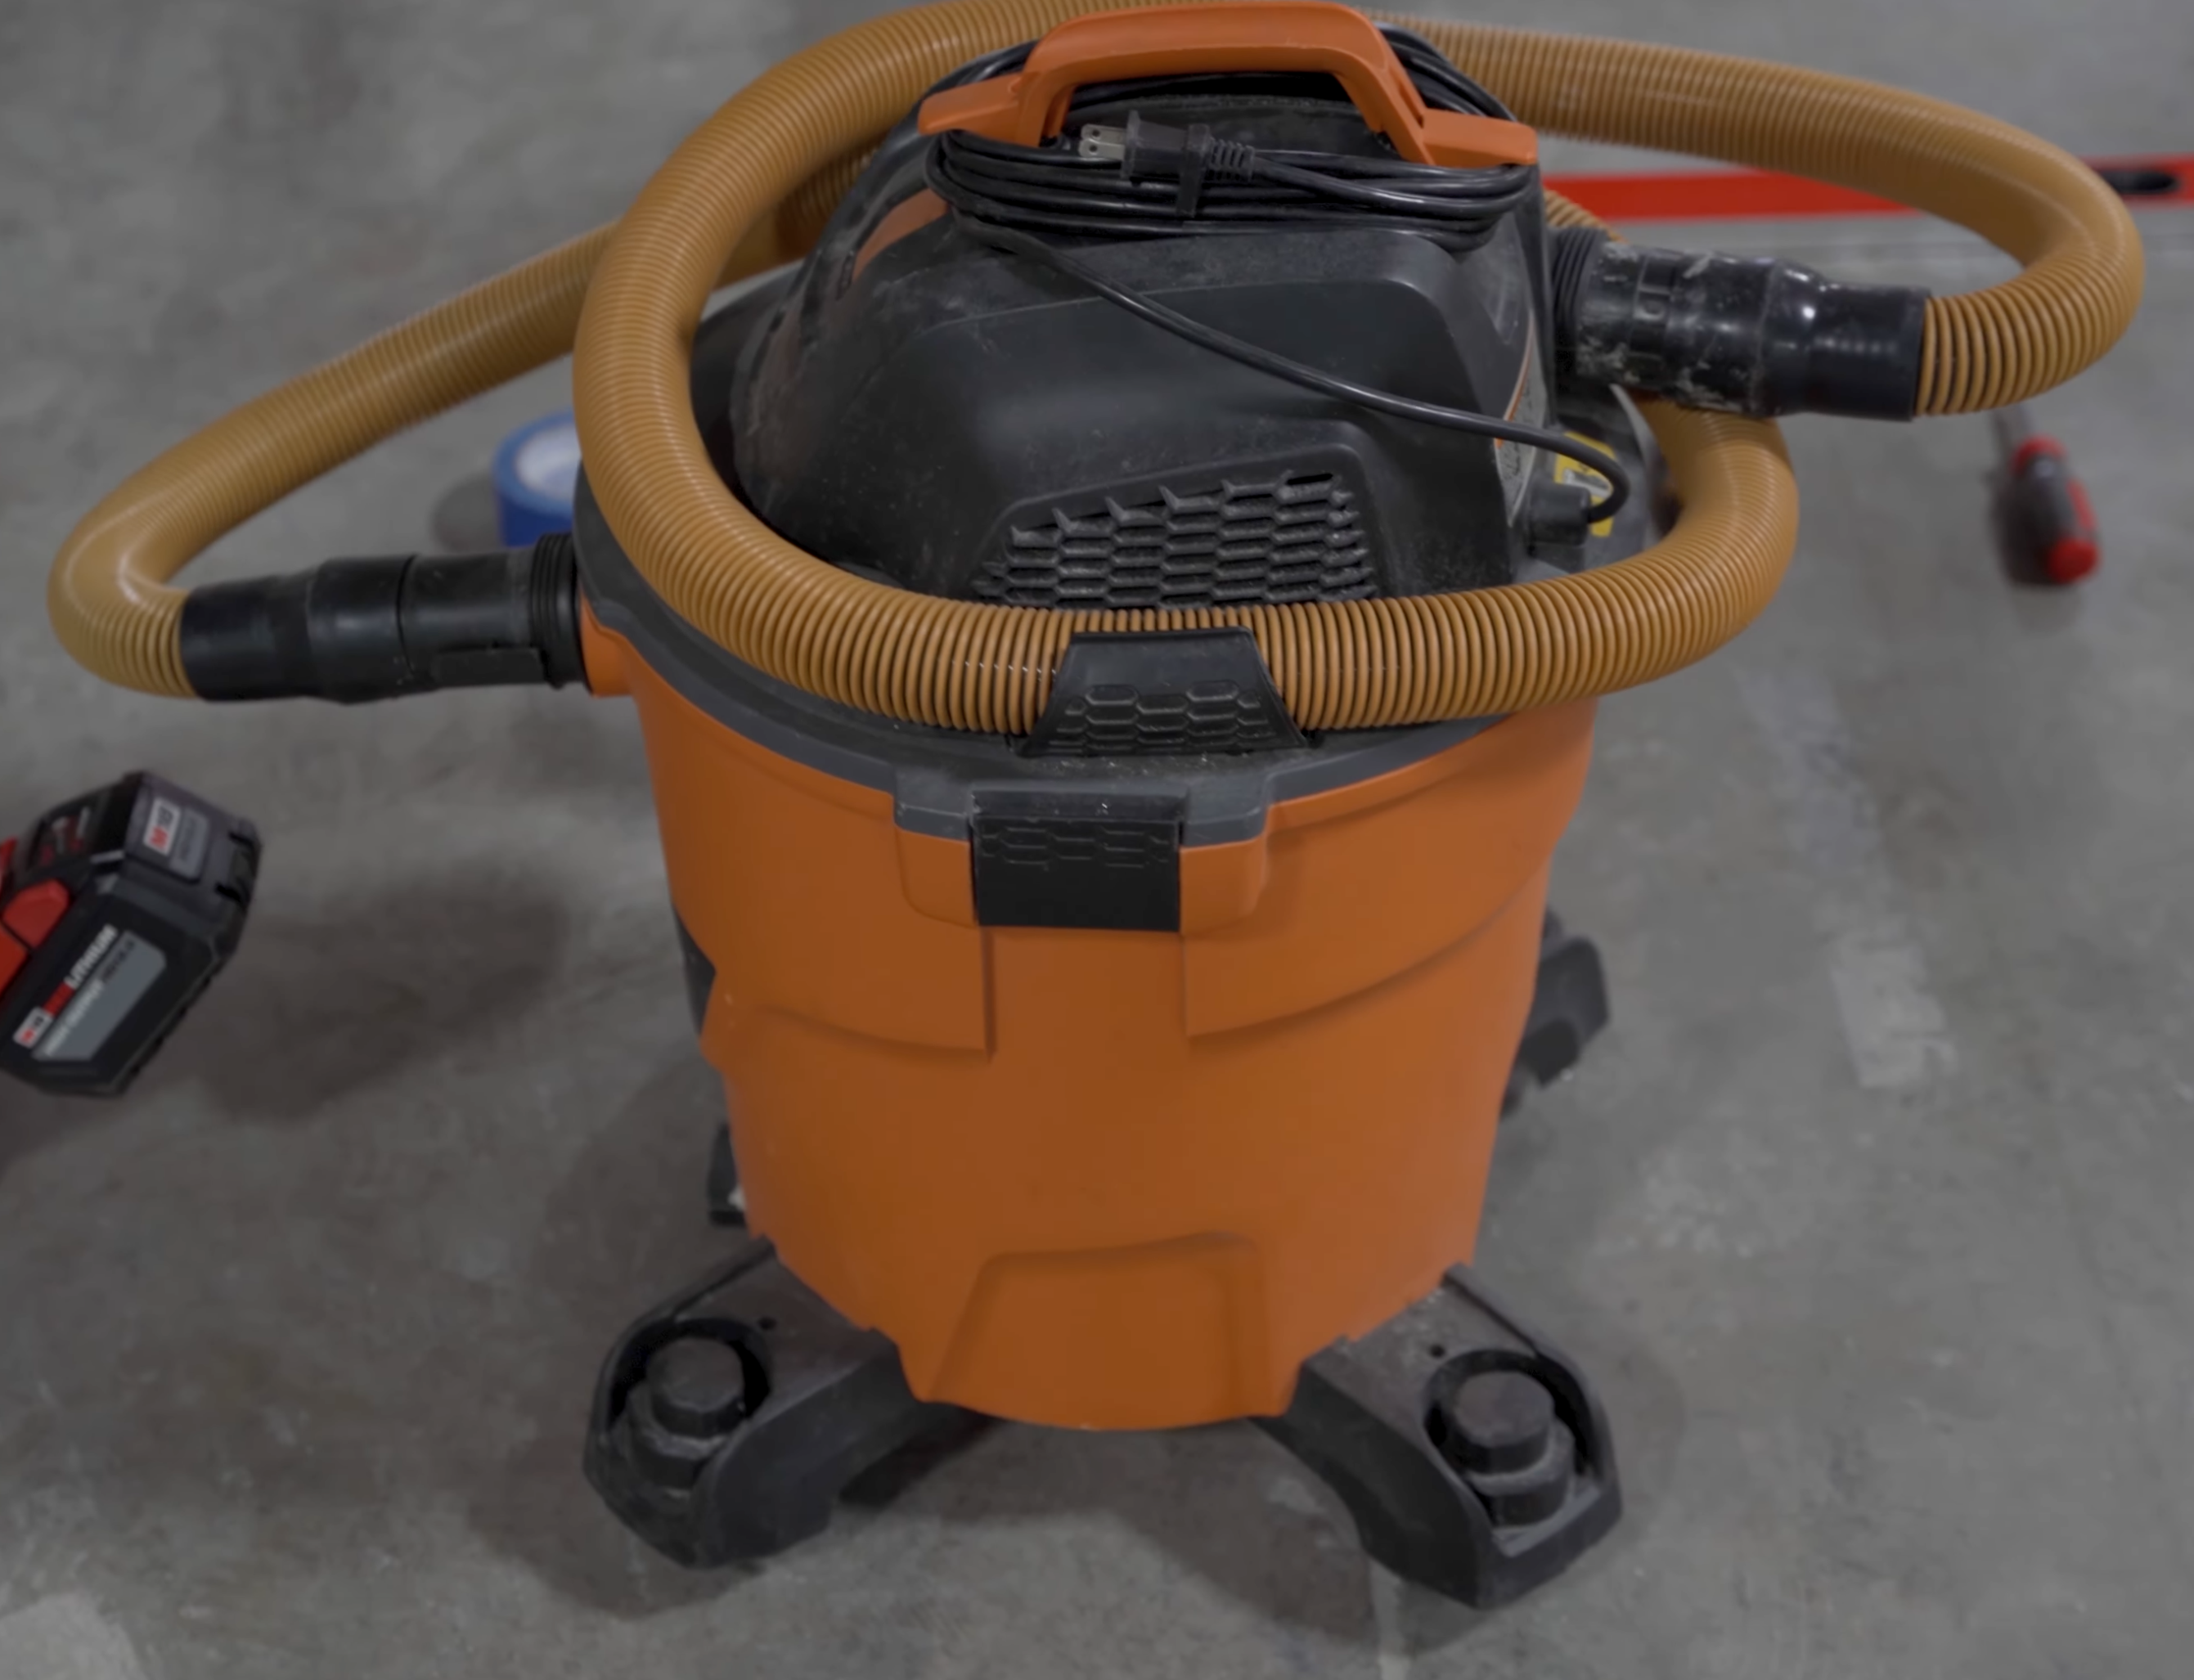
Shop Vacuum
No circular saw needed. Isn't that nice?
What to expect in the Box
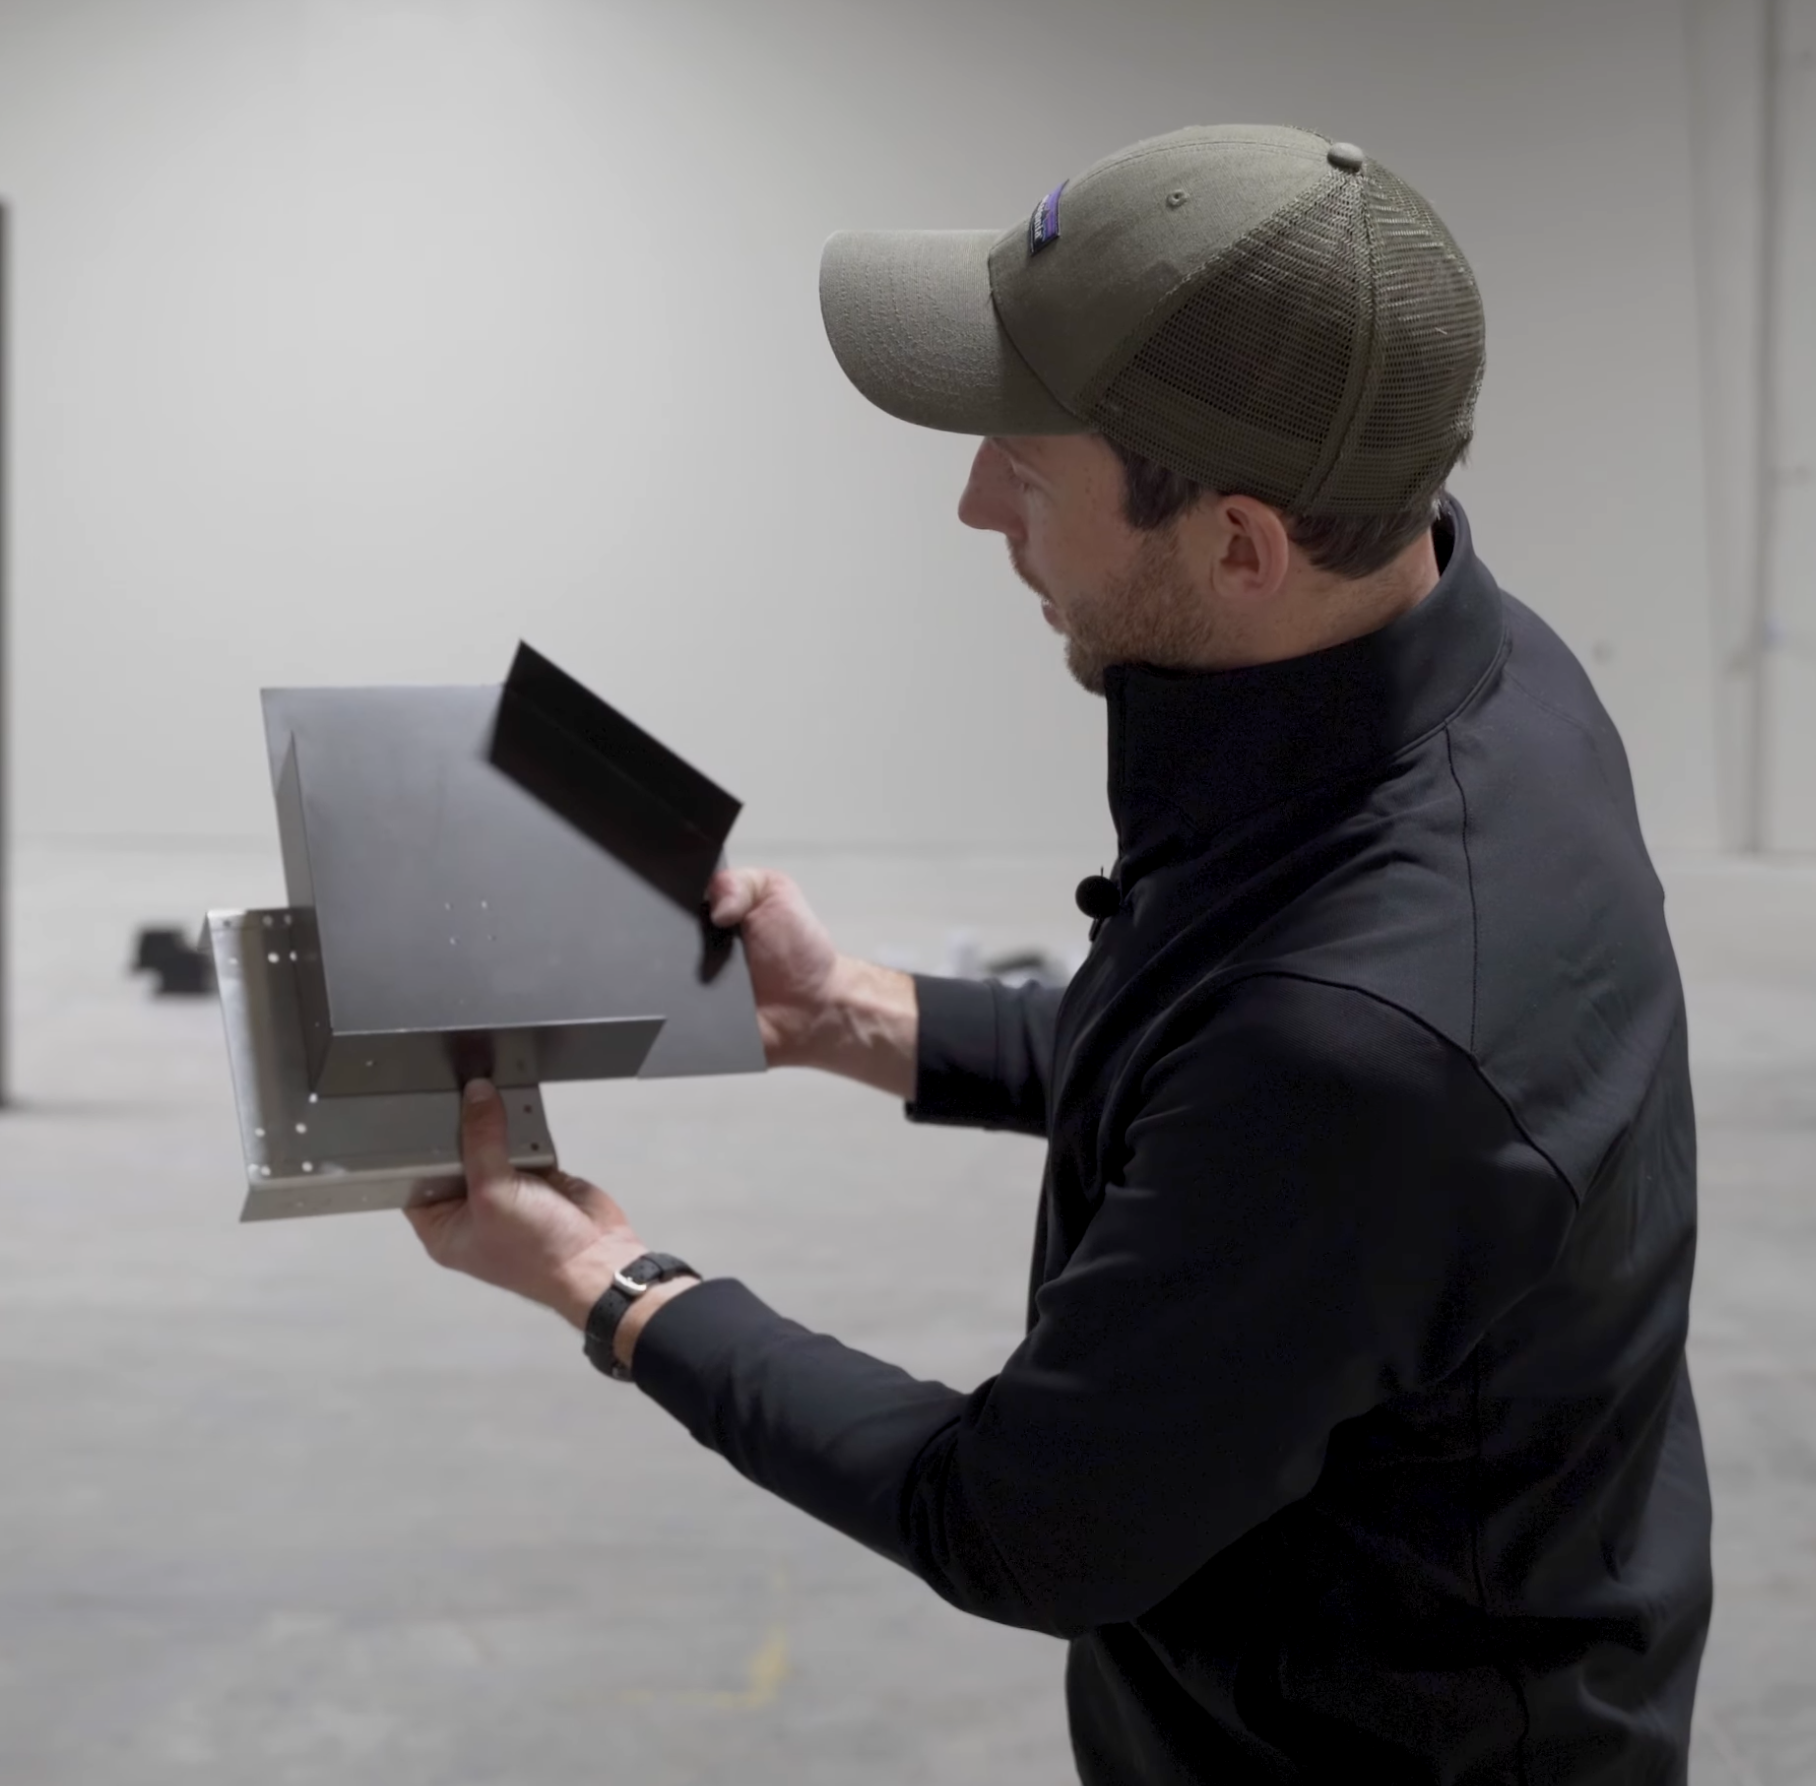
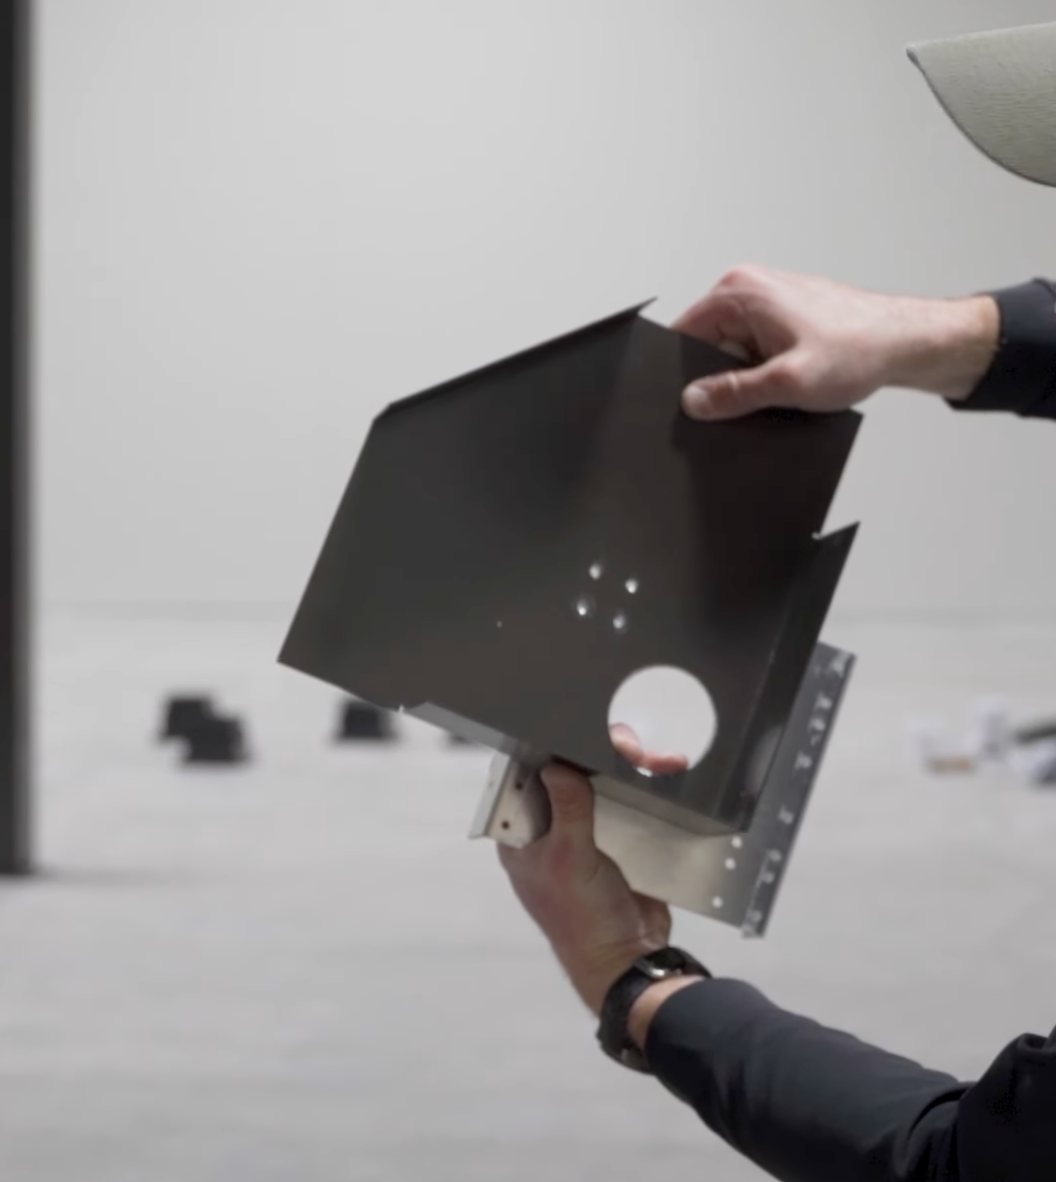
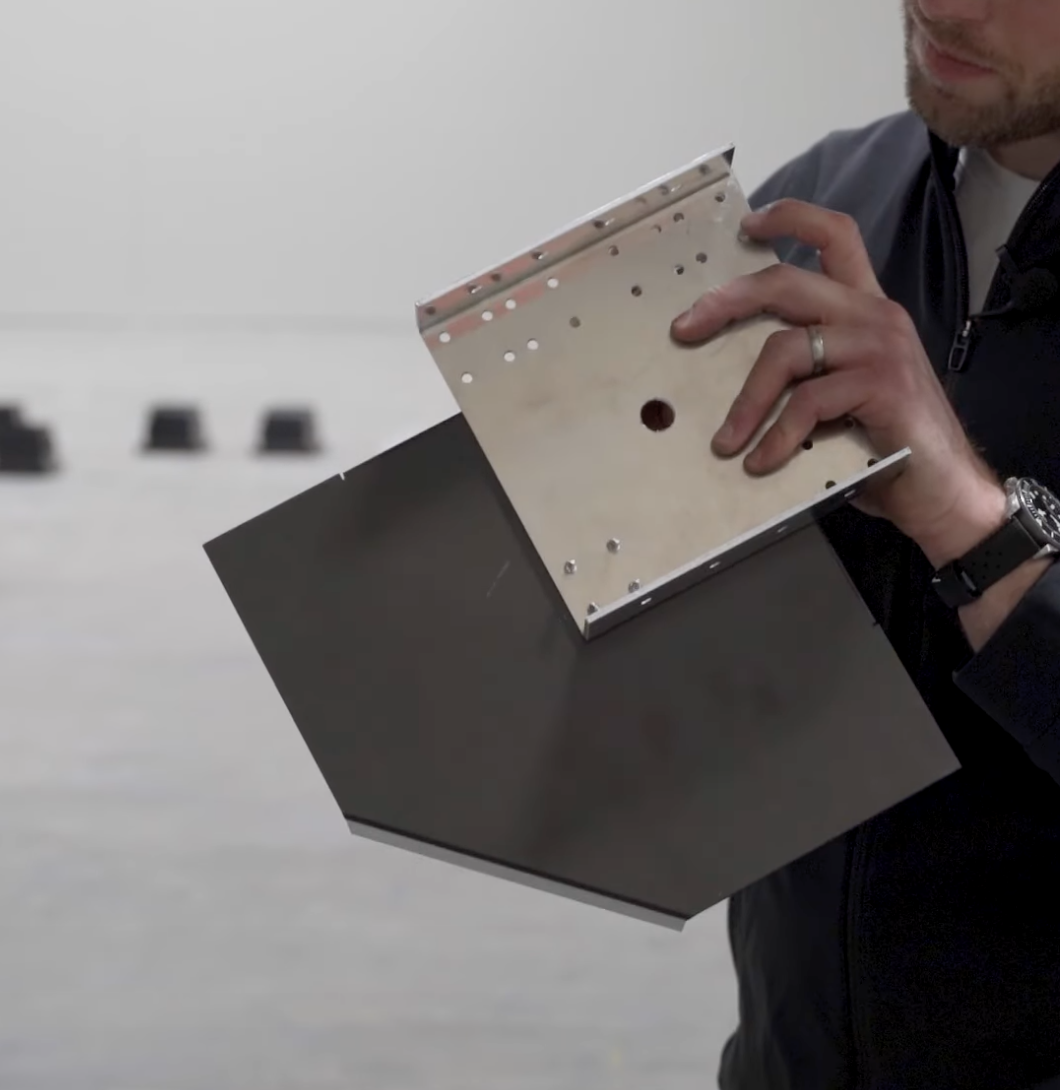
When you get your pergola the beams and post bases will be in separate boxes. The post bases, pictured below, will have holes pre-drilled in them. This is to make attaching the posts easier when building the structure.

Each post base is notched to accept drainage or electrical. This is part of the details of the design. The motorized louvered pergola needs to get electrical power and drain water.
Make sure the post holes for drainage and electrical line up with the post base notch
The Small Parts Box
Each box of small parts will have the following material list.
-
4 Gutter Connectors
-
2 drilled for Standard use
-
1 labeled for electrical
-
1 labeled for drainage
-
-
Motor Connect (long piece of metal)
-
Tubes of Color Match Caulk (same color as frame of unit)
-
Touch up Paint (make sure to shake before use)
-
Electrical Box
-
50 feet of landscape line to unit motor
-
9 feet of 110 volt cord to plug in to outlet
-
Remote inside of box
-
-
Composite Shims
-
Waterproof Connection Box
-
Motor for Louvers
-
Caps and Sleeves for Beam connector
-
End Caps bag
-
6.5 inch insert of Post connection
-
Pack of Beam to beam connector
Additionally, there will be bags for specific screws and bits
-
Bag A: Supplied bits for Installation
-
Bag B: 1 inch #12 screws
-
This is used for attaching the beam to beam connector to your 6.5 inch post insert
-
-
Bag C: Screws to attach gutter connector to 6.5" insert
-
Bag D: #10 Screws for all non-structural attached parts
-
Bag L: #14 Screws for all structural components
-
Bag M: Push Nuts to attach link bar to louvers
-
Make sure link bar is perfect before using
-
-
Bag P: Anchors to fasten post bases to concrete patio
-
Bag R: Fasteners to attach end caps to louvers & attach the cap to the beam to beam connector
-
Bag S: Motor Assembly
All the details of this from the pergola posts to the amazing beams and louvers, make it the best pergola for high winds.
Preparing the Install on Concrete Patio
First you need to make sure the post bases, which act as a king of steel brackets, are in the right position and you have the electrical and drainage oriented in the proper direction.
Slide all posts and beams out of the box to avoid scratching.
Set Your Post Bases in Approximately the right spot

Make sure you place the post bases in approximately the right area before starting your installation. The video guide shows an example of installing a 12 x 20 pergola unit on a concrete slab.
For this unit the outer dimensions for the flanges of the post base are 12' 3" and 20' 3".
For a 12 x 16 pergola kit, the dimensions for the outer part of the bases would be 12' 3" and 16' 3". Make sure you look at your pergola plans from the schematic that was sent to you in an email for the exact dimensions.
After sleeving your posts onto the base, you should use the #14 screws from Bag L to attach the post to the post base.
Starting the Frame Build
Now that the posts are in place, it is time to get ready to get a wall up. To dot his and have a great free standing pergola kit, you'll need to create a few connectors that will slide into the posts and act as a skeleton for the walls and header boards.
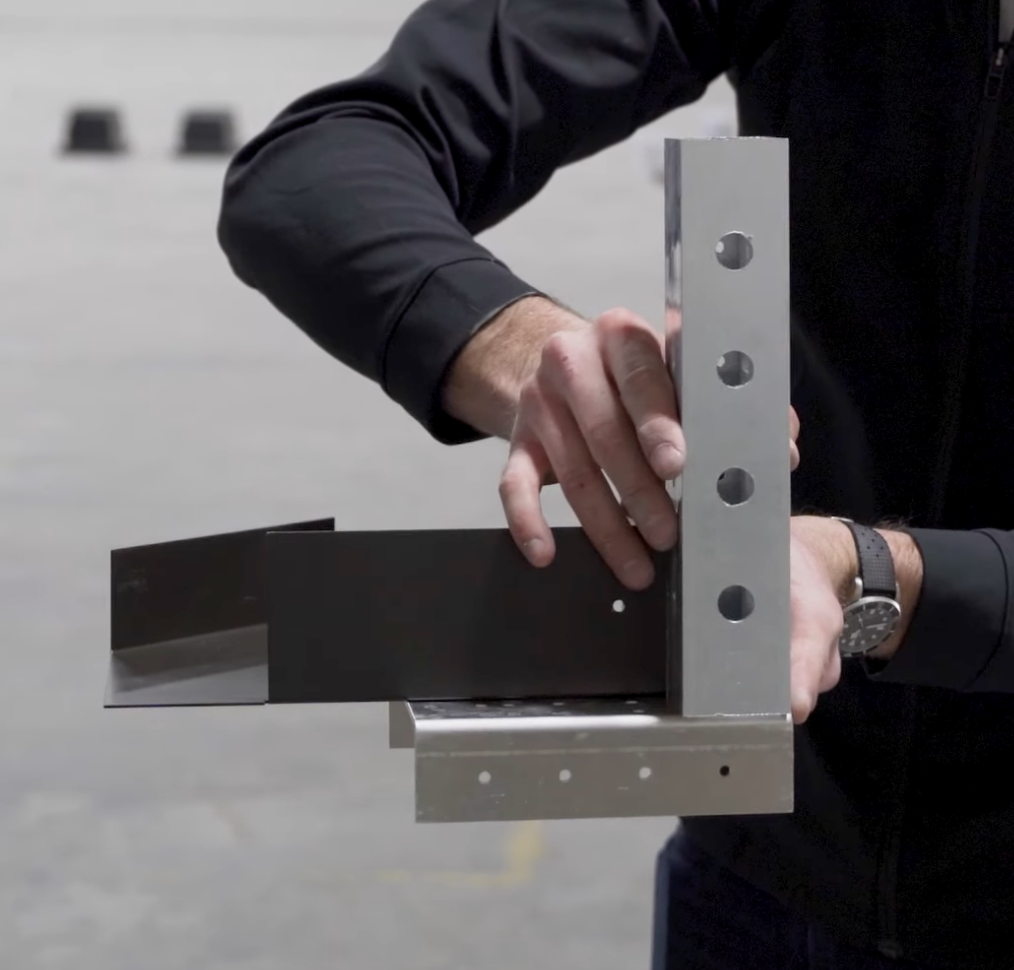
Grab the gutter connectors (all should have four holes) and match them up with the proper 6.5 inch post insert.
Attach the Gutter Connector
You will want to make sure that the gutter connector is aligned with the last 4 holes on each of the 6.5 inch inserts. This will then be attached together with screws from Bag C.
Electrical and DRainage Connectors
Make sure the gutter connectors for the electrical connections and the drainage connectors are applied properly and each hole lines up.
The holes for drainage and electrical should line up with the corresponding holes on the 6.5 inch insert. Make sure these holes are all properly aligned before fastening together.
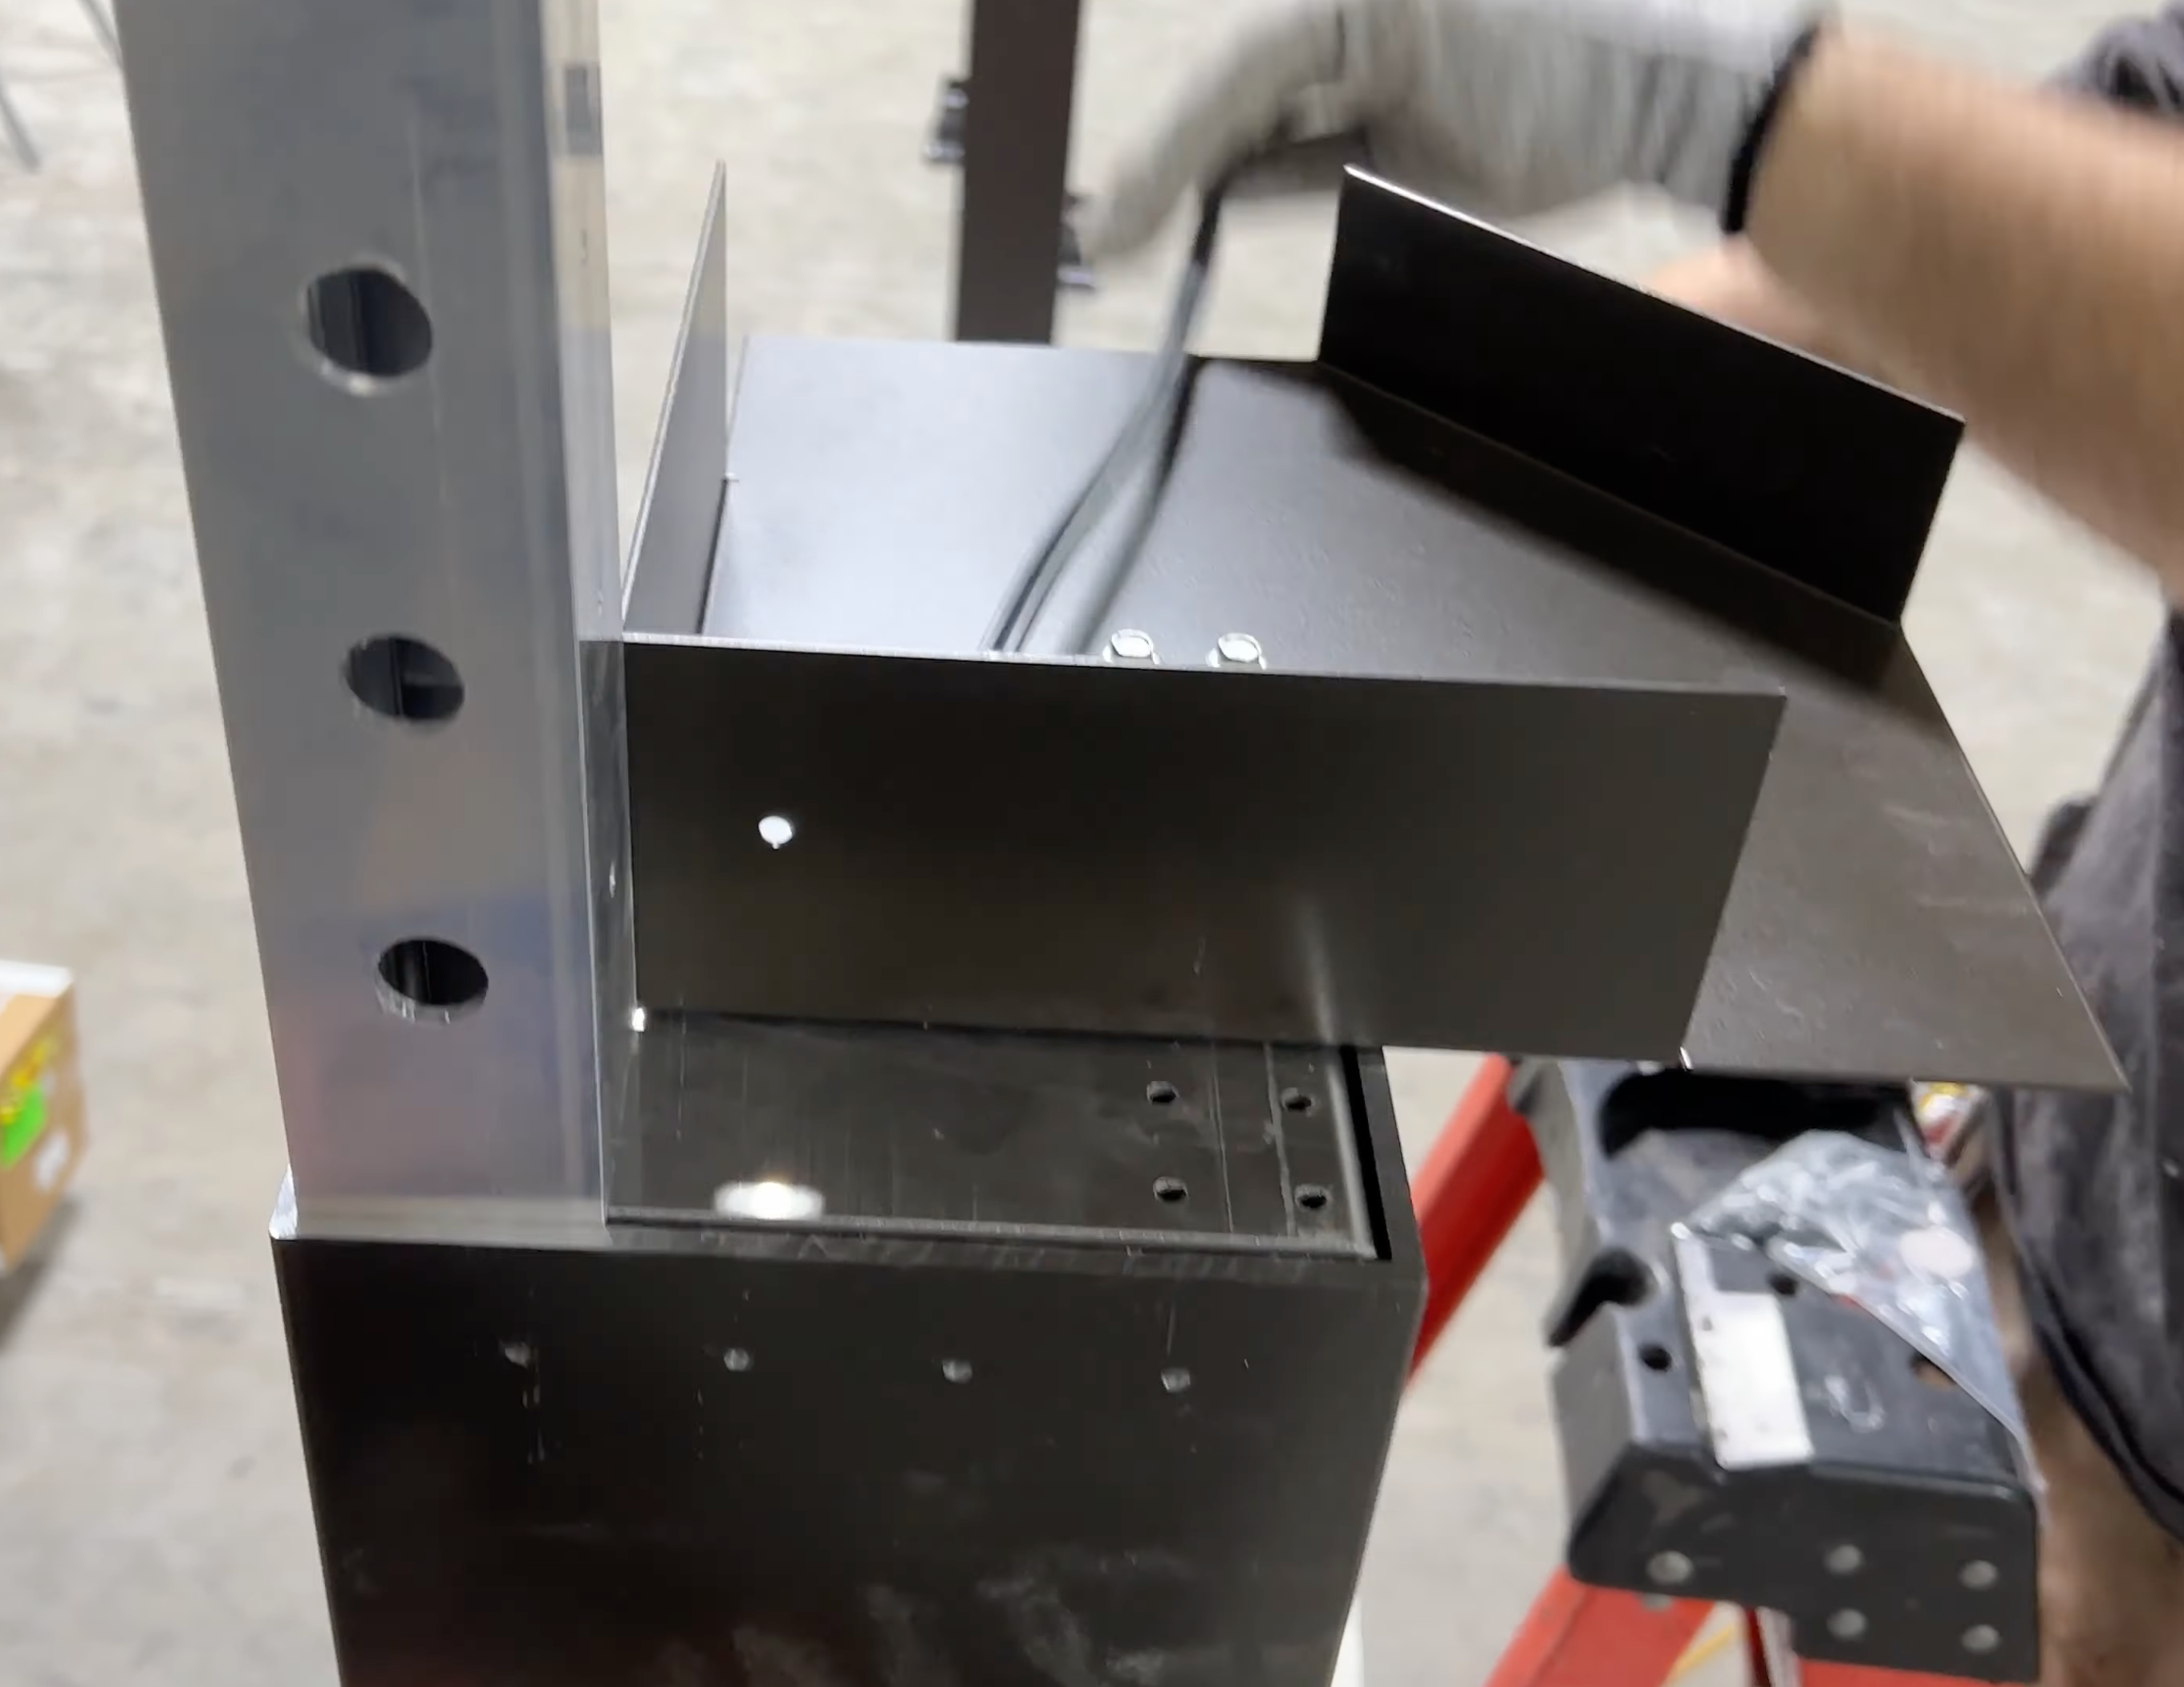
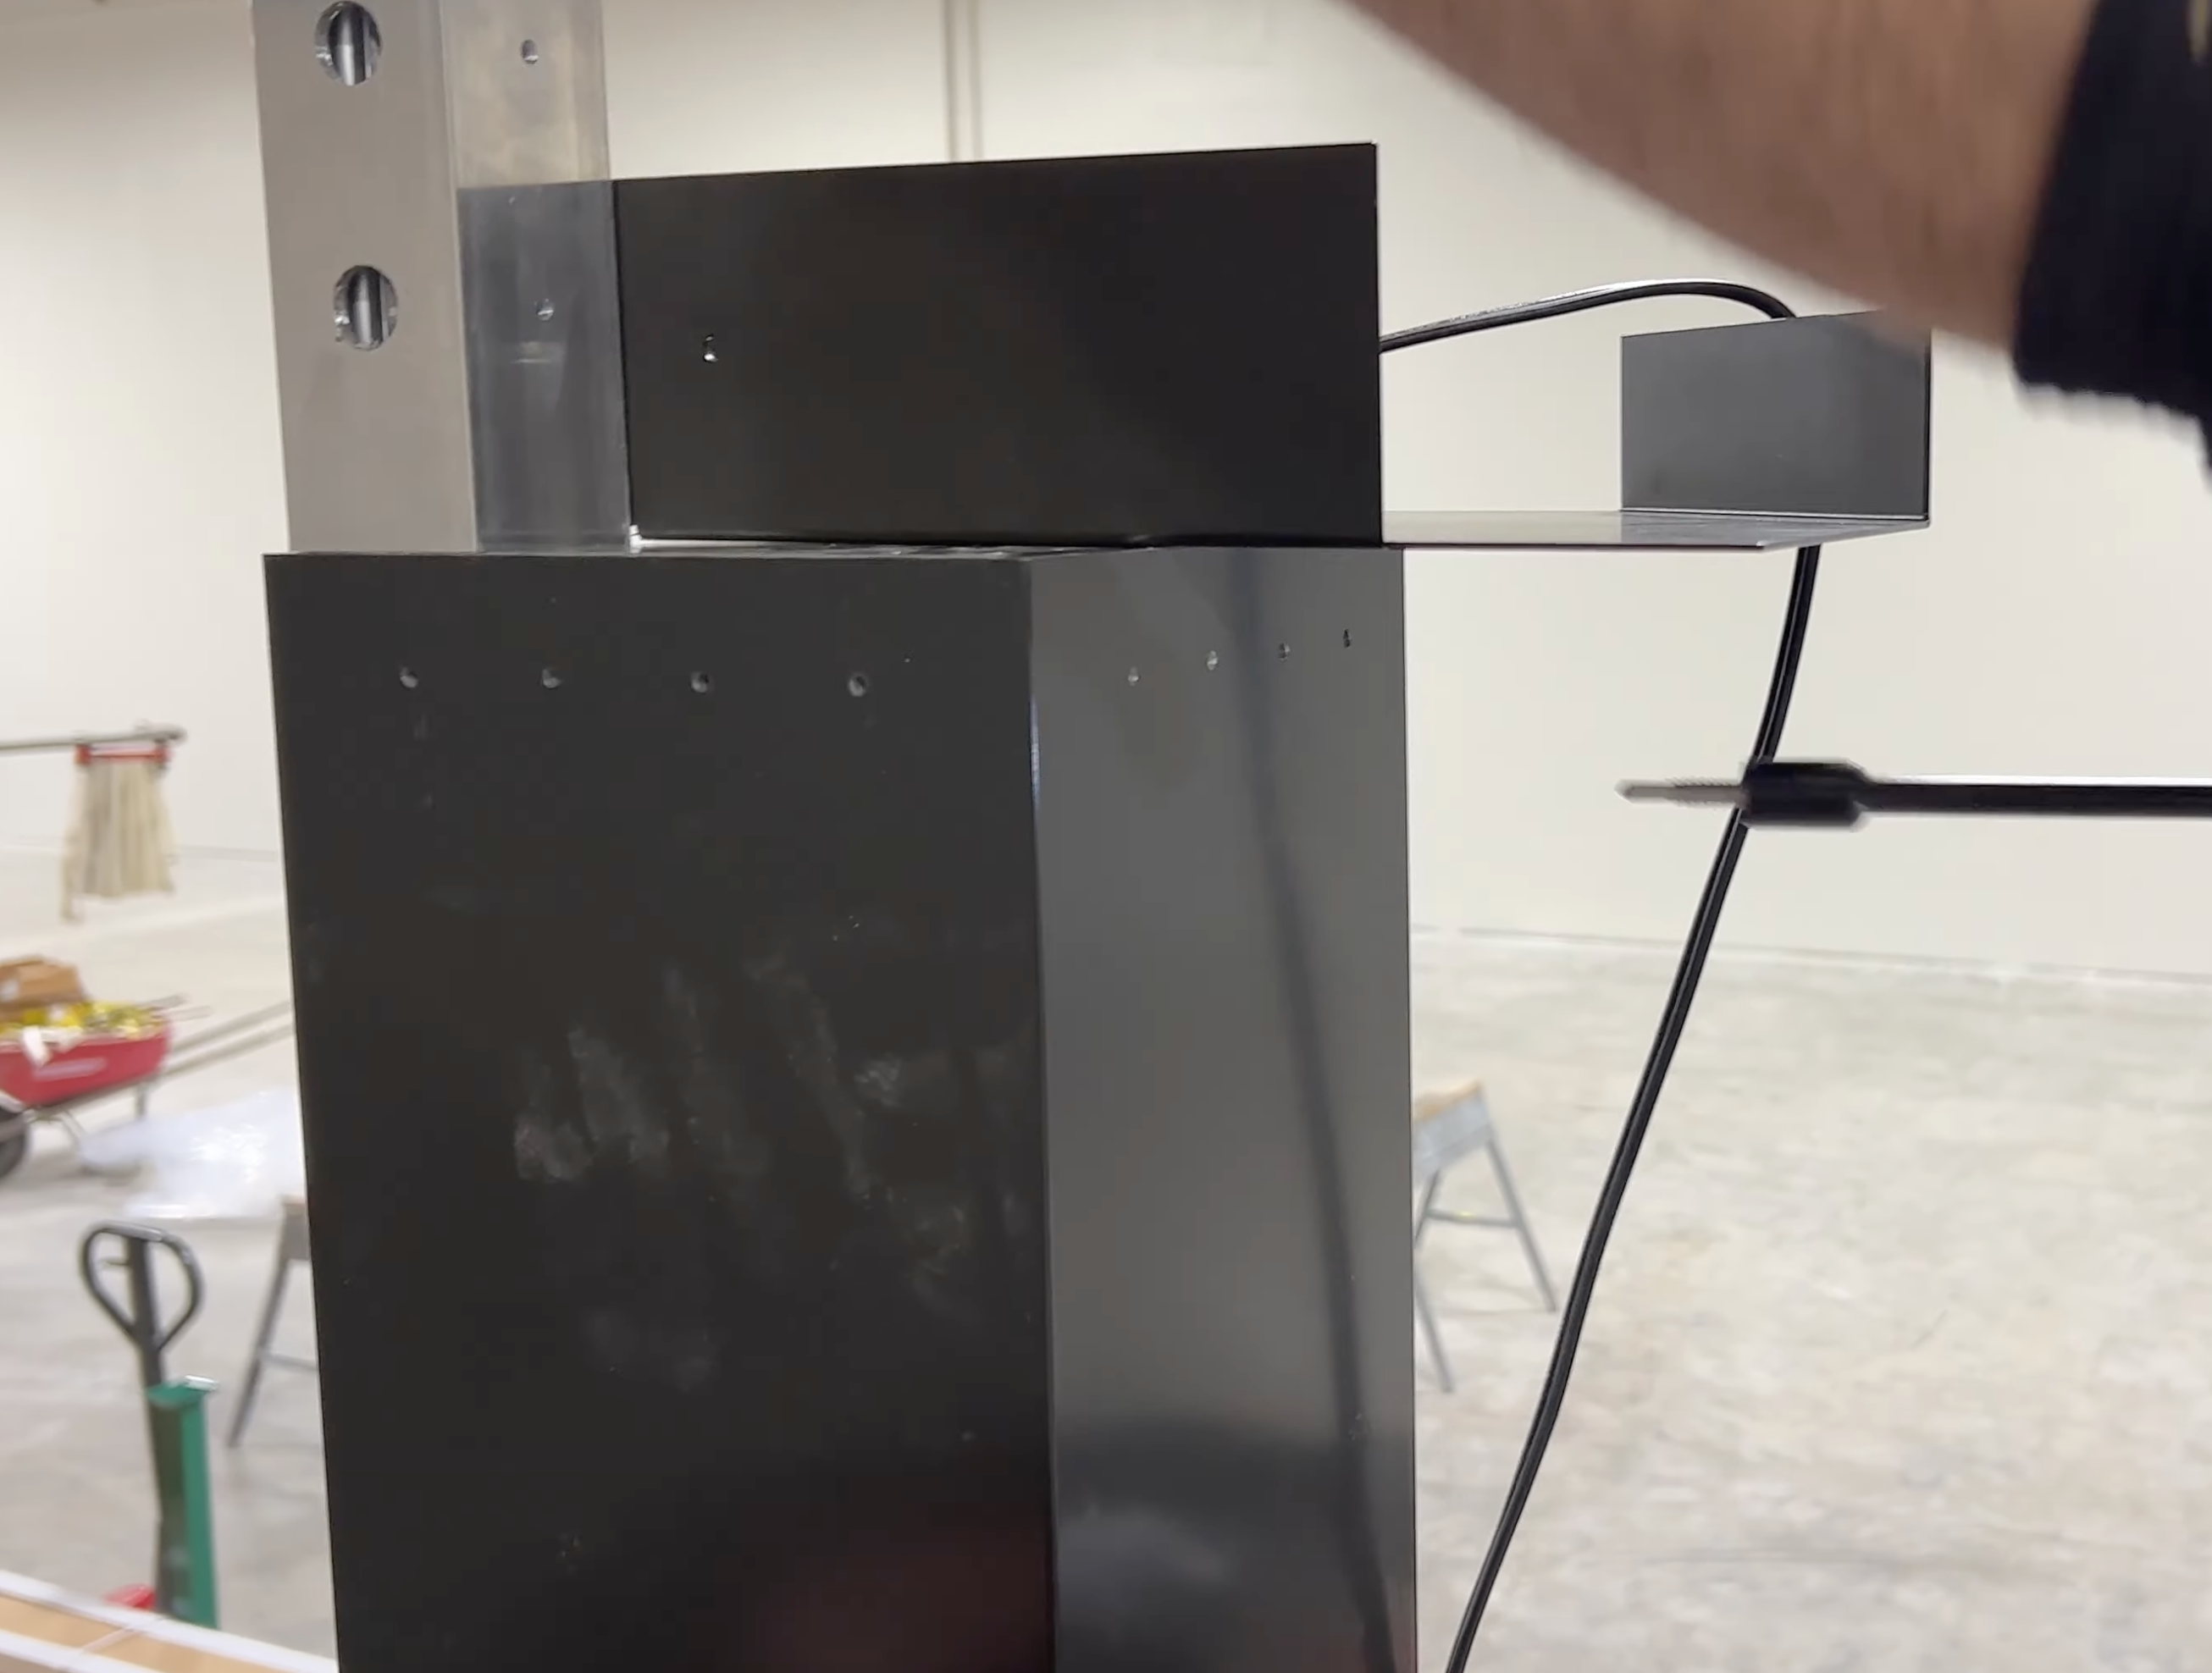
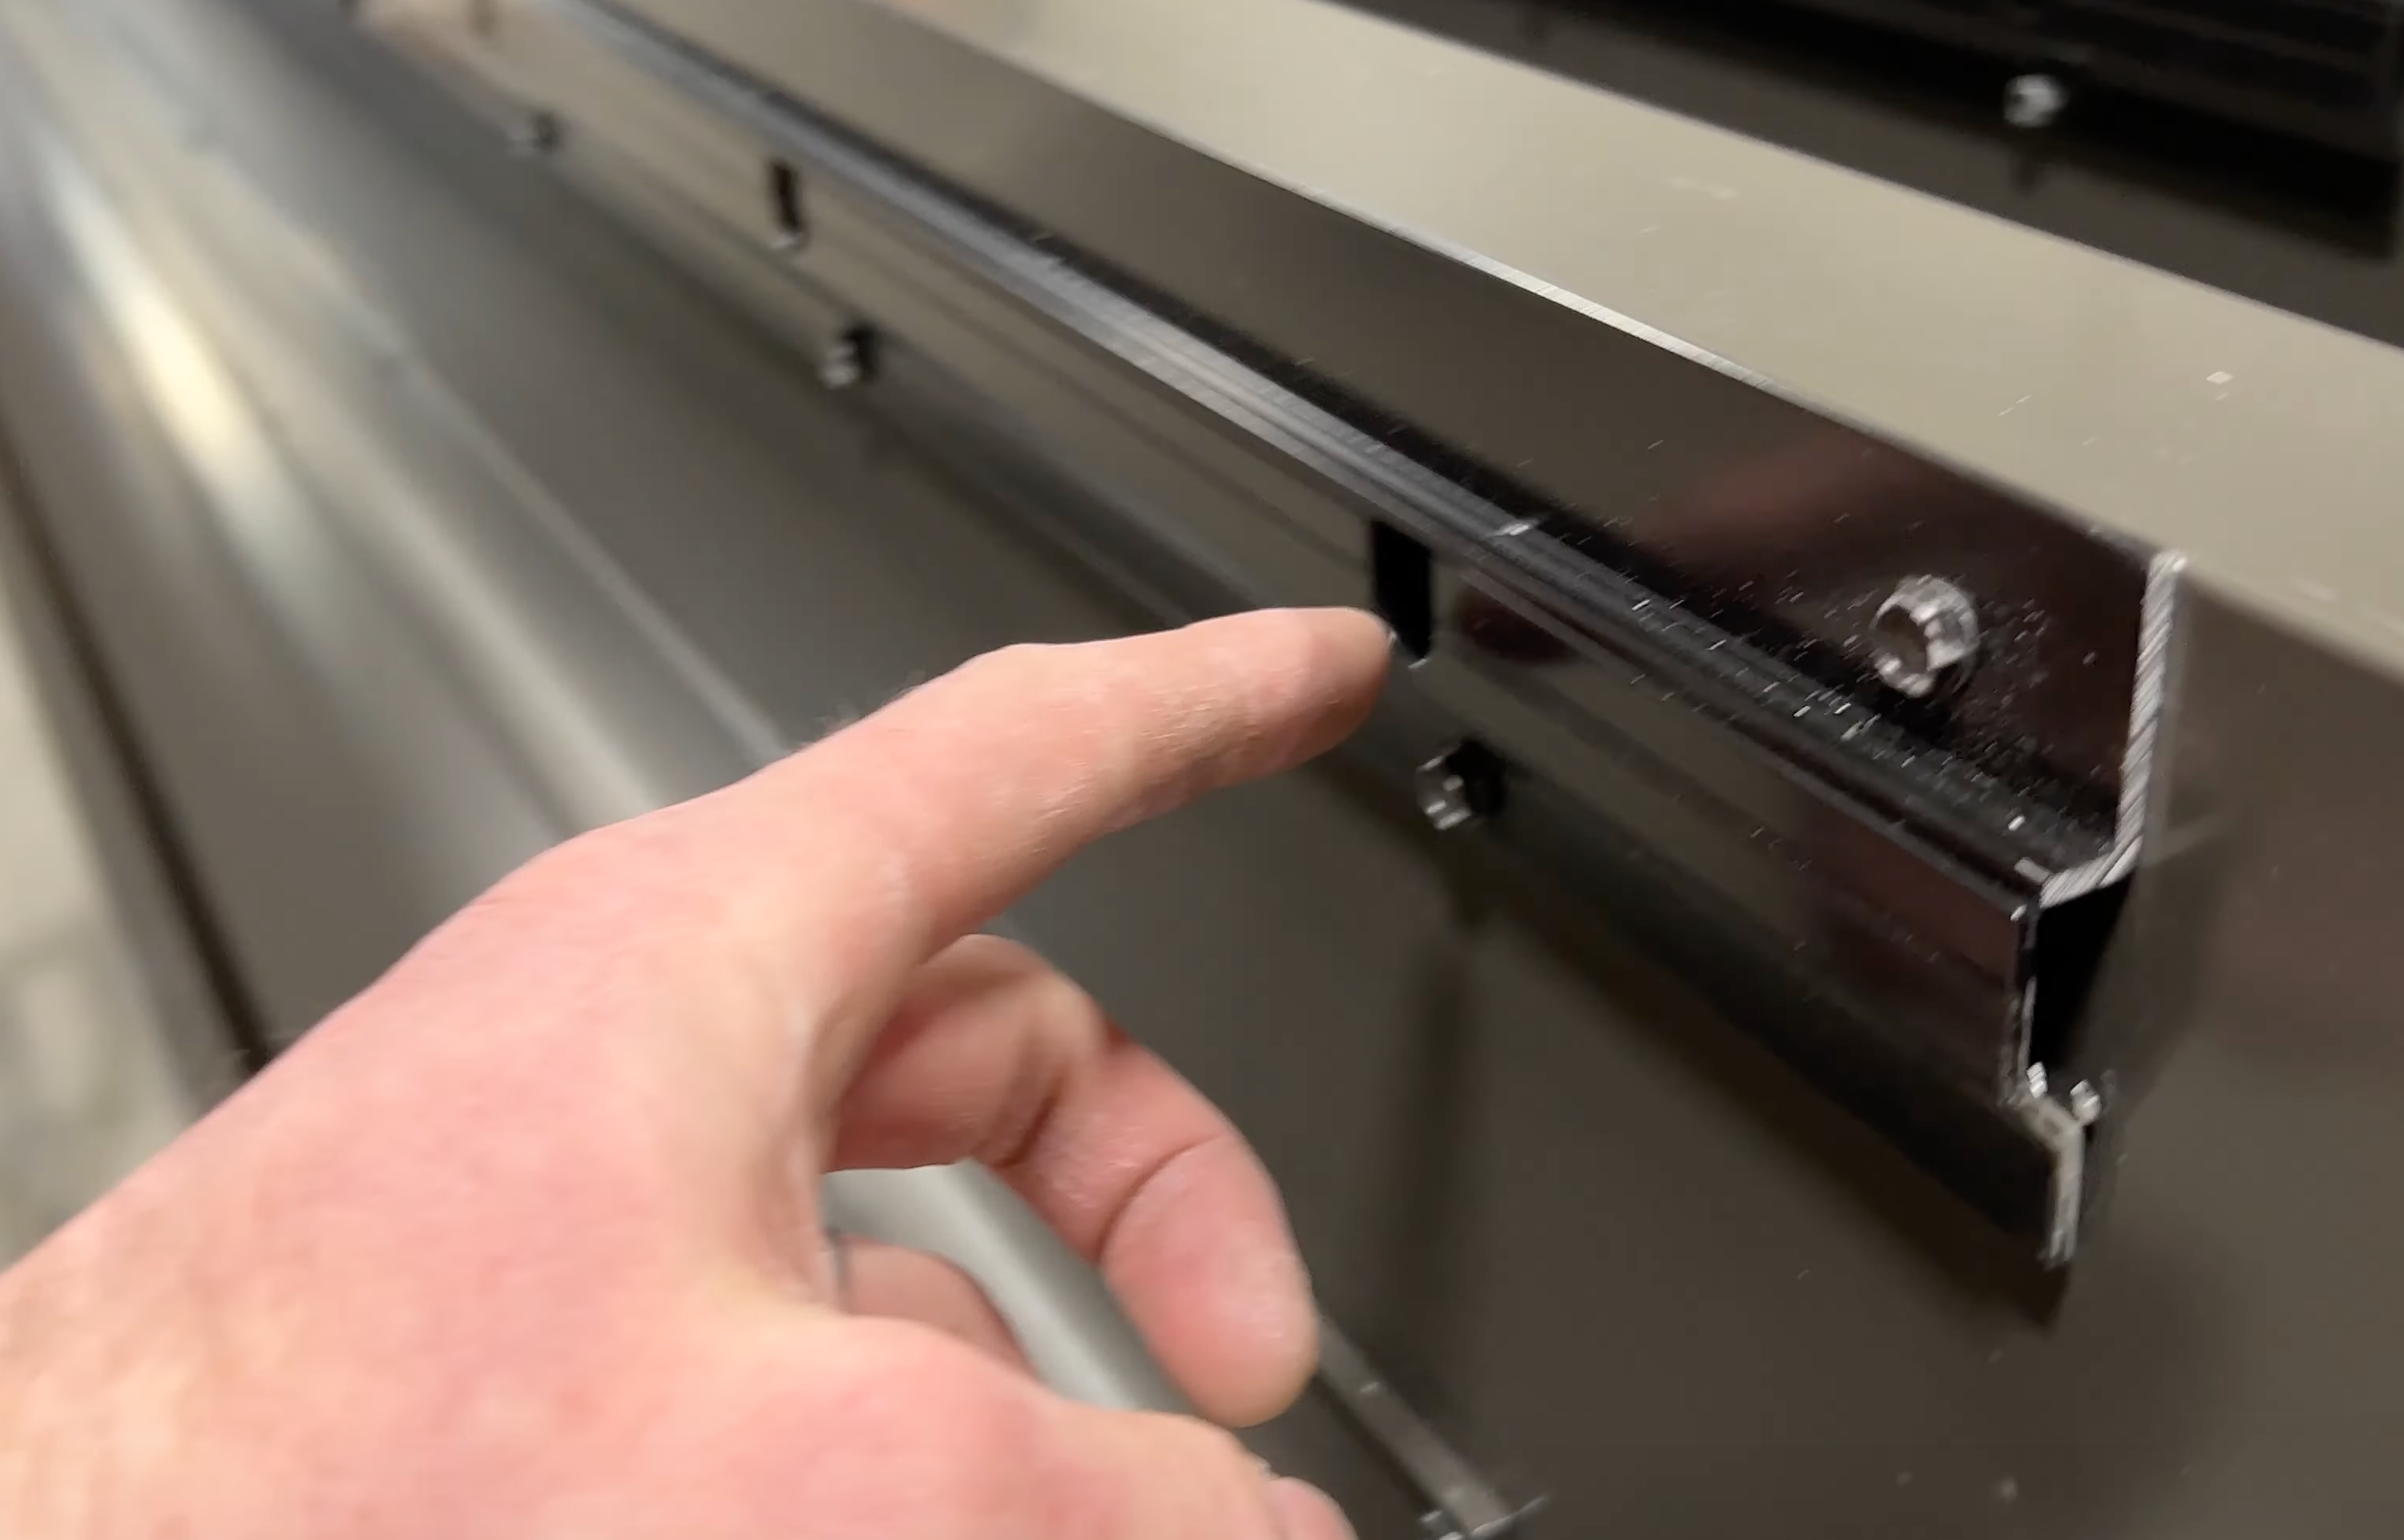
Add the Beam to Beam connector
When adding your beam to beam connector, make sure the larger holes are always facing to the outside of the 6.5 inch insert (see picture above).
Then run screws from Bag B through the bottom of the insert into the base.
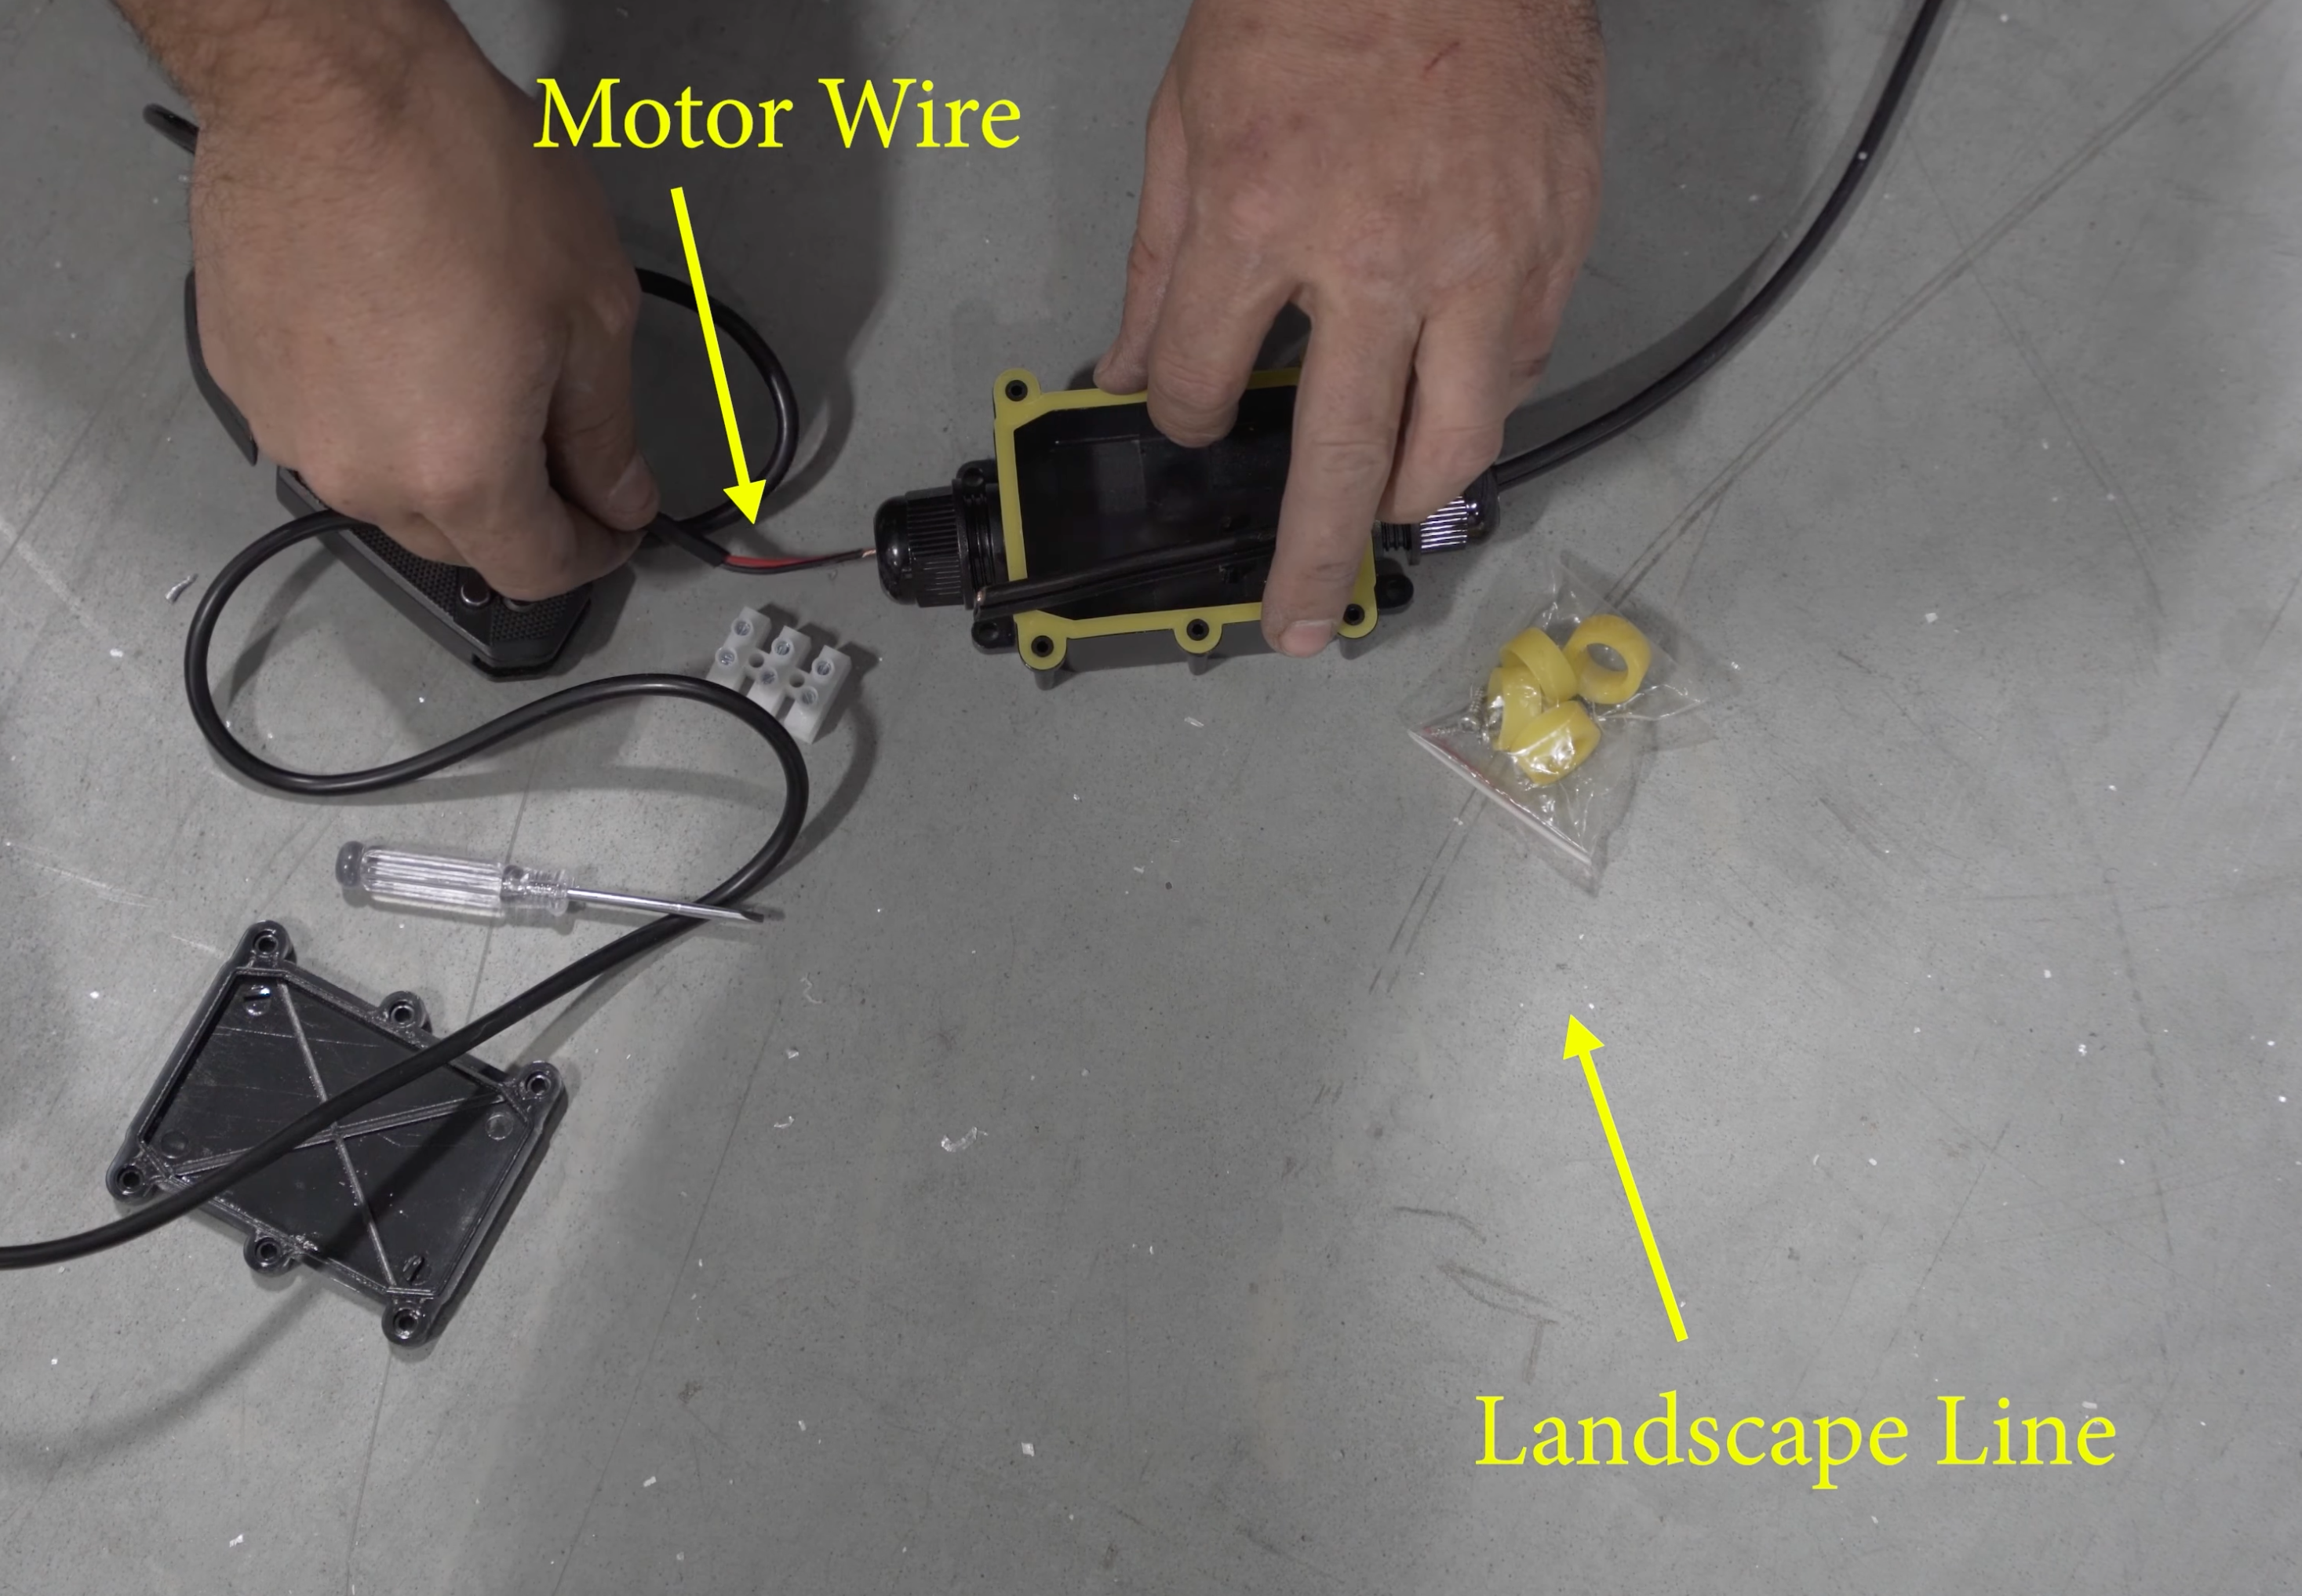
Run Preliminary Wiring
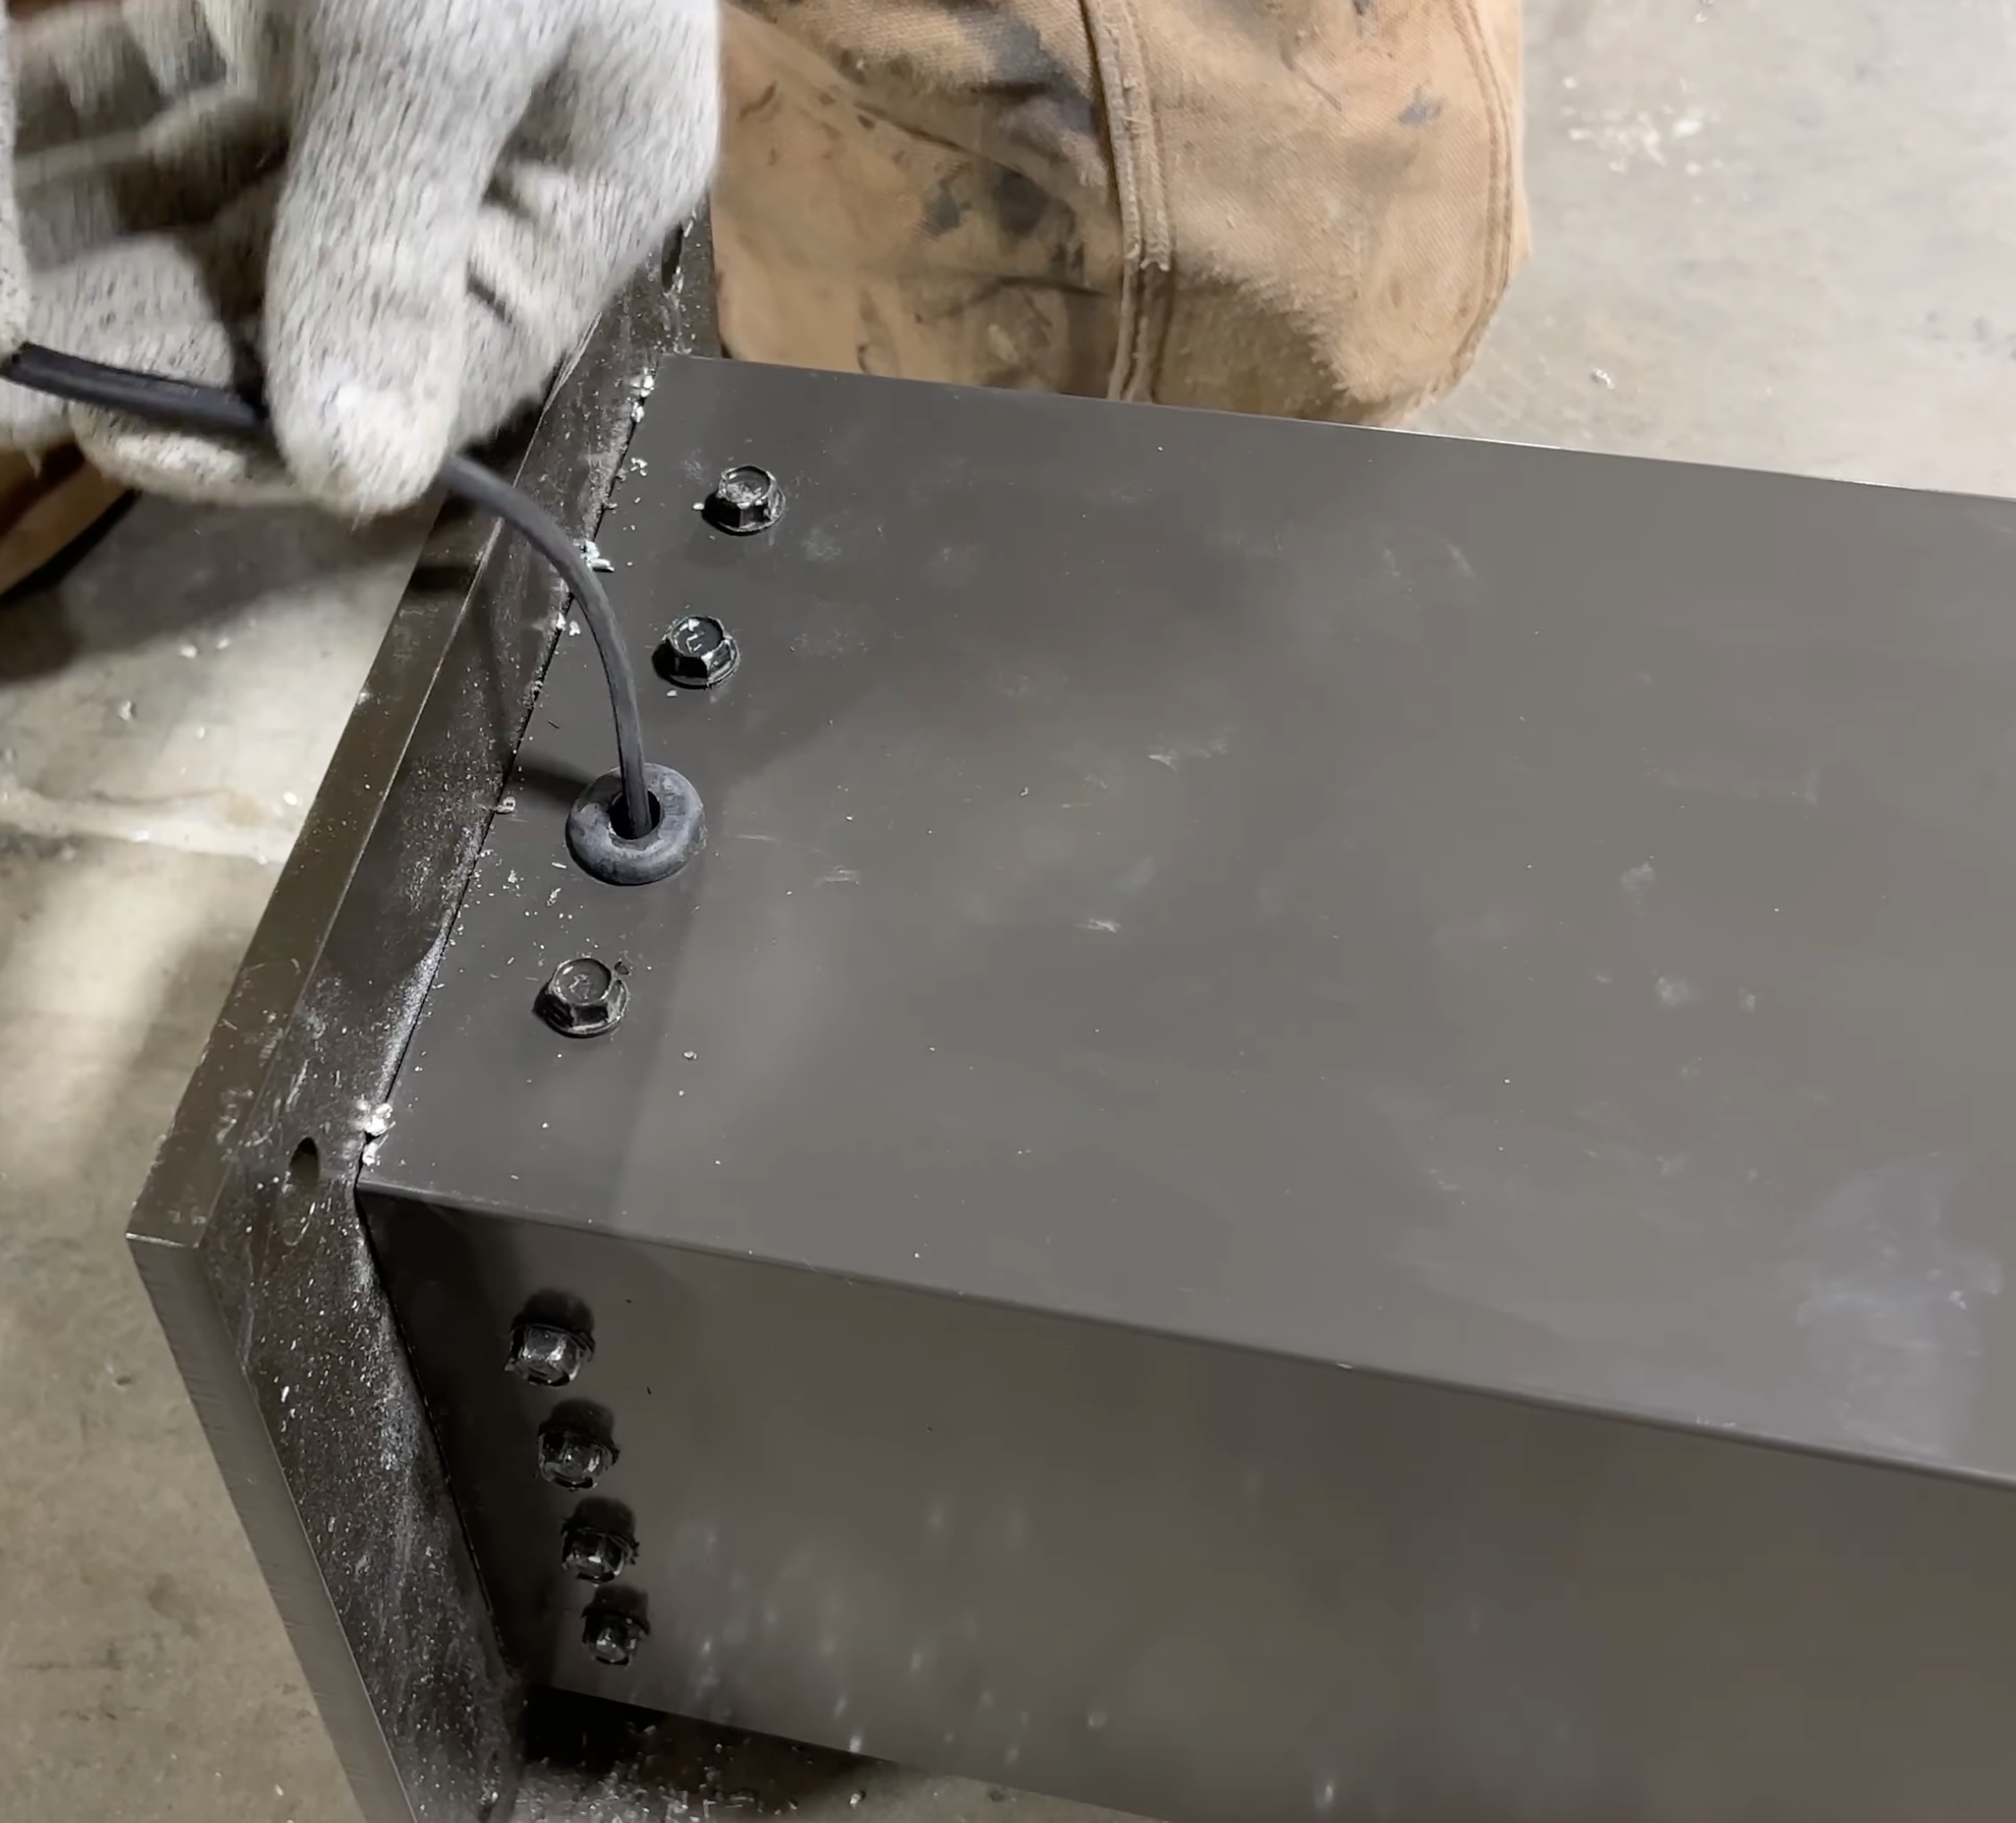
Now that you have your connectors pre-assembled, it is time to run some wiring. It is easiest to run the wires a this stage as you have the most space to get to everything.
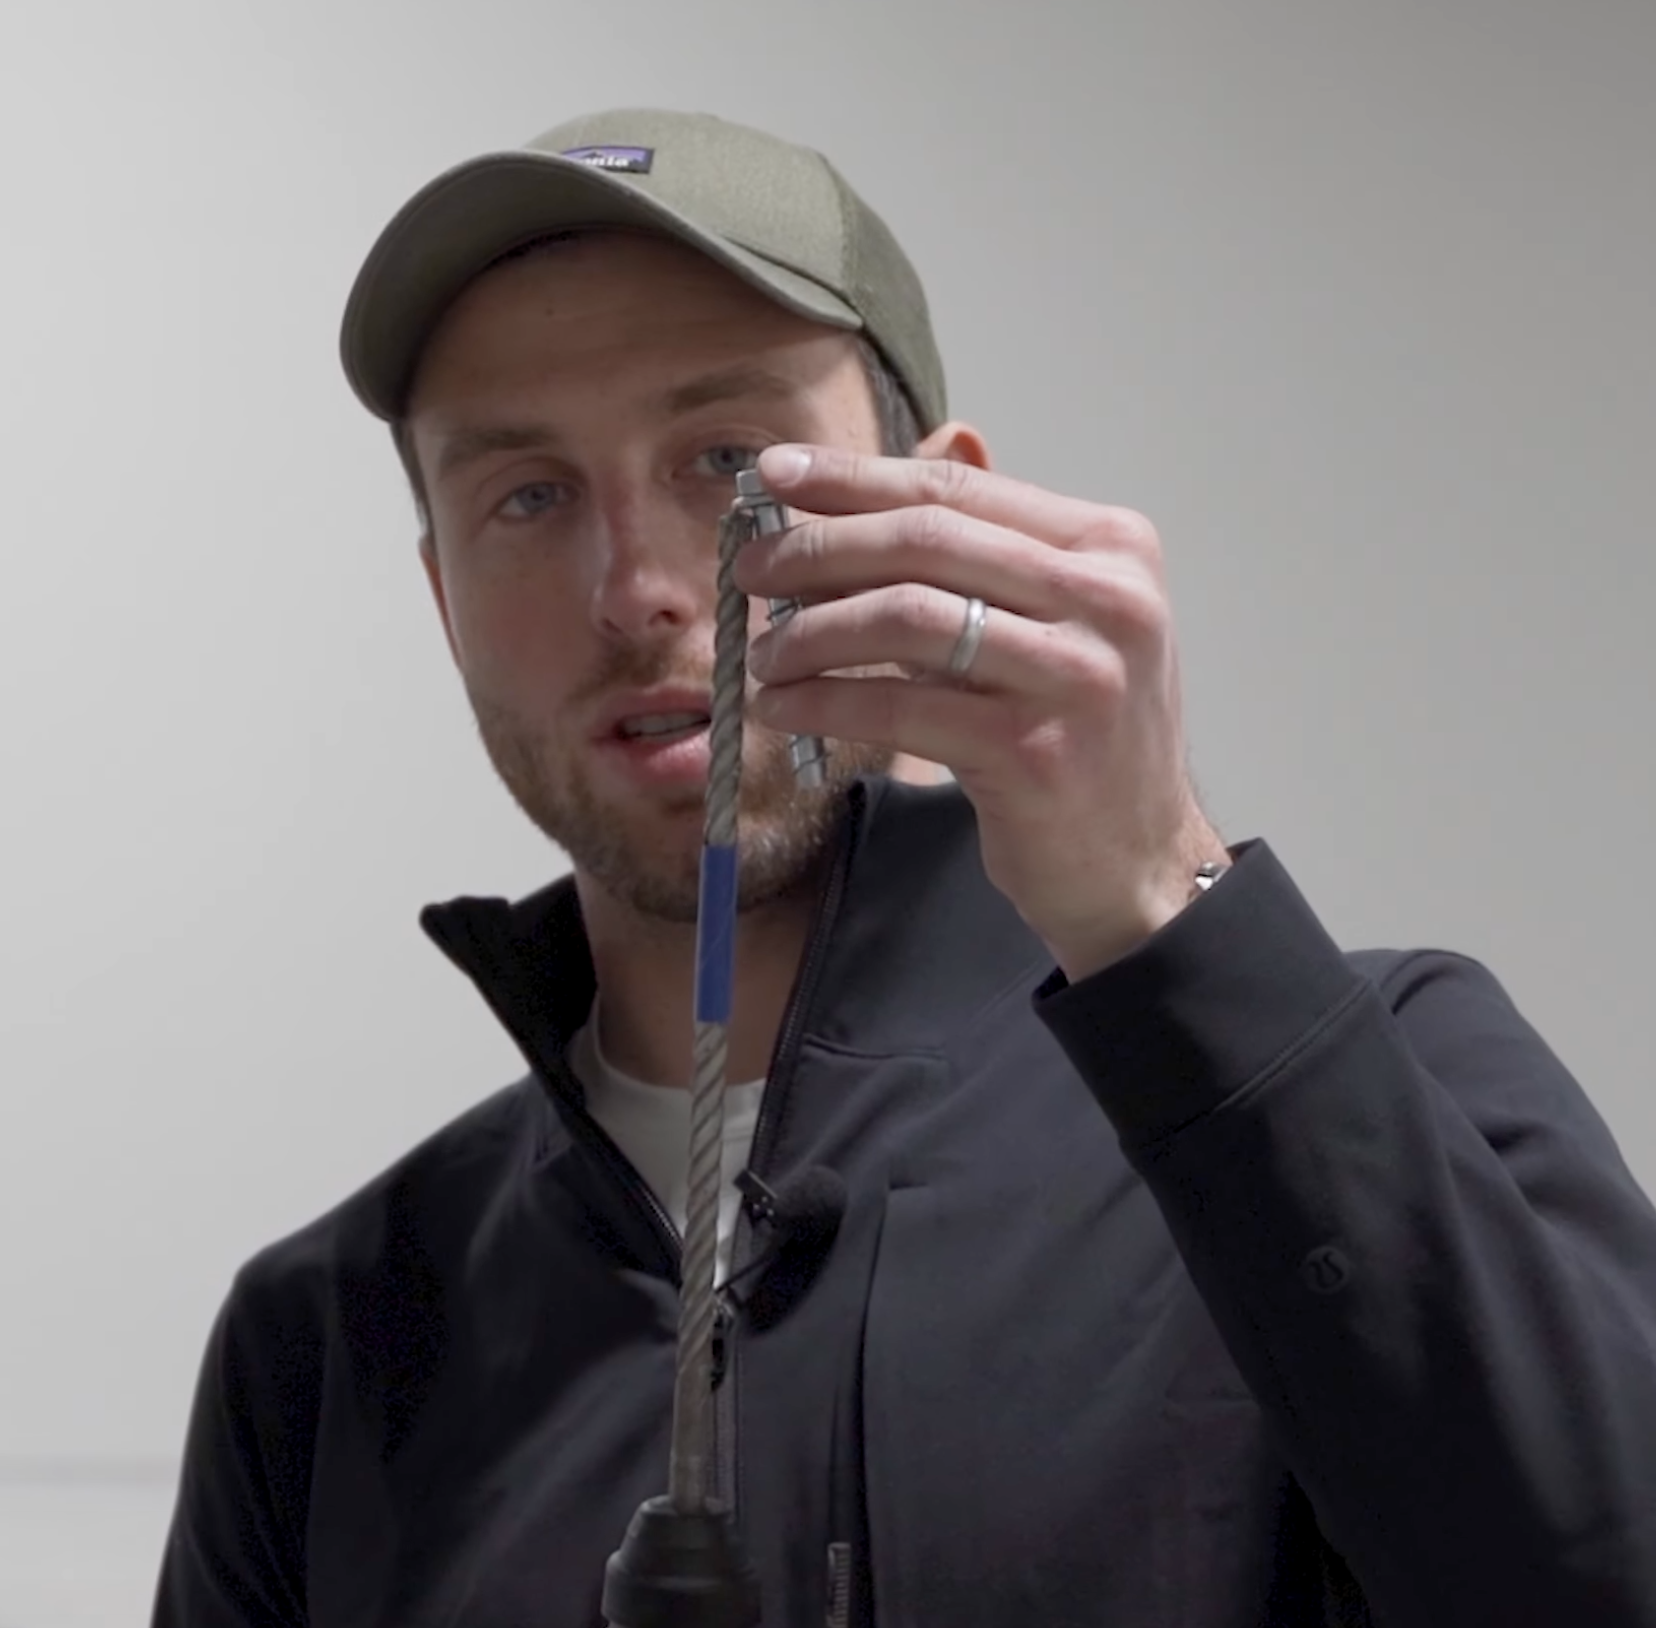
Use a grommet from Bag S to protect the landscape line as you run the wire through the post to get your motorized louvered pergola ready.
Pro Tips on Wiring
Make sure you pull extra line through the posts. We recommend you pull at least the length of the post through the beams to ensure you have enough space when running to the motor.
Anchor One Bolt on One of the Posts
Place a single bolt into a corner to ensure that the unit doesn't tip over. Do this on only one of the posts so that you can make sure the unit is square and easily move components as needed.
If the hole is in the wrong spot, you will have to remove the bolt and will leave a hole in the concrete patio.
The only way to resolve this is to pour concrete into the hole.
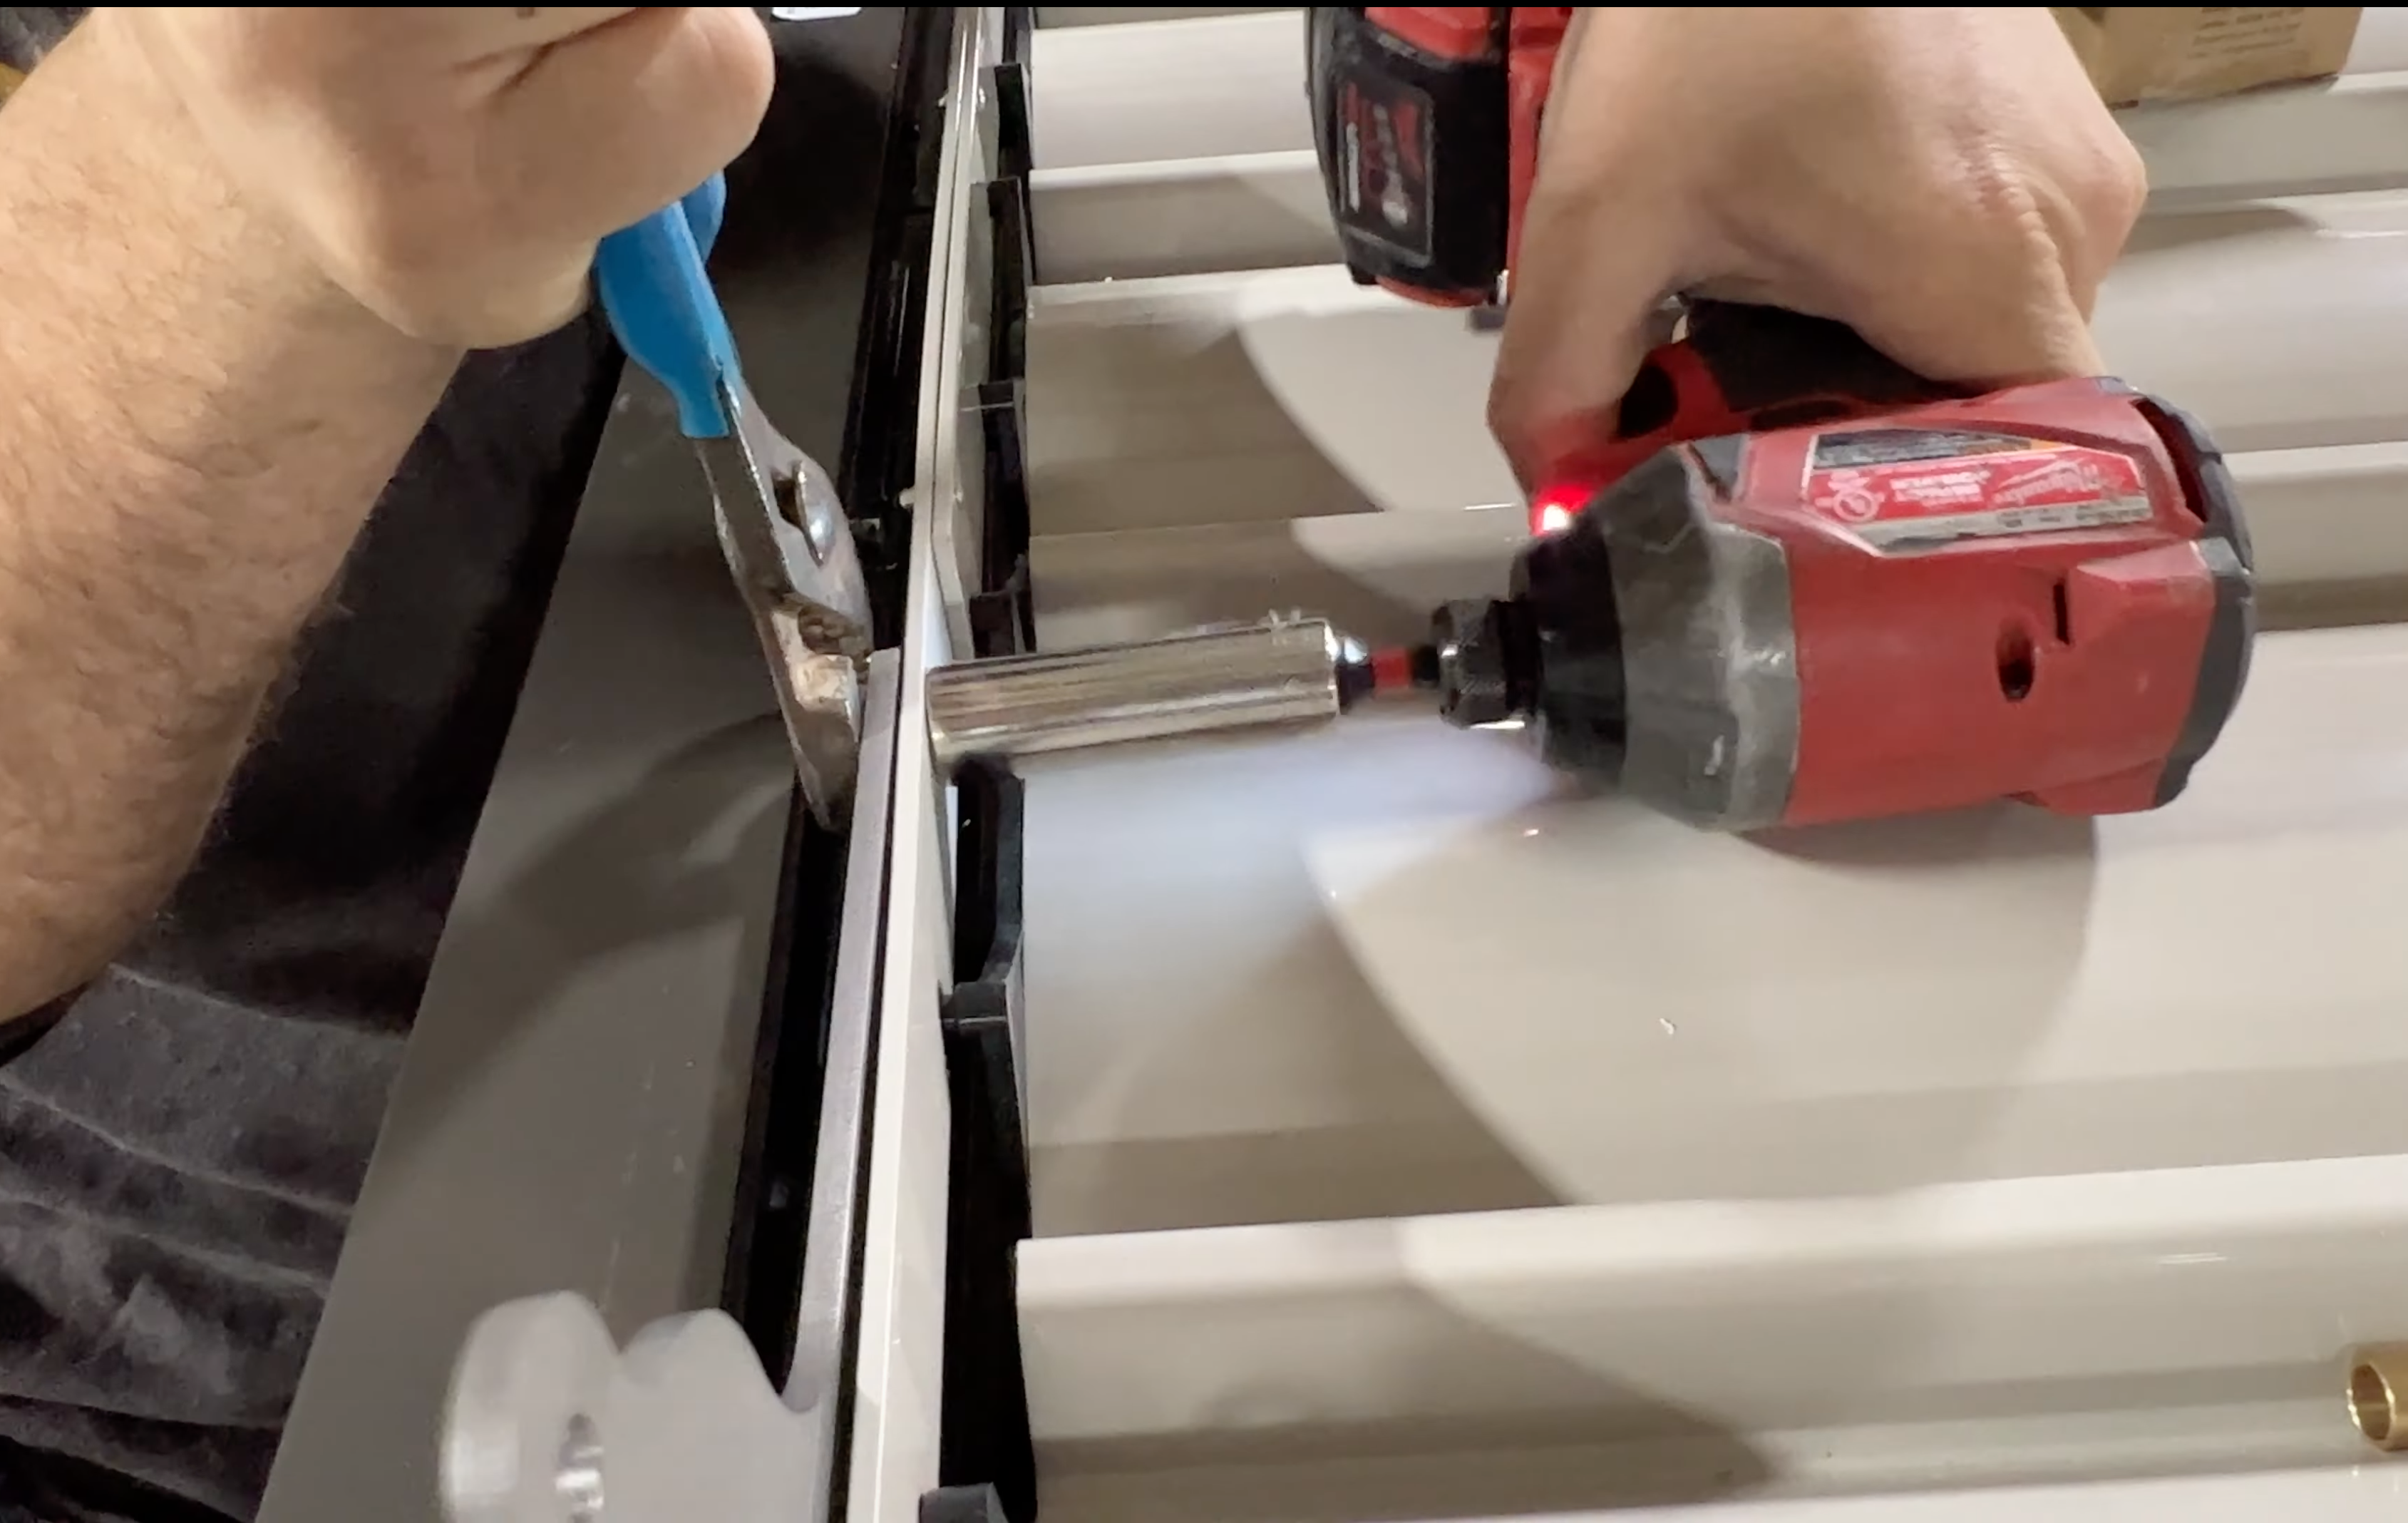
All the anchors needed are in Bag P. These can be attached to an existing patio easily so you can have that extra shade in the summer months.

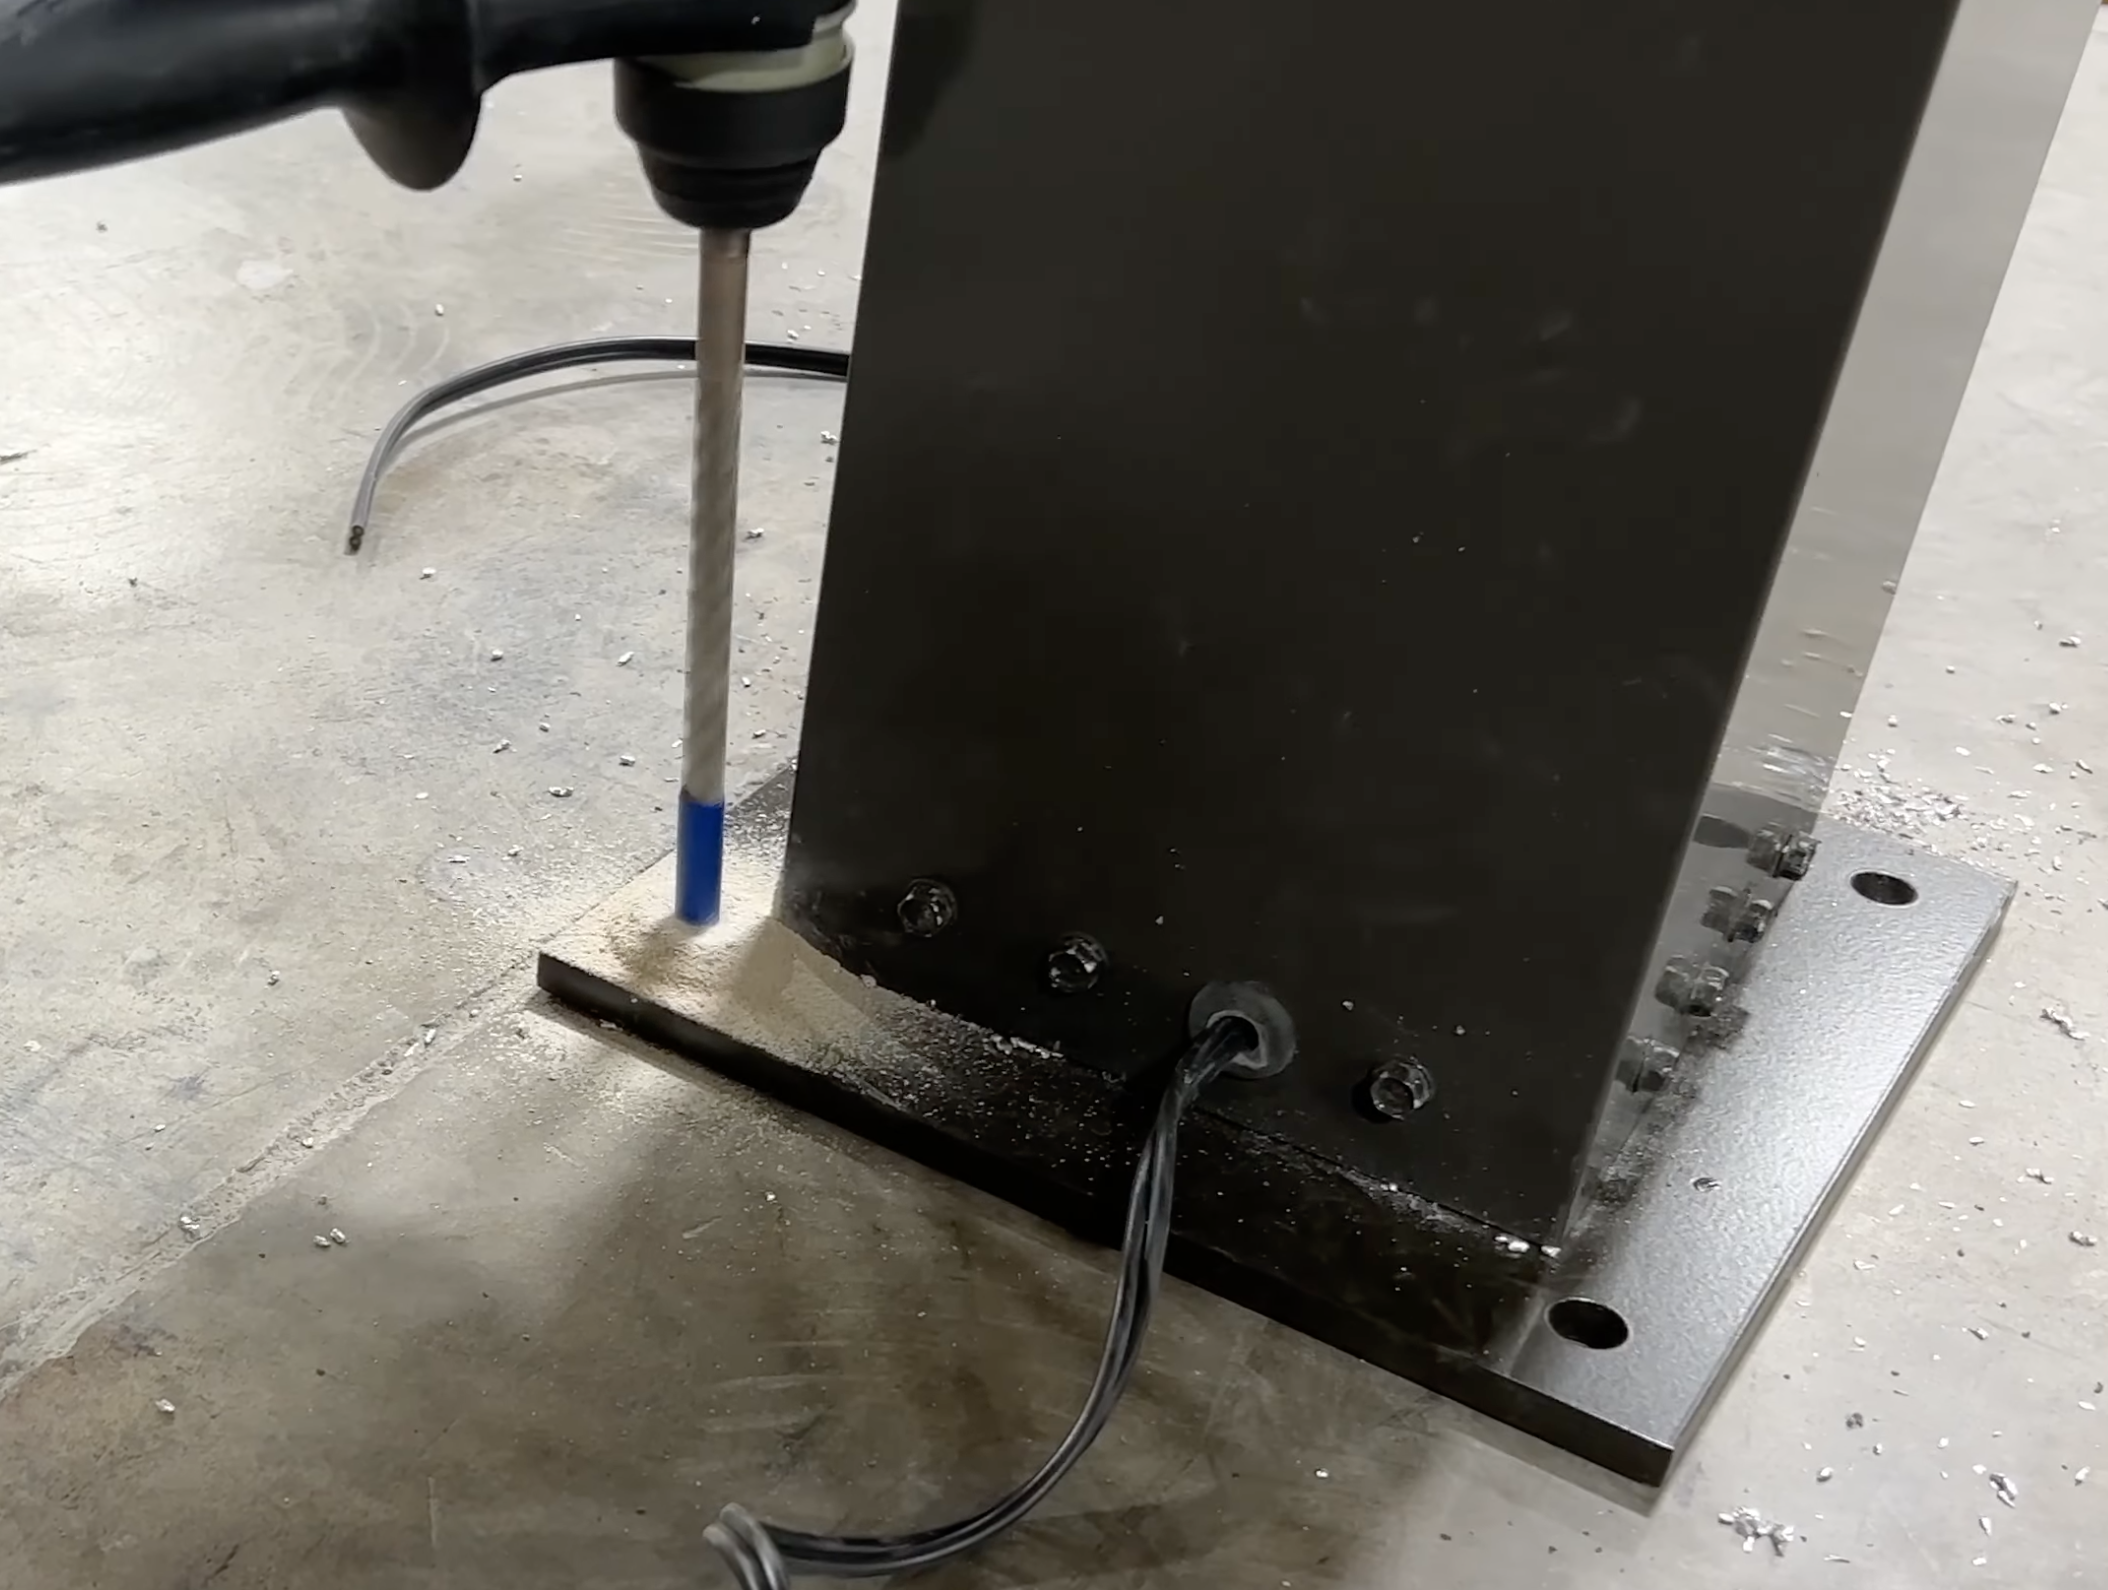
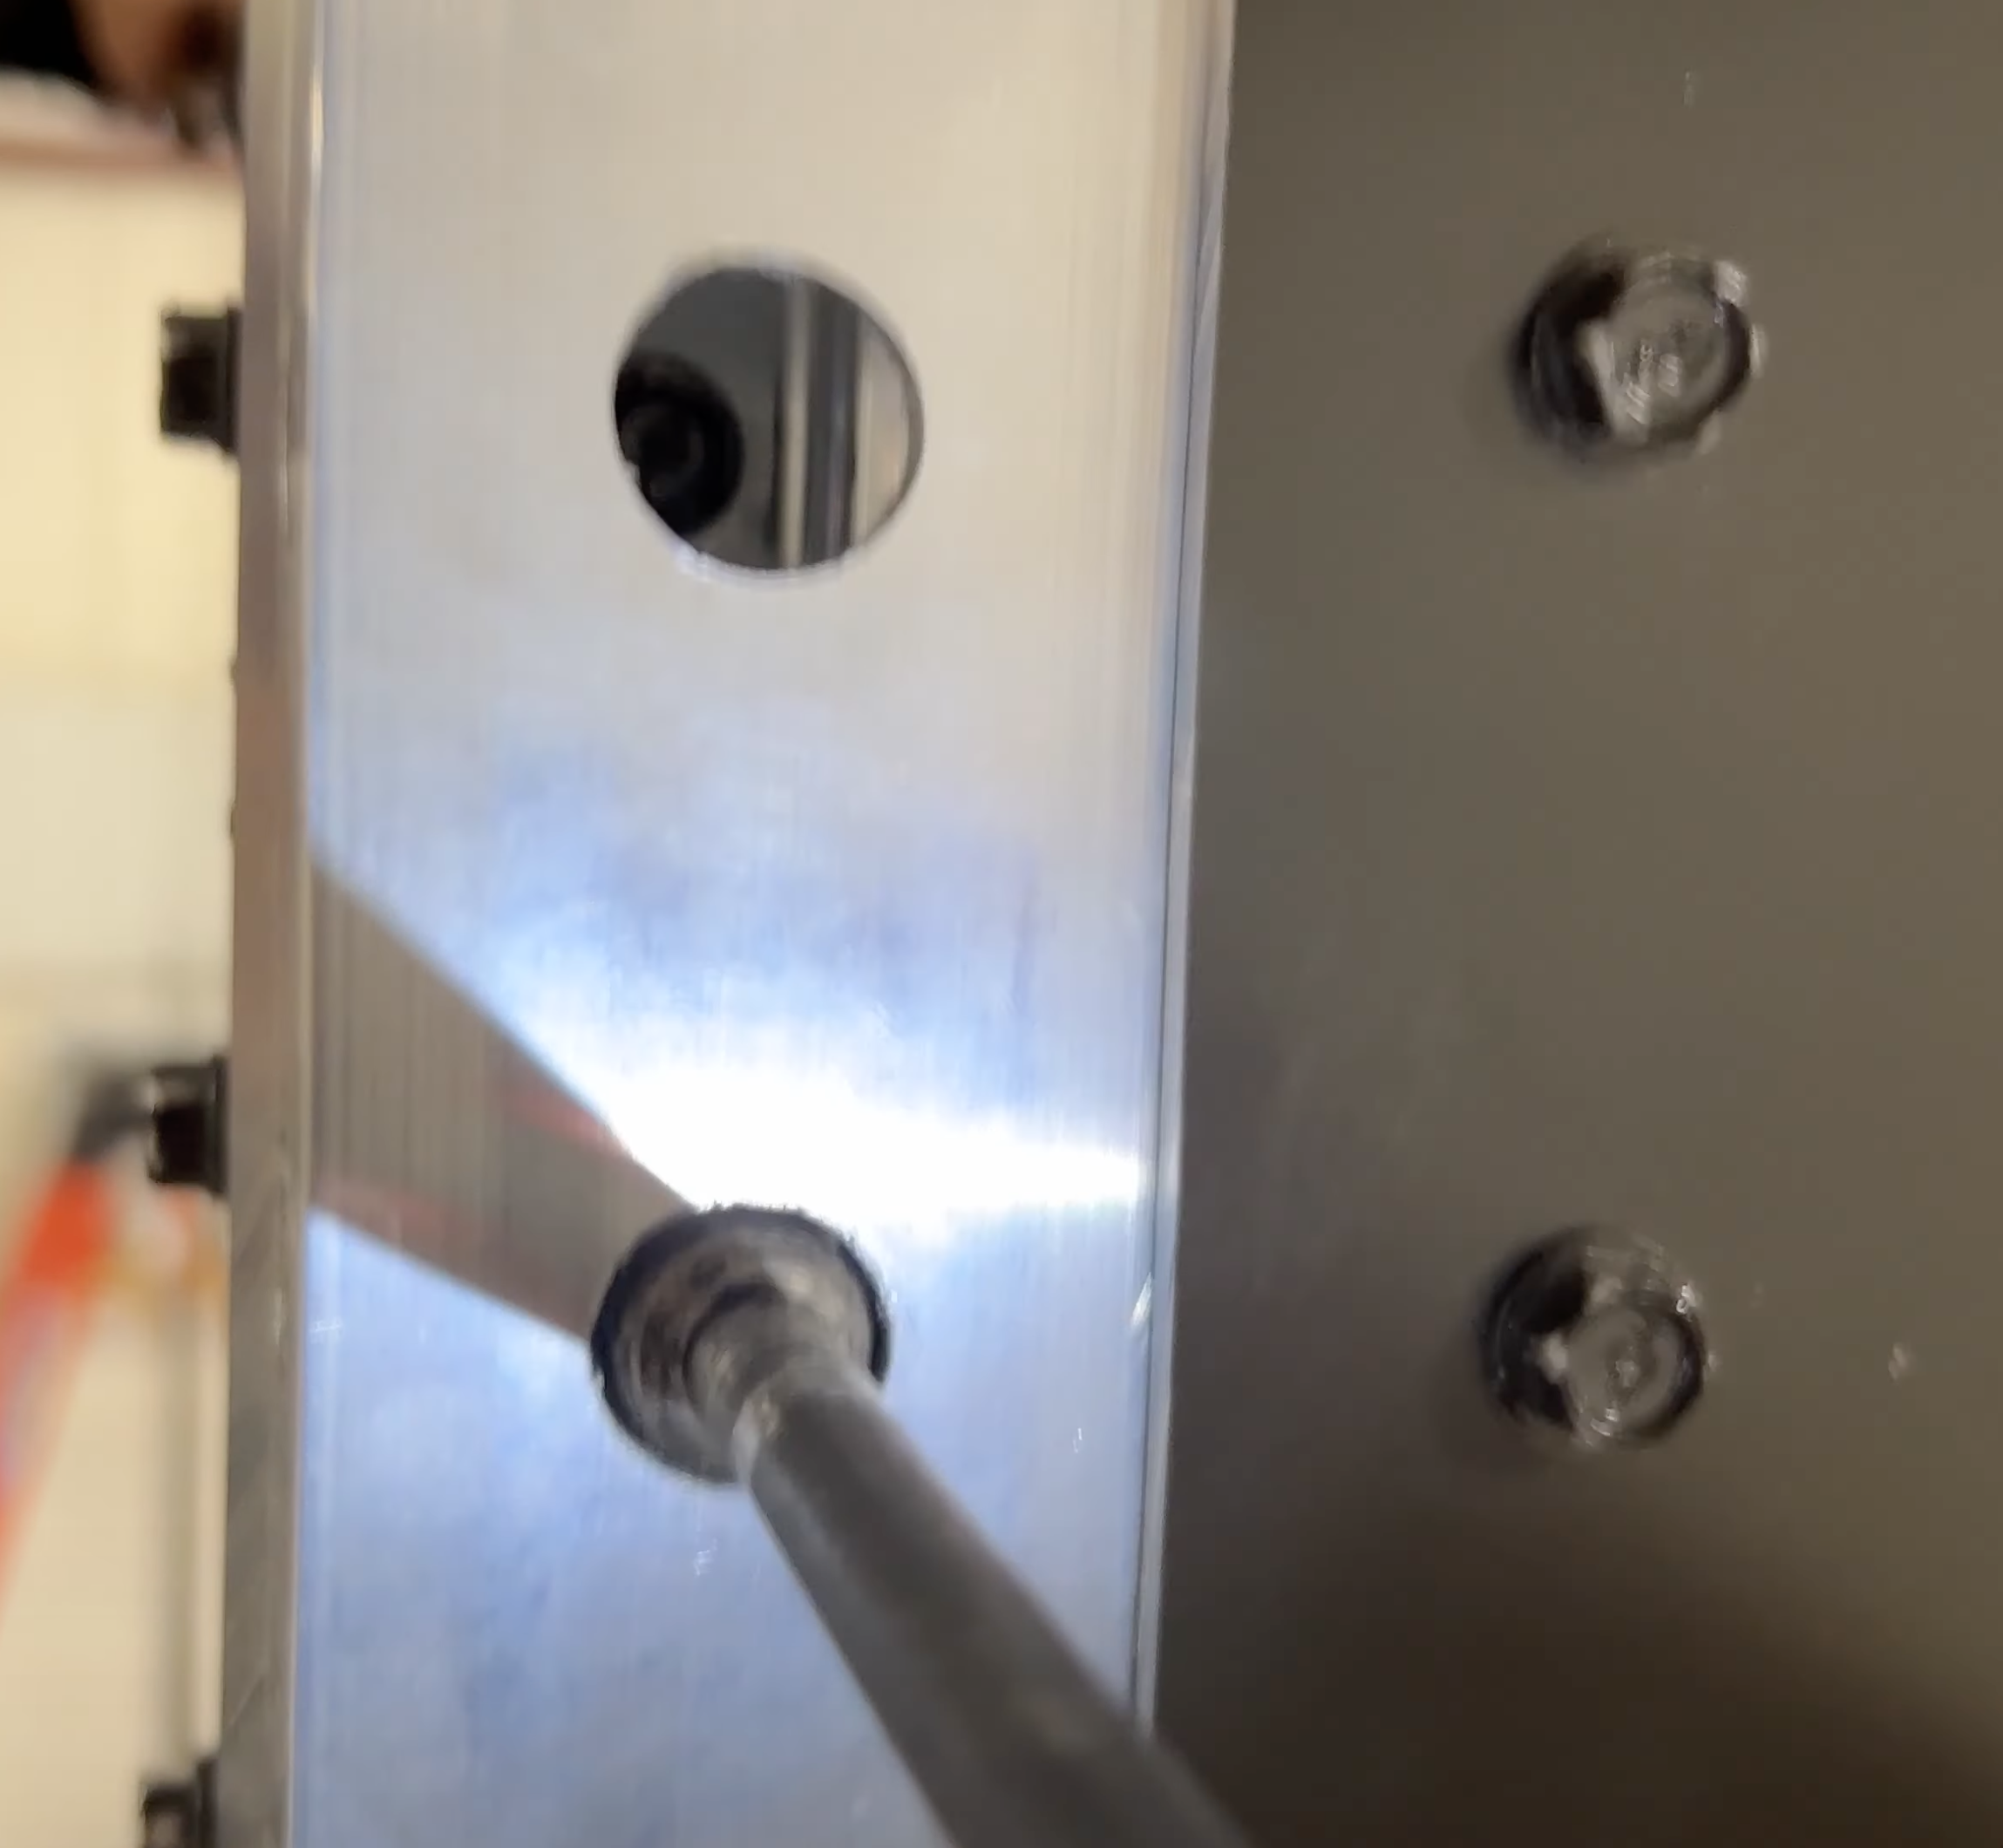
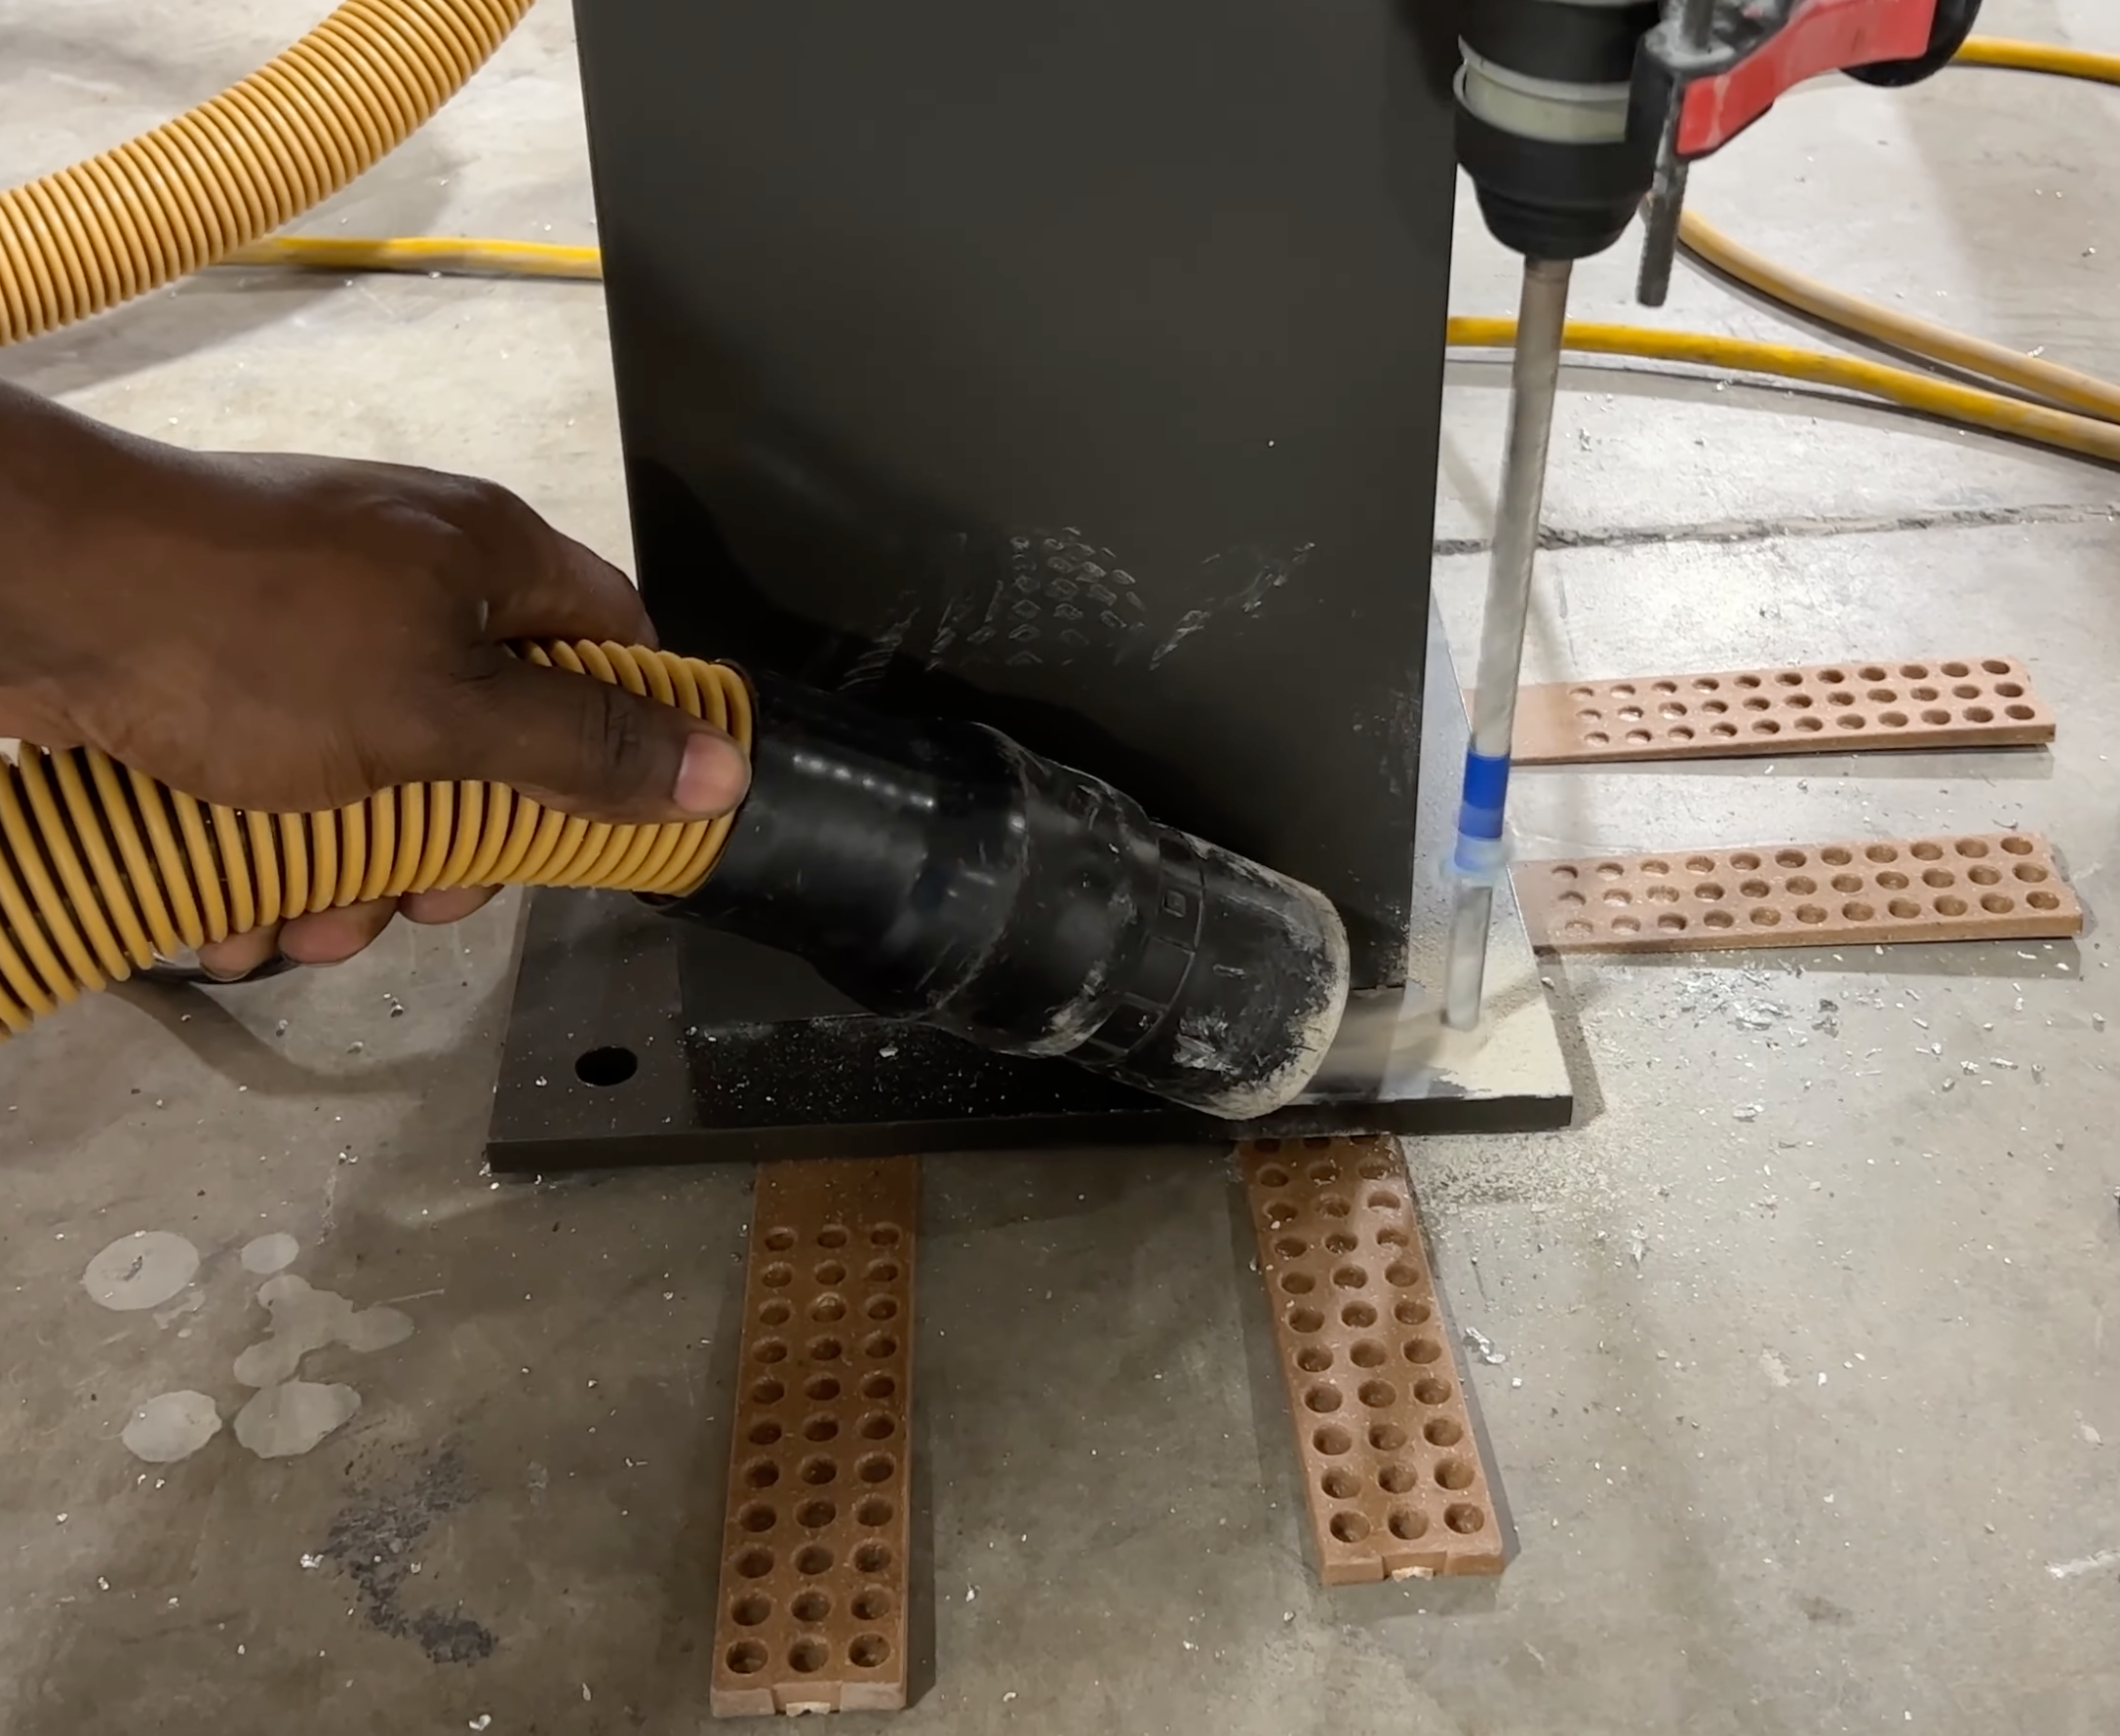
Use the socket adaptor and the 9/16 socket on your impact driver to run your fastener. This will be used to ensure the best aluminum pergola kit in the world won't blow over in the wind.
Pro Tips
When drilling the holes for your deck, place the fastener next to the bit of the rotary hammer. Then use painters tape to mark the total depth as seen in the picture above. This will ensure that your holes are of the proper depth on patios.
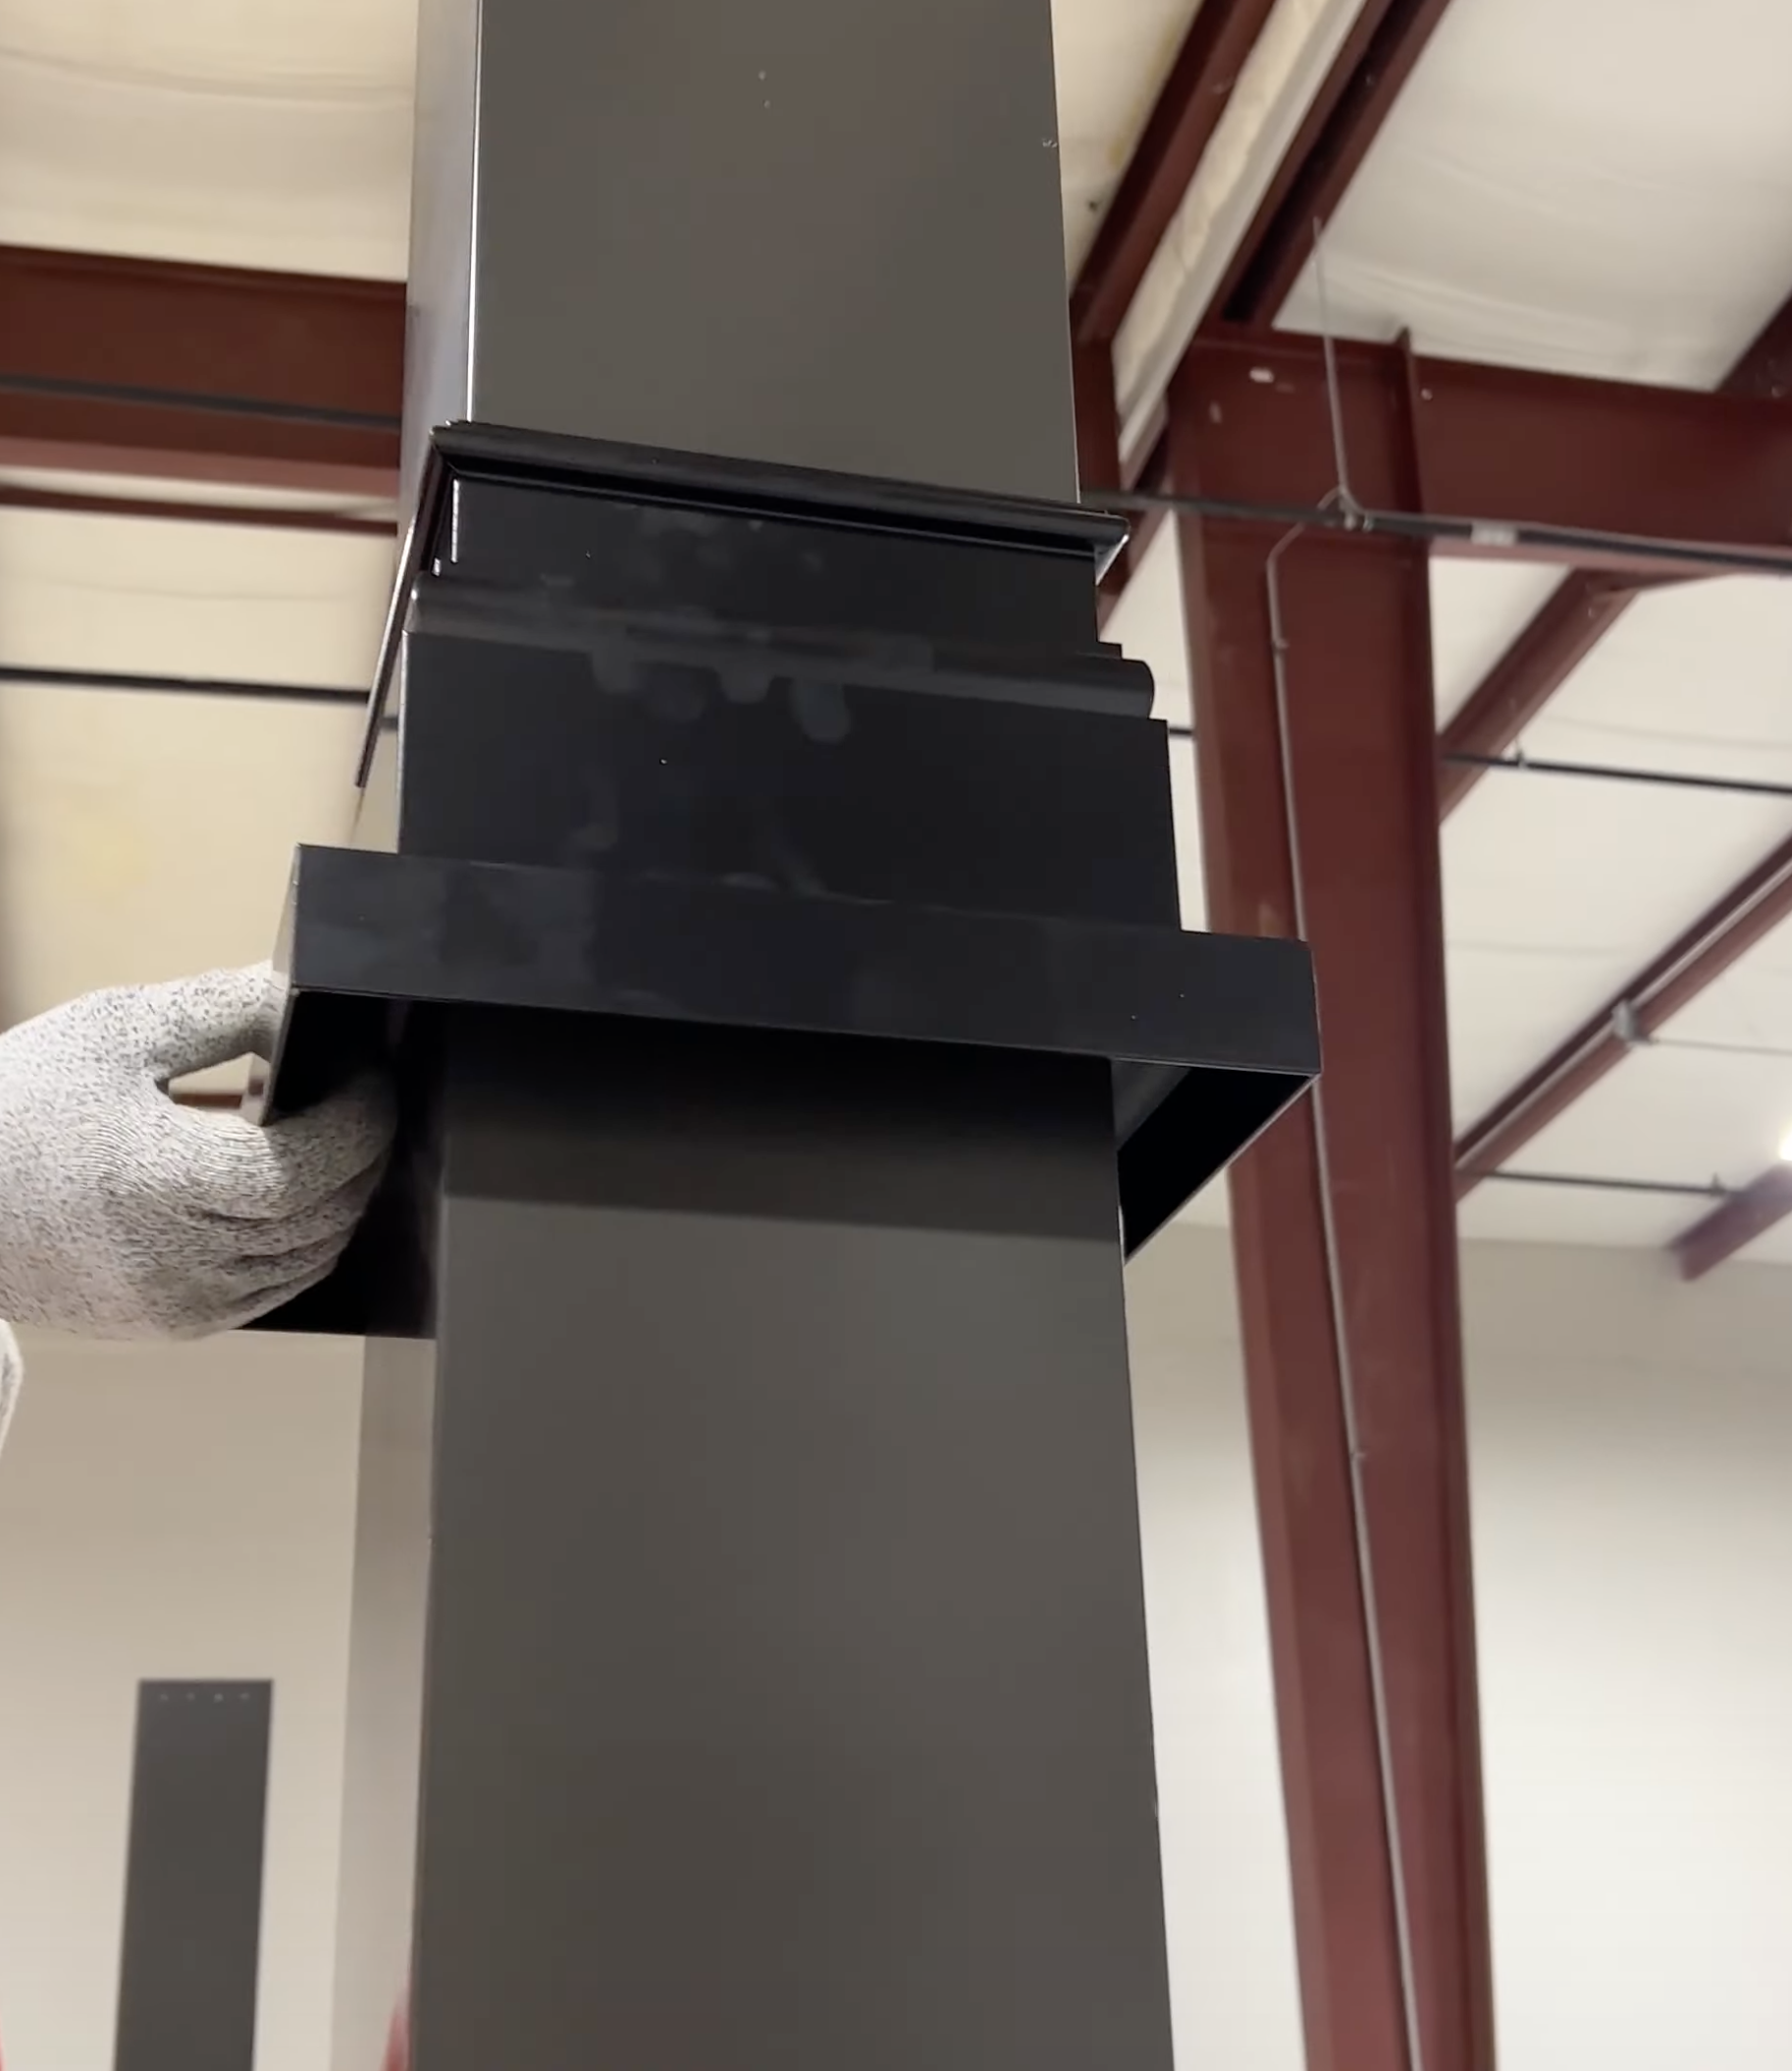
Adding Connectors to all Posts
Now it is time to get the connector materials in place so your adjustable louvered roof can keep you cool during the hot summer months.
When adding the connectors, make sure that the drainage connector goes on the right one of four posts and the same is true with the electrical connector.
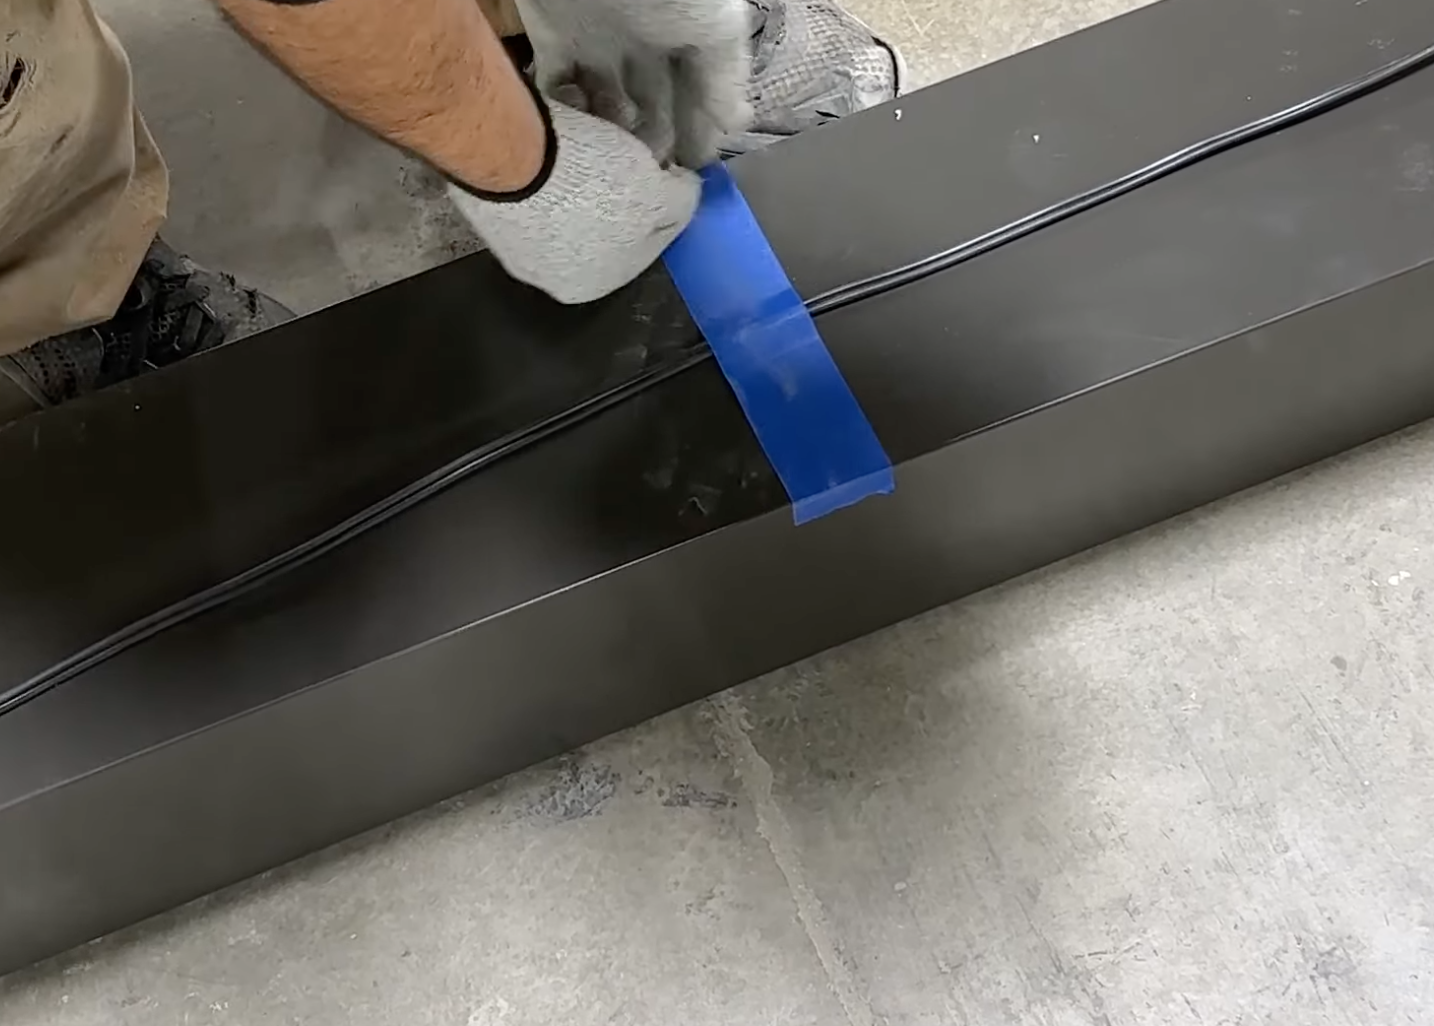
For the electrical connection, make sure you use a grommet from Bag S to protect the wire. Then run the wire through the connector before placing the connector back on the post.
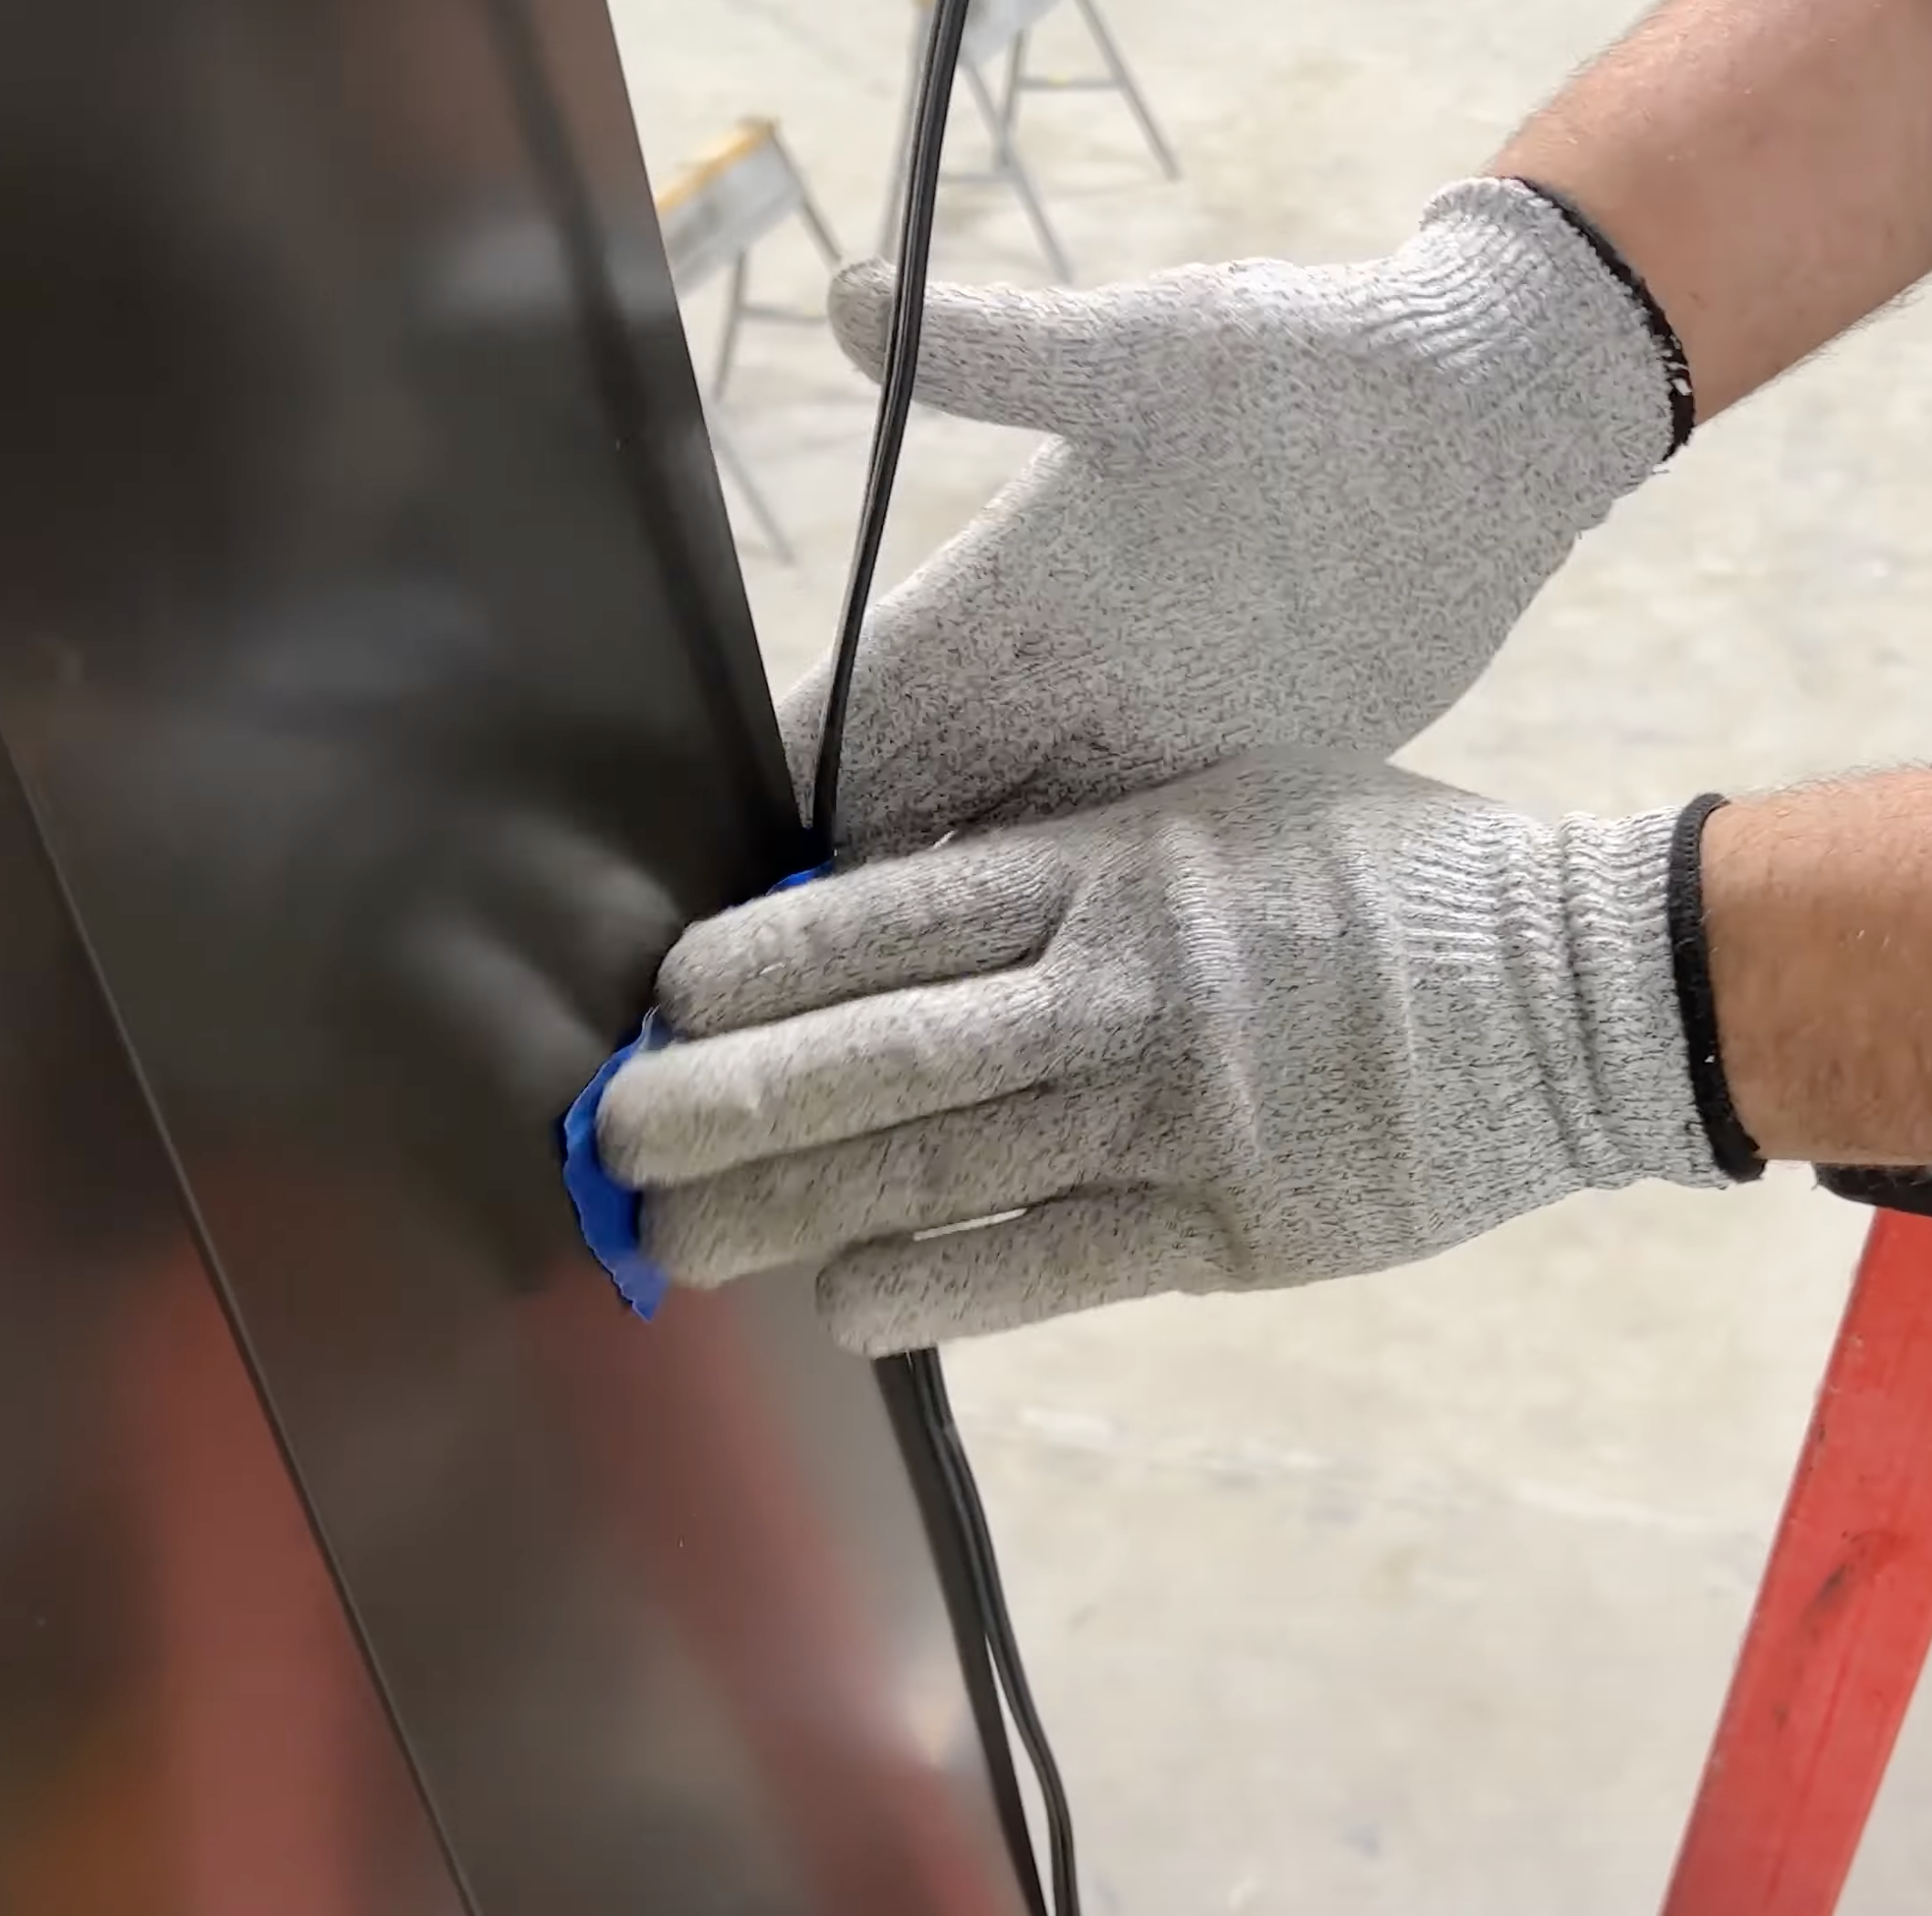
After you route the wire, make sure you tape the wire on the inside corner of the posts. This will ensure that the wire can hang free, while you add the beams and roof panels.
If Applicable: Add Base Trim
If you got base trim in your pack of materials, you will slide the base trim down the posts just before you screw the corner connectors into place. This will ensure the screws are not visible on your deck.
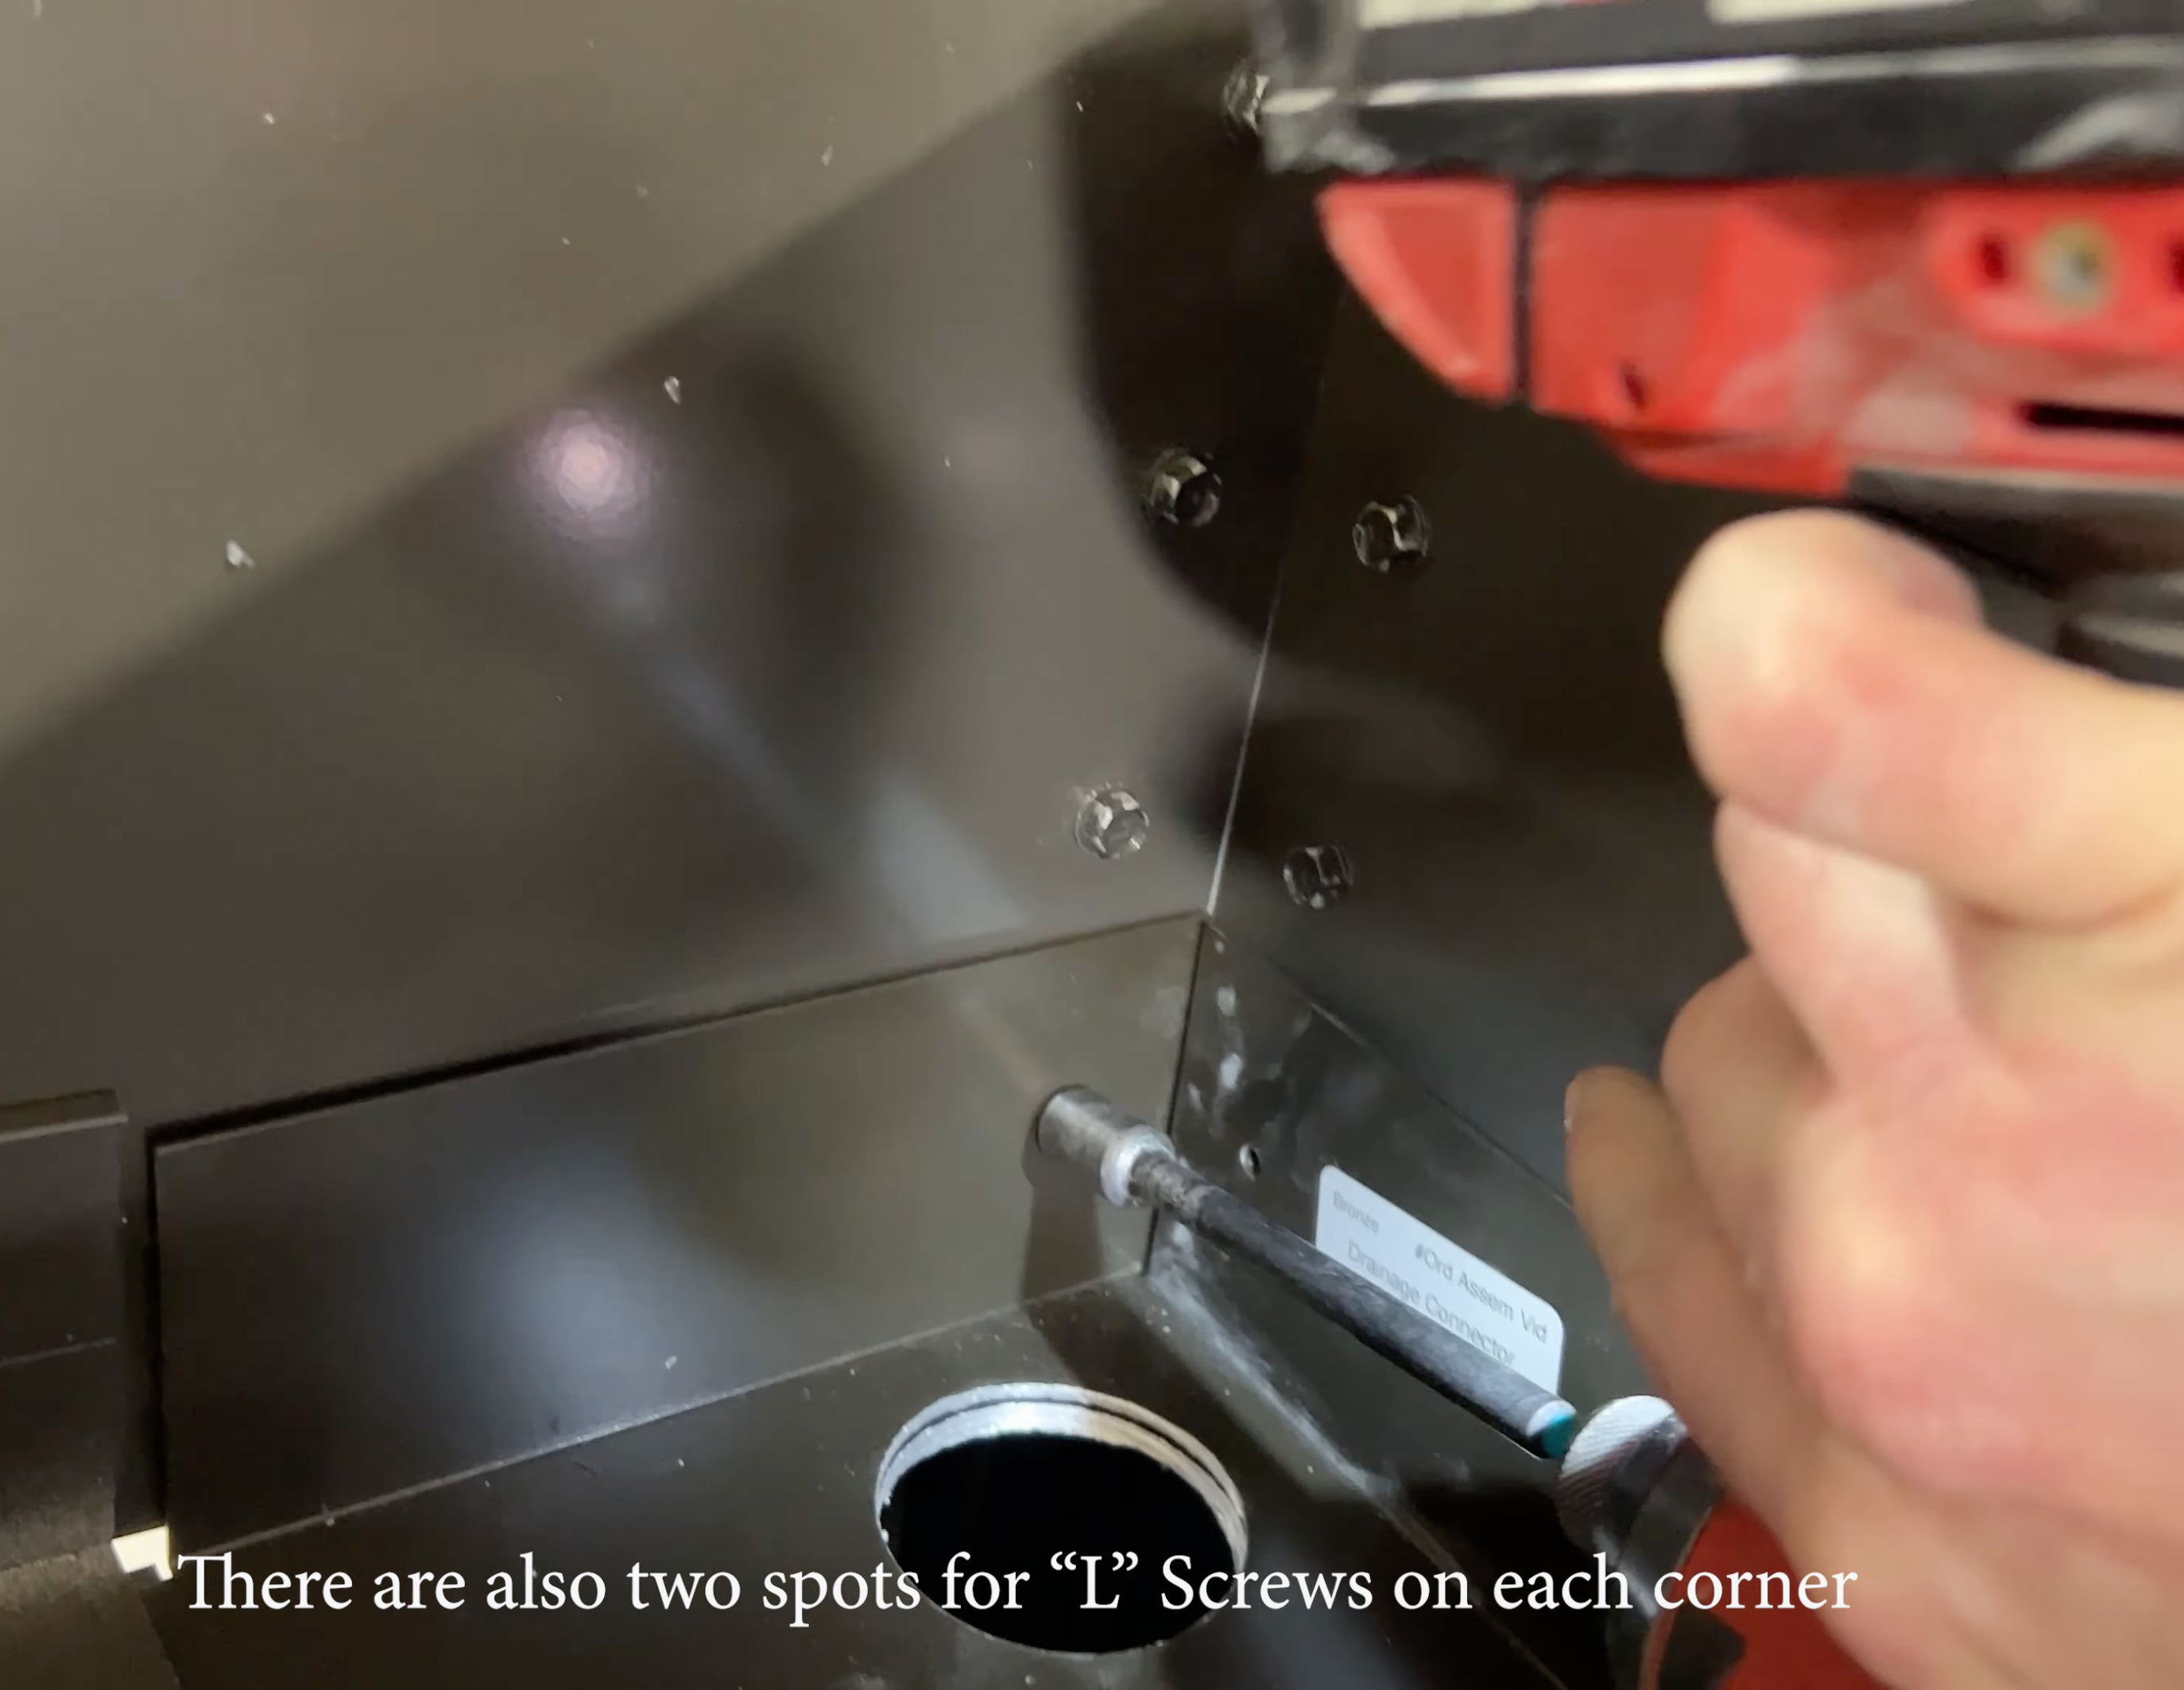
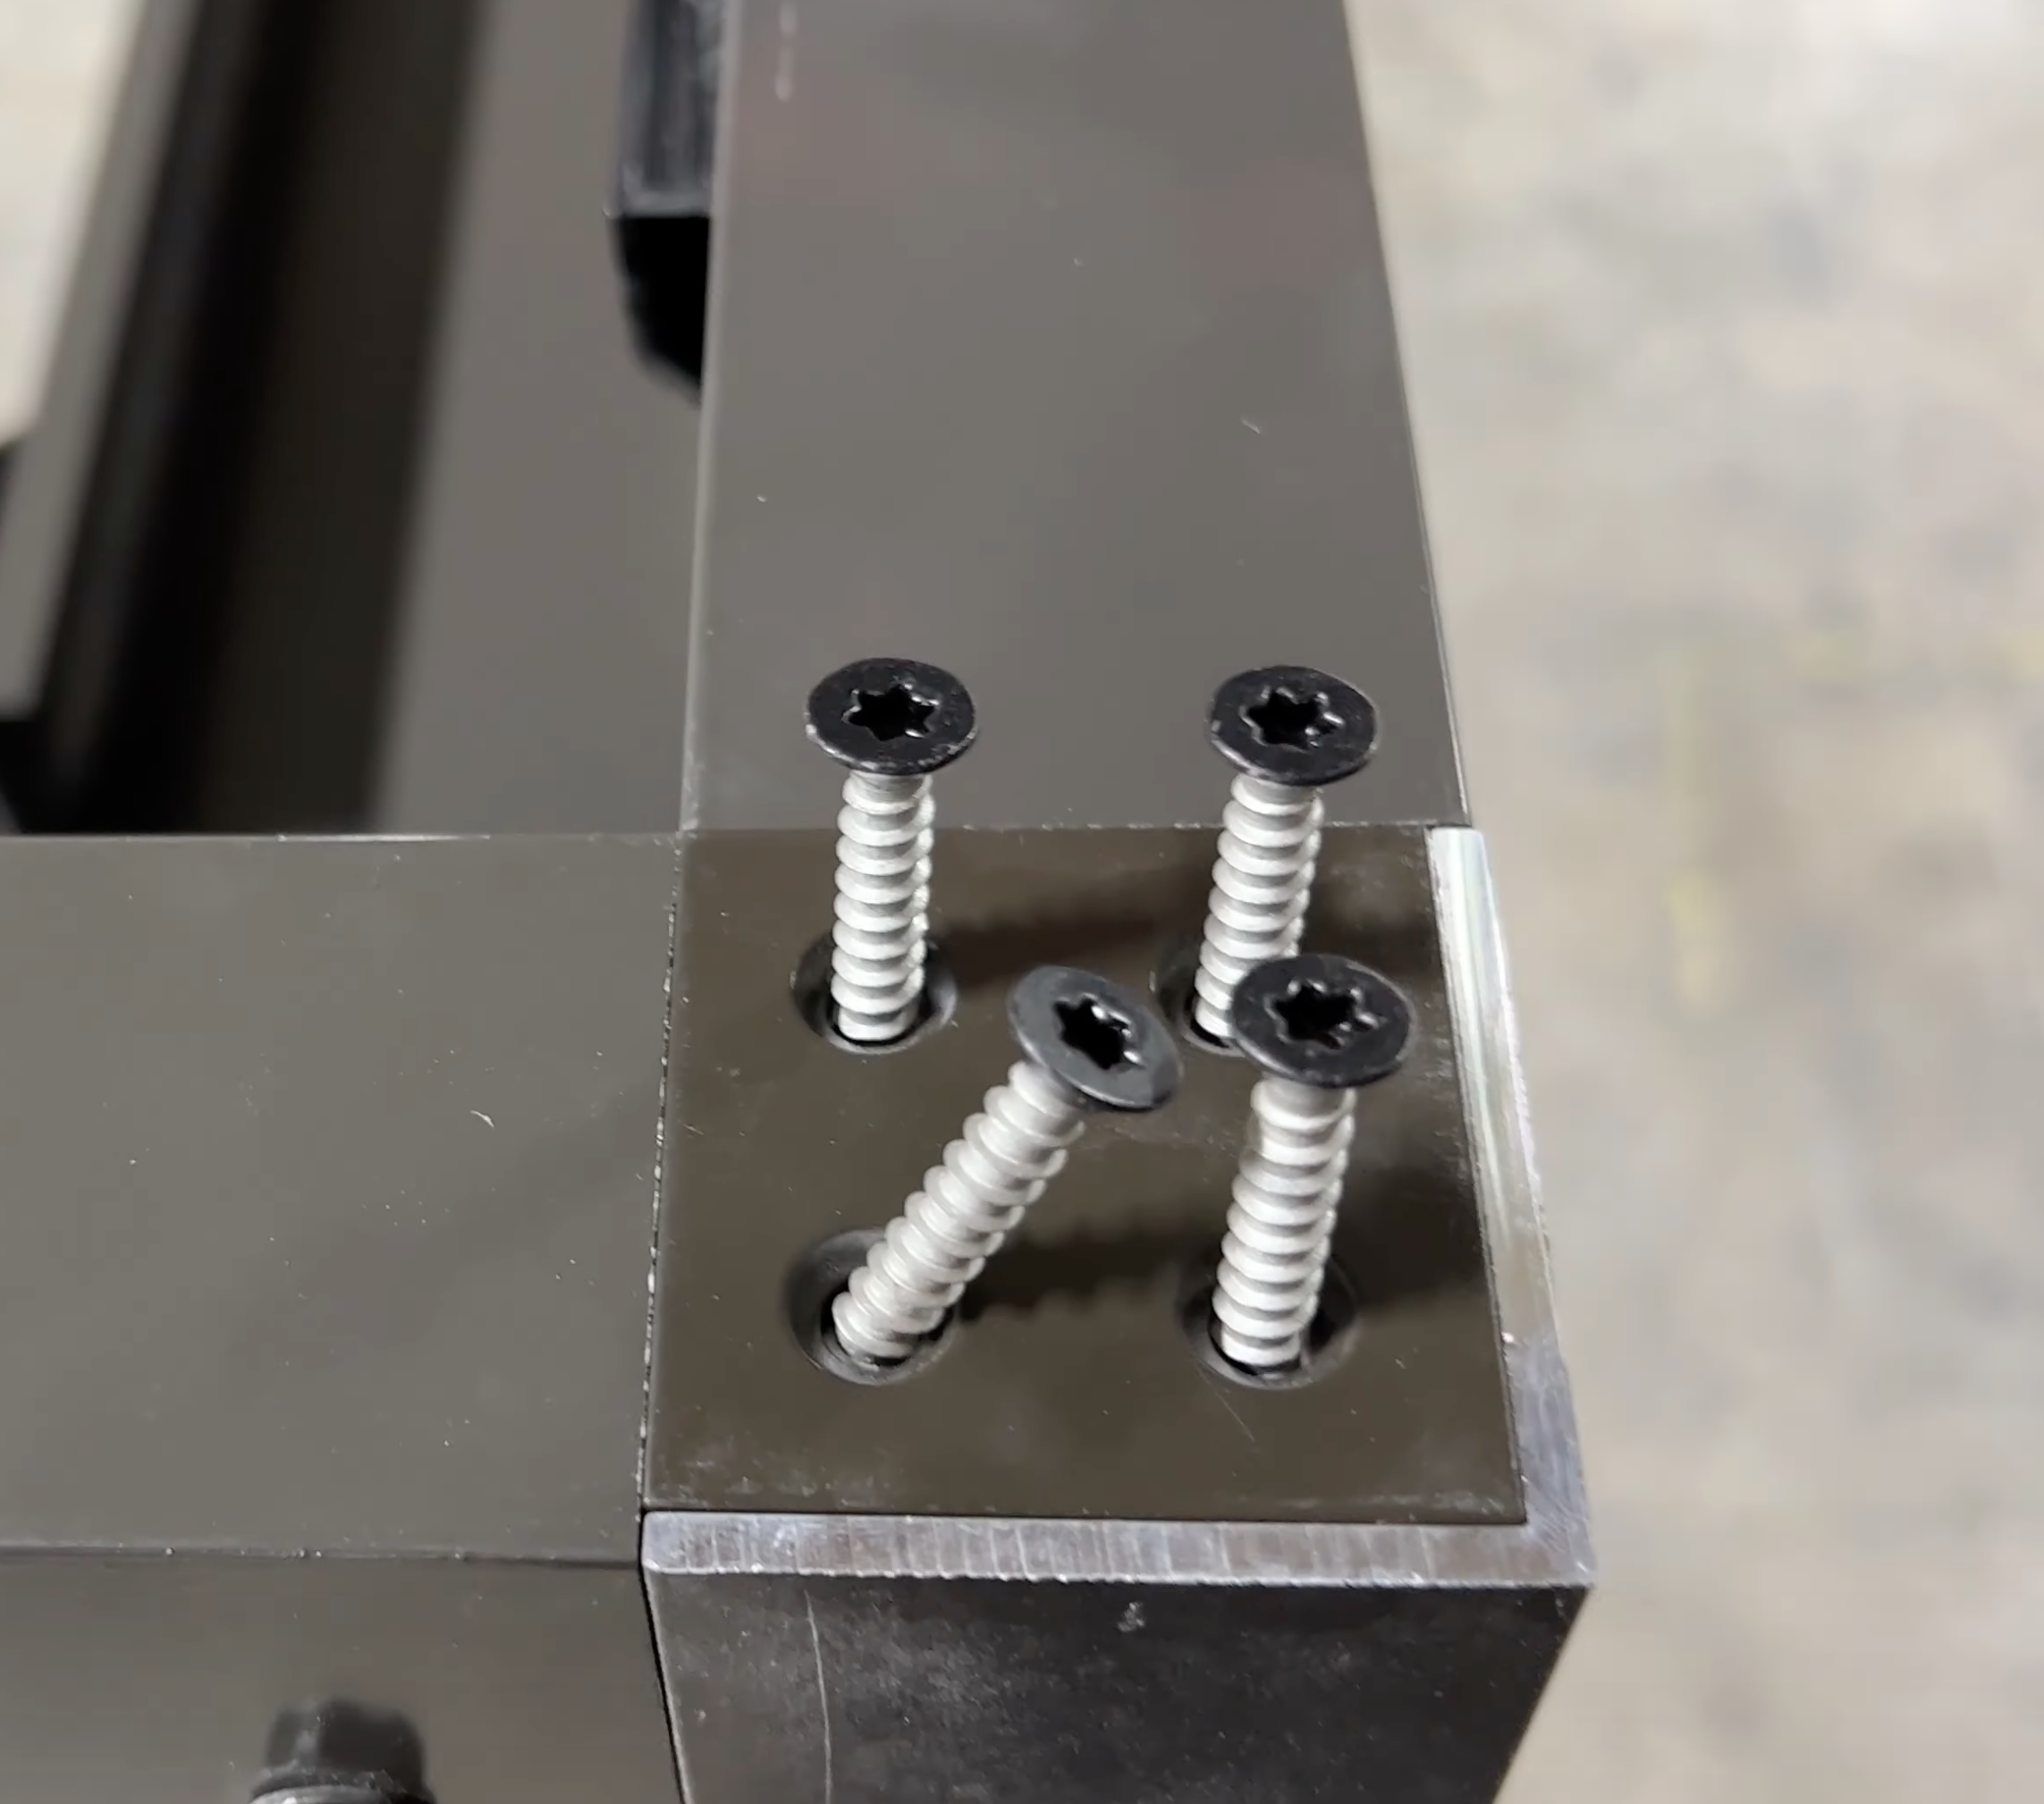
Screw the Corner Connectors on the Posts
There will be four screw hole options on the project. Despite the fact that there are only 2 flanges on the connector. Since there are holes on all four sides, some fasteners won't hit the corner connector.
This is fine. The extra fasteners will just be for cover, but we have all four sides drilled to provide maximum flexibility when you build a pergola.
Assembling the Frame

You are getting close to having more shade, whether you have a large or small backyard.
Remove the link bar from either the B wall or D Wall box. Take that link bar from the box and set it aside.
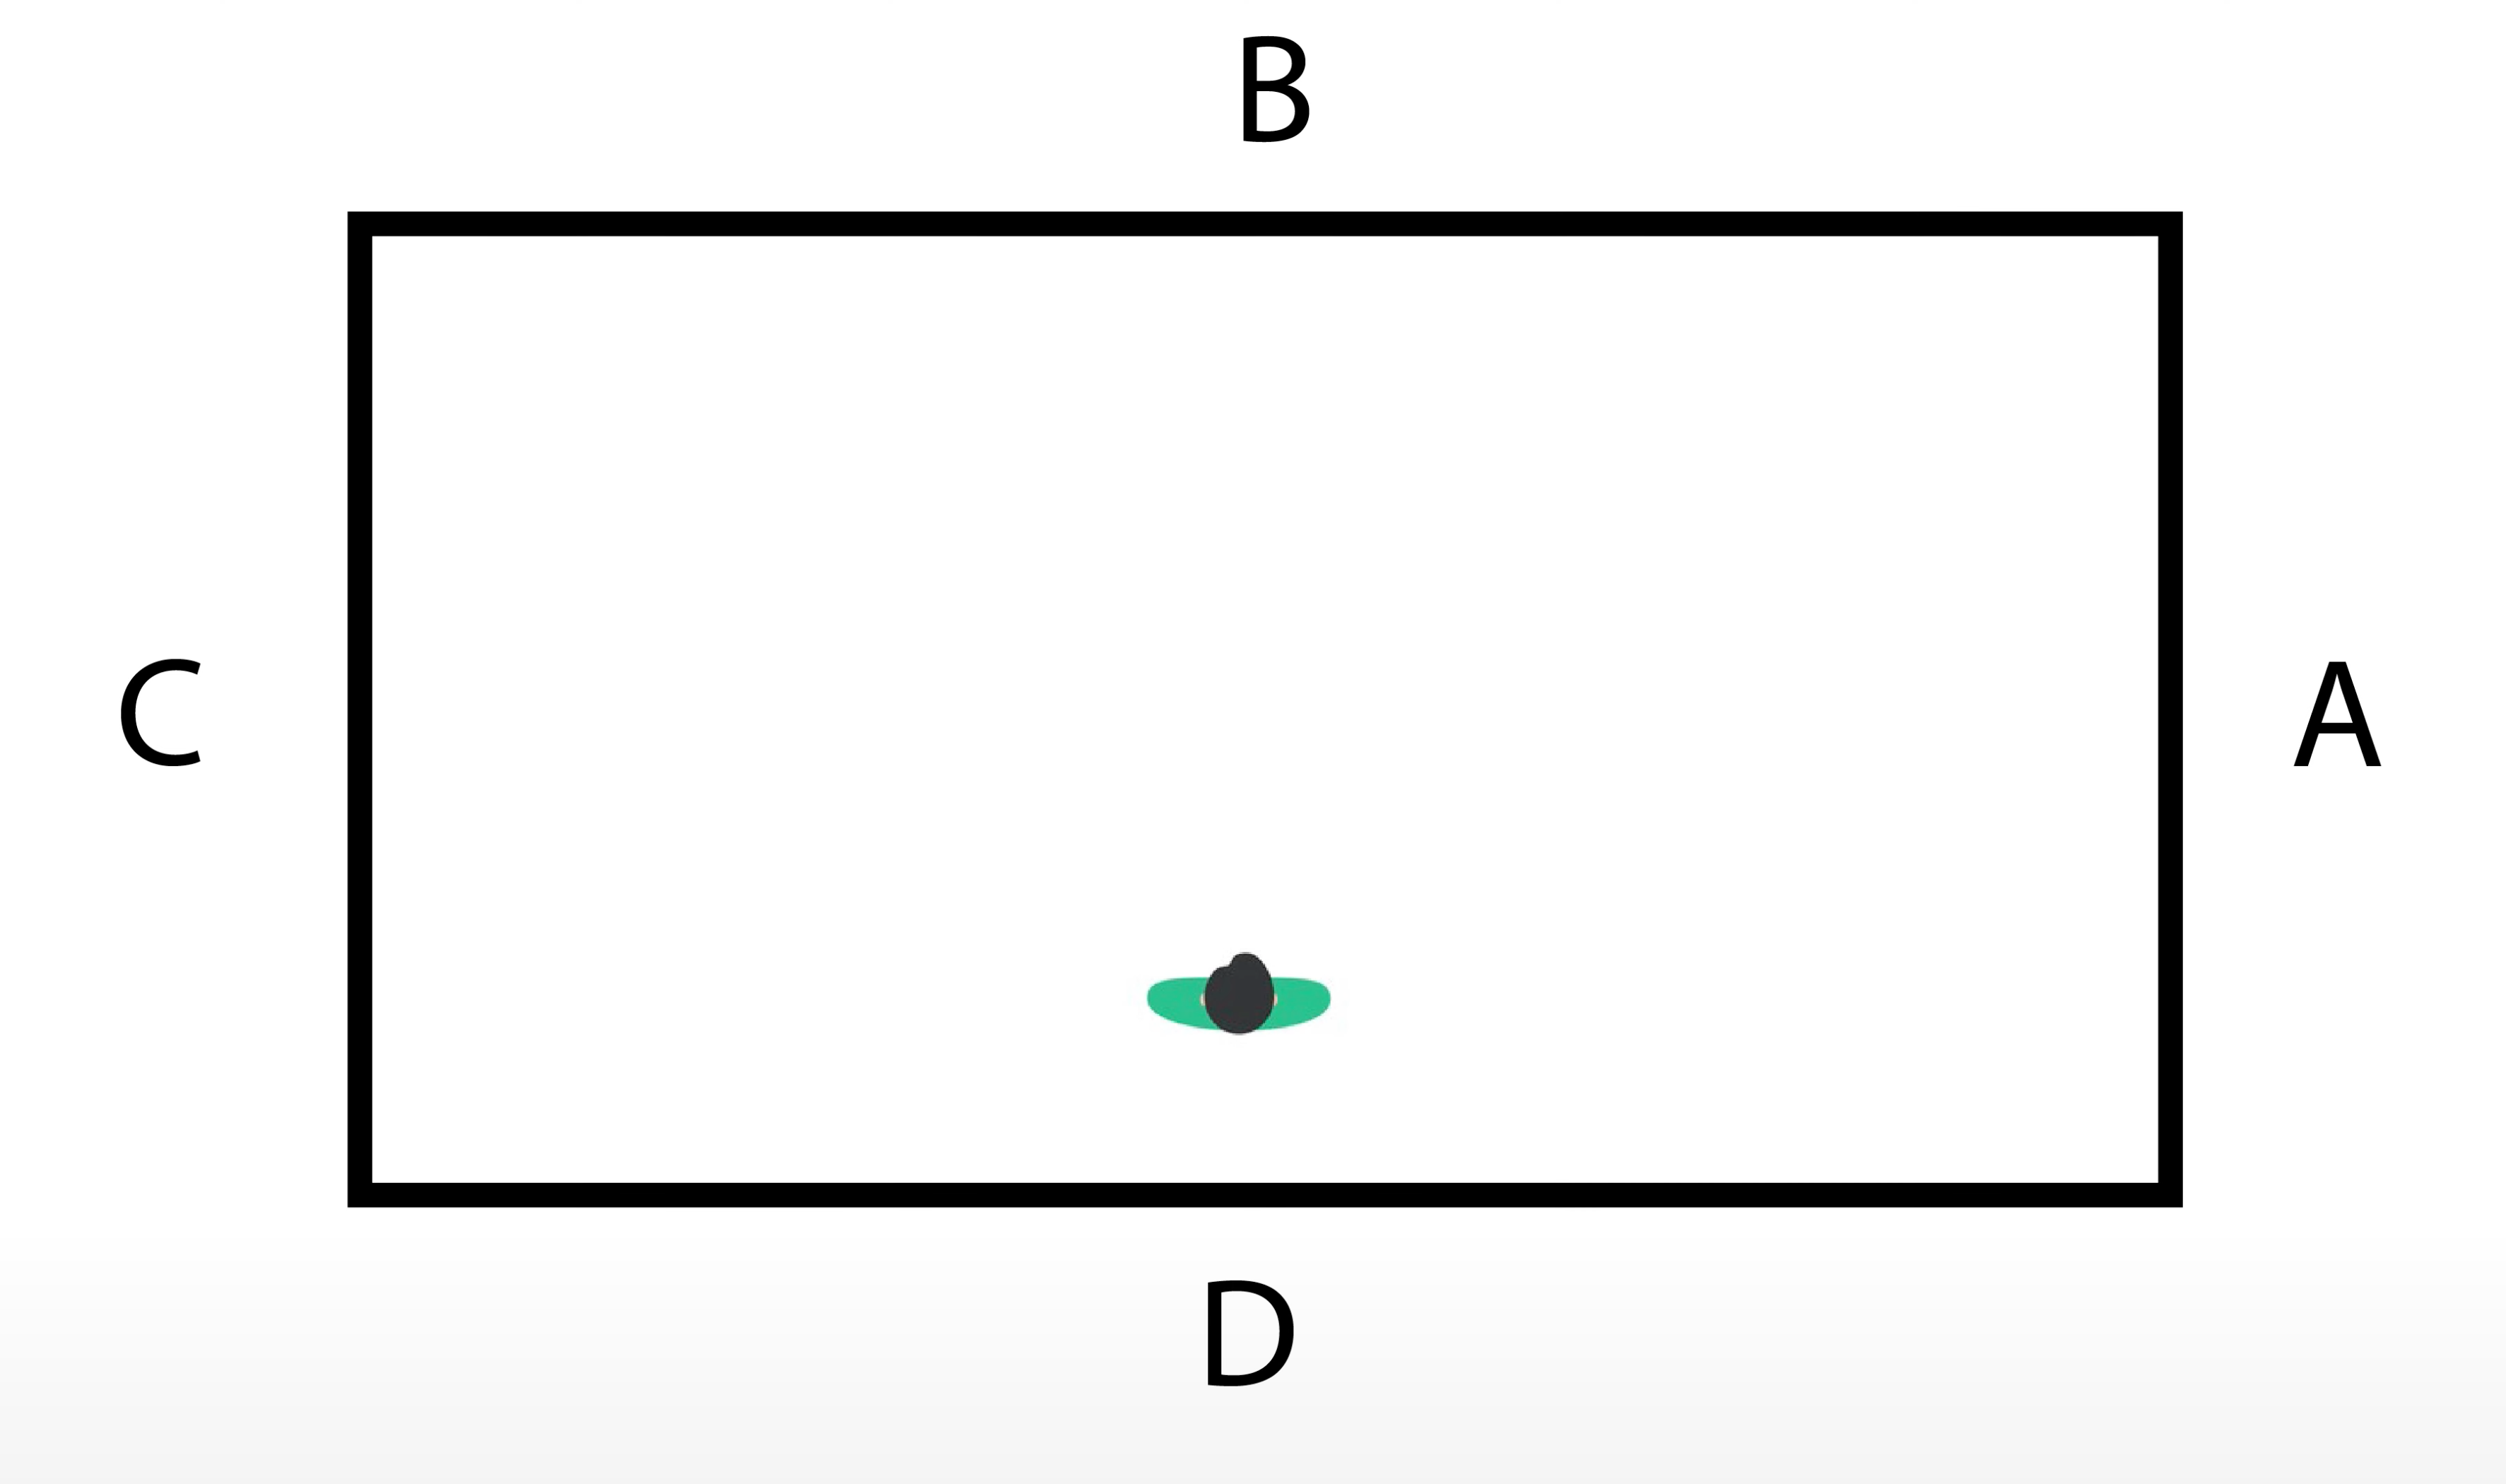
After you've set the link bar somewhere in your yard, remove the A, C, B, and D walls from there boxes and orient yourself so the wall labeled D is at your back like the picture above.
Your own pergola plans will be applicable here for your outdoor space.
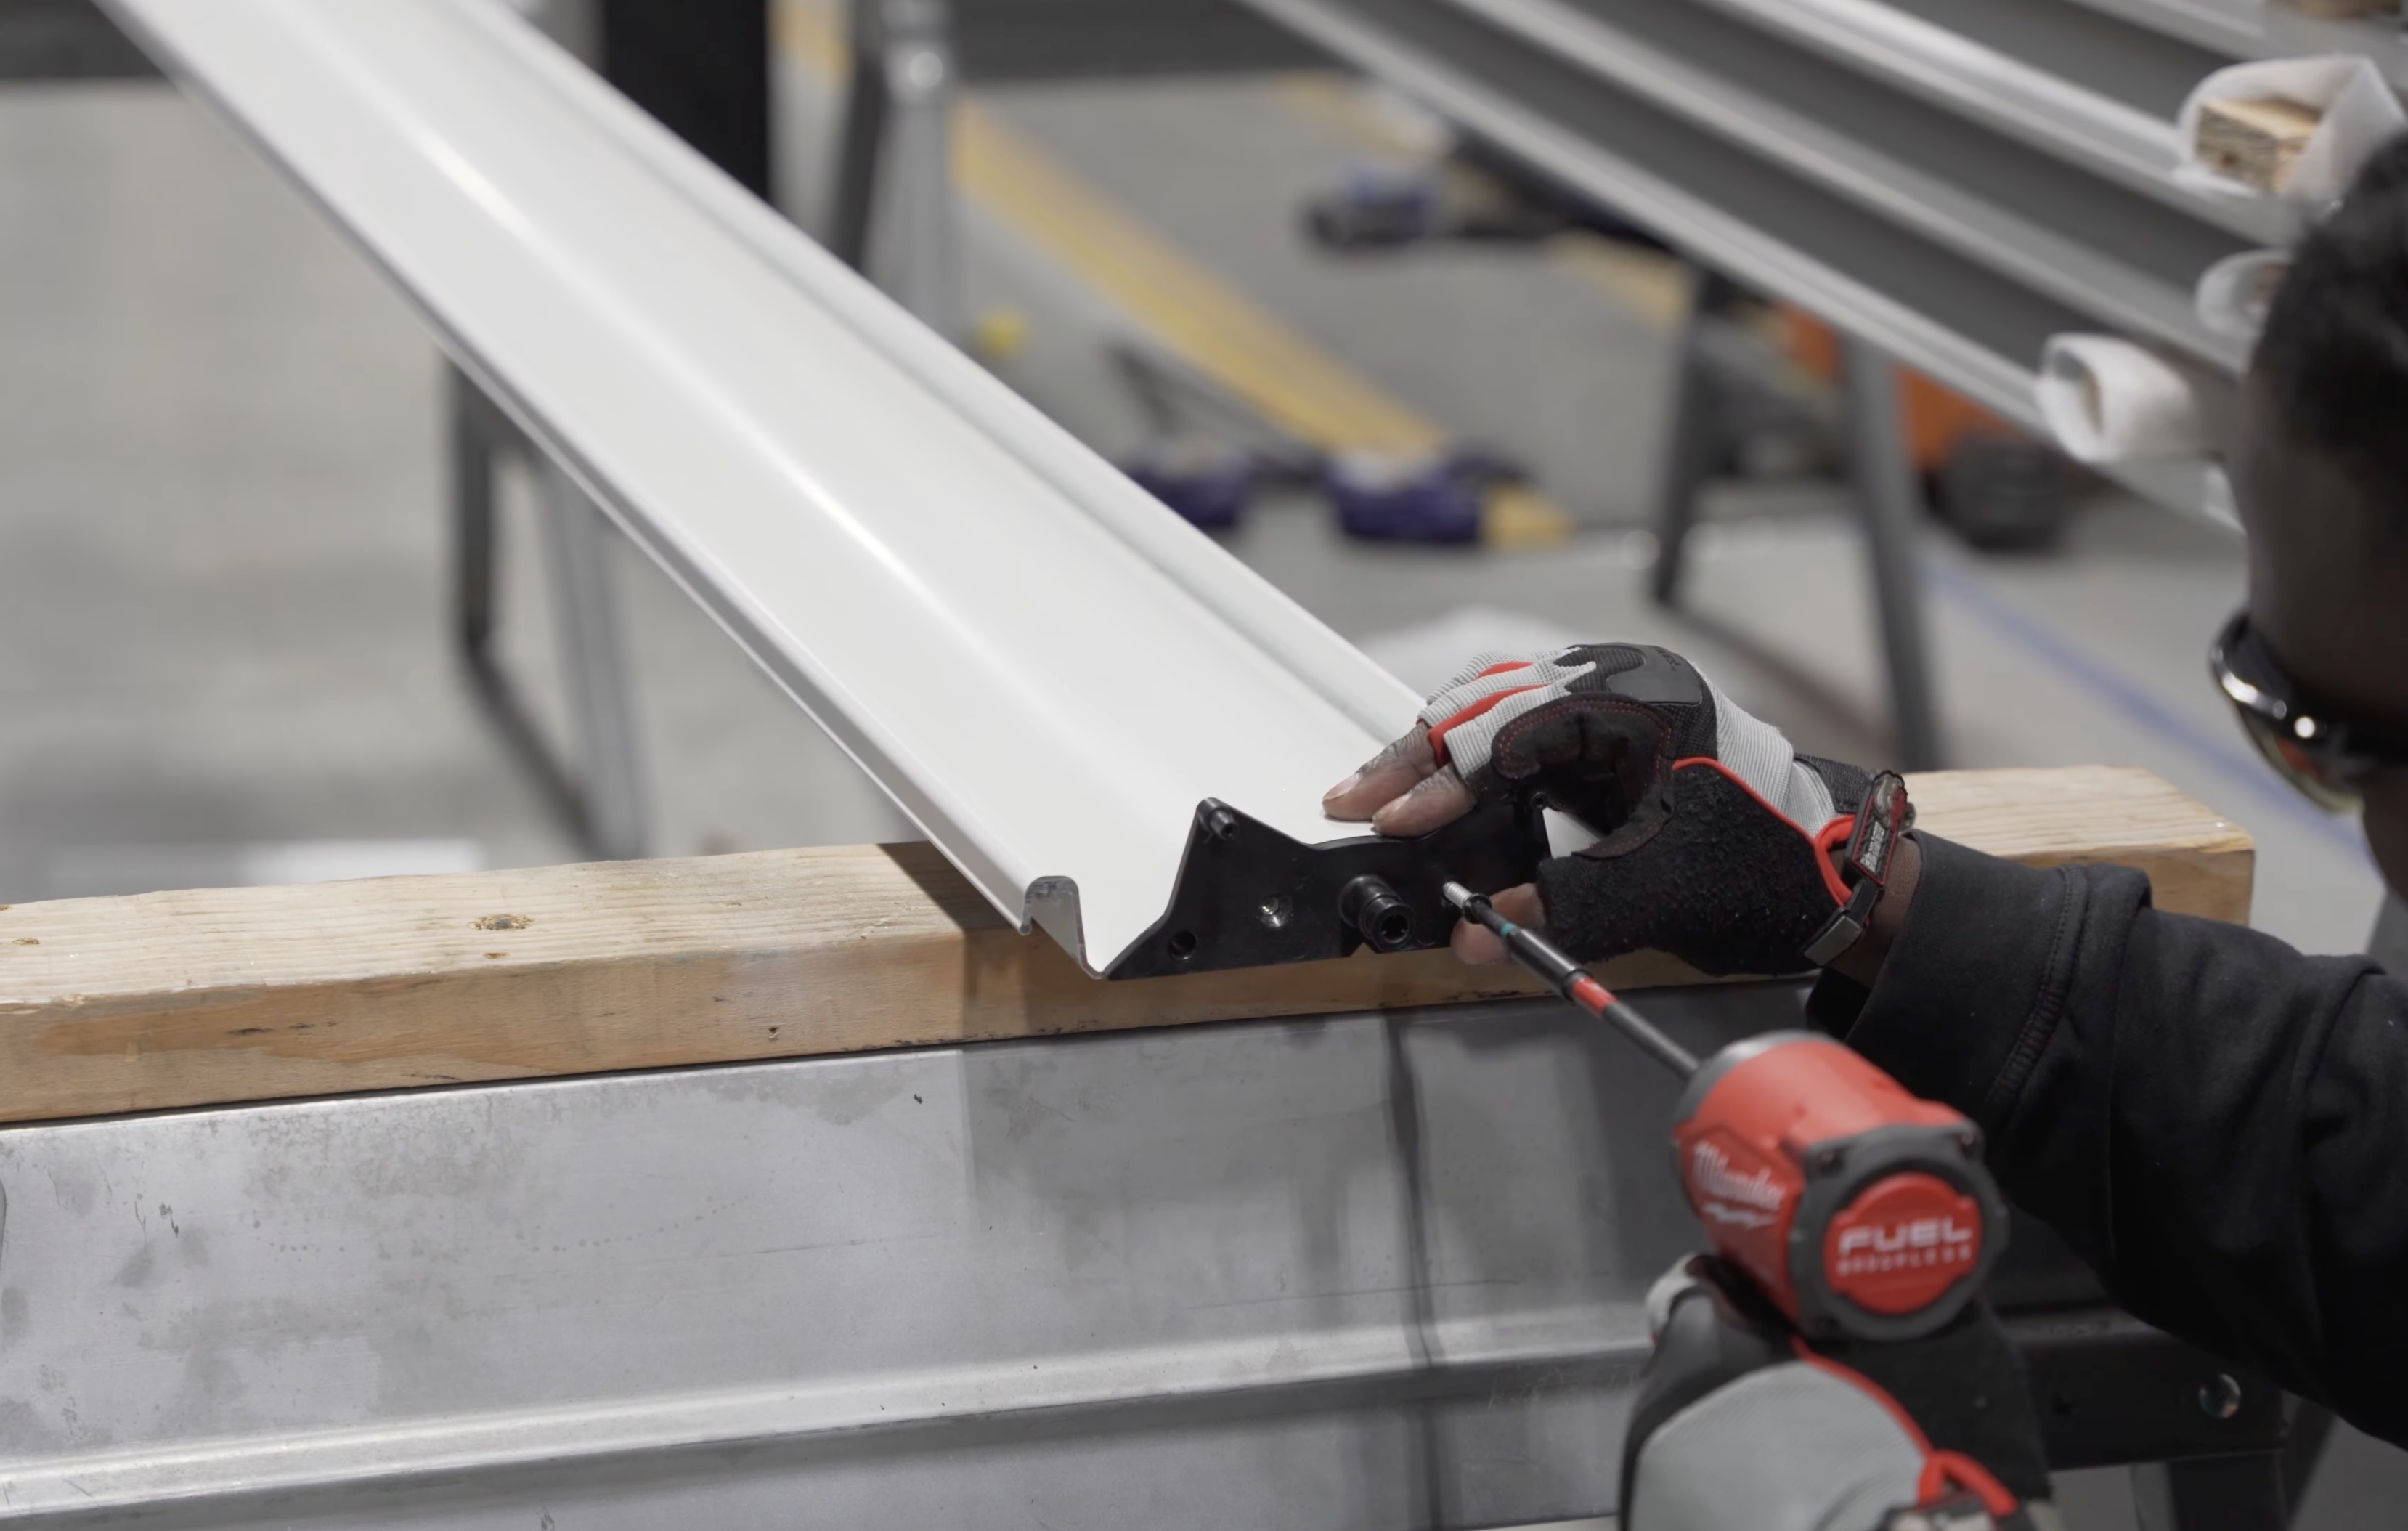
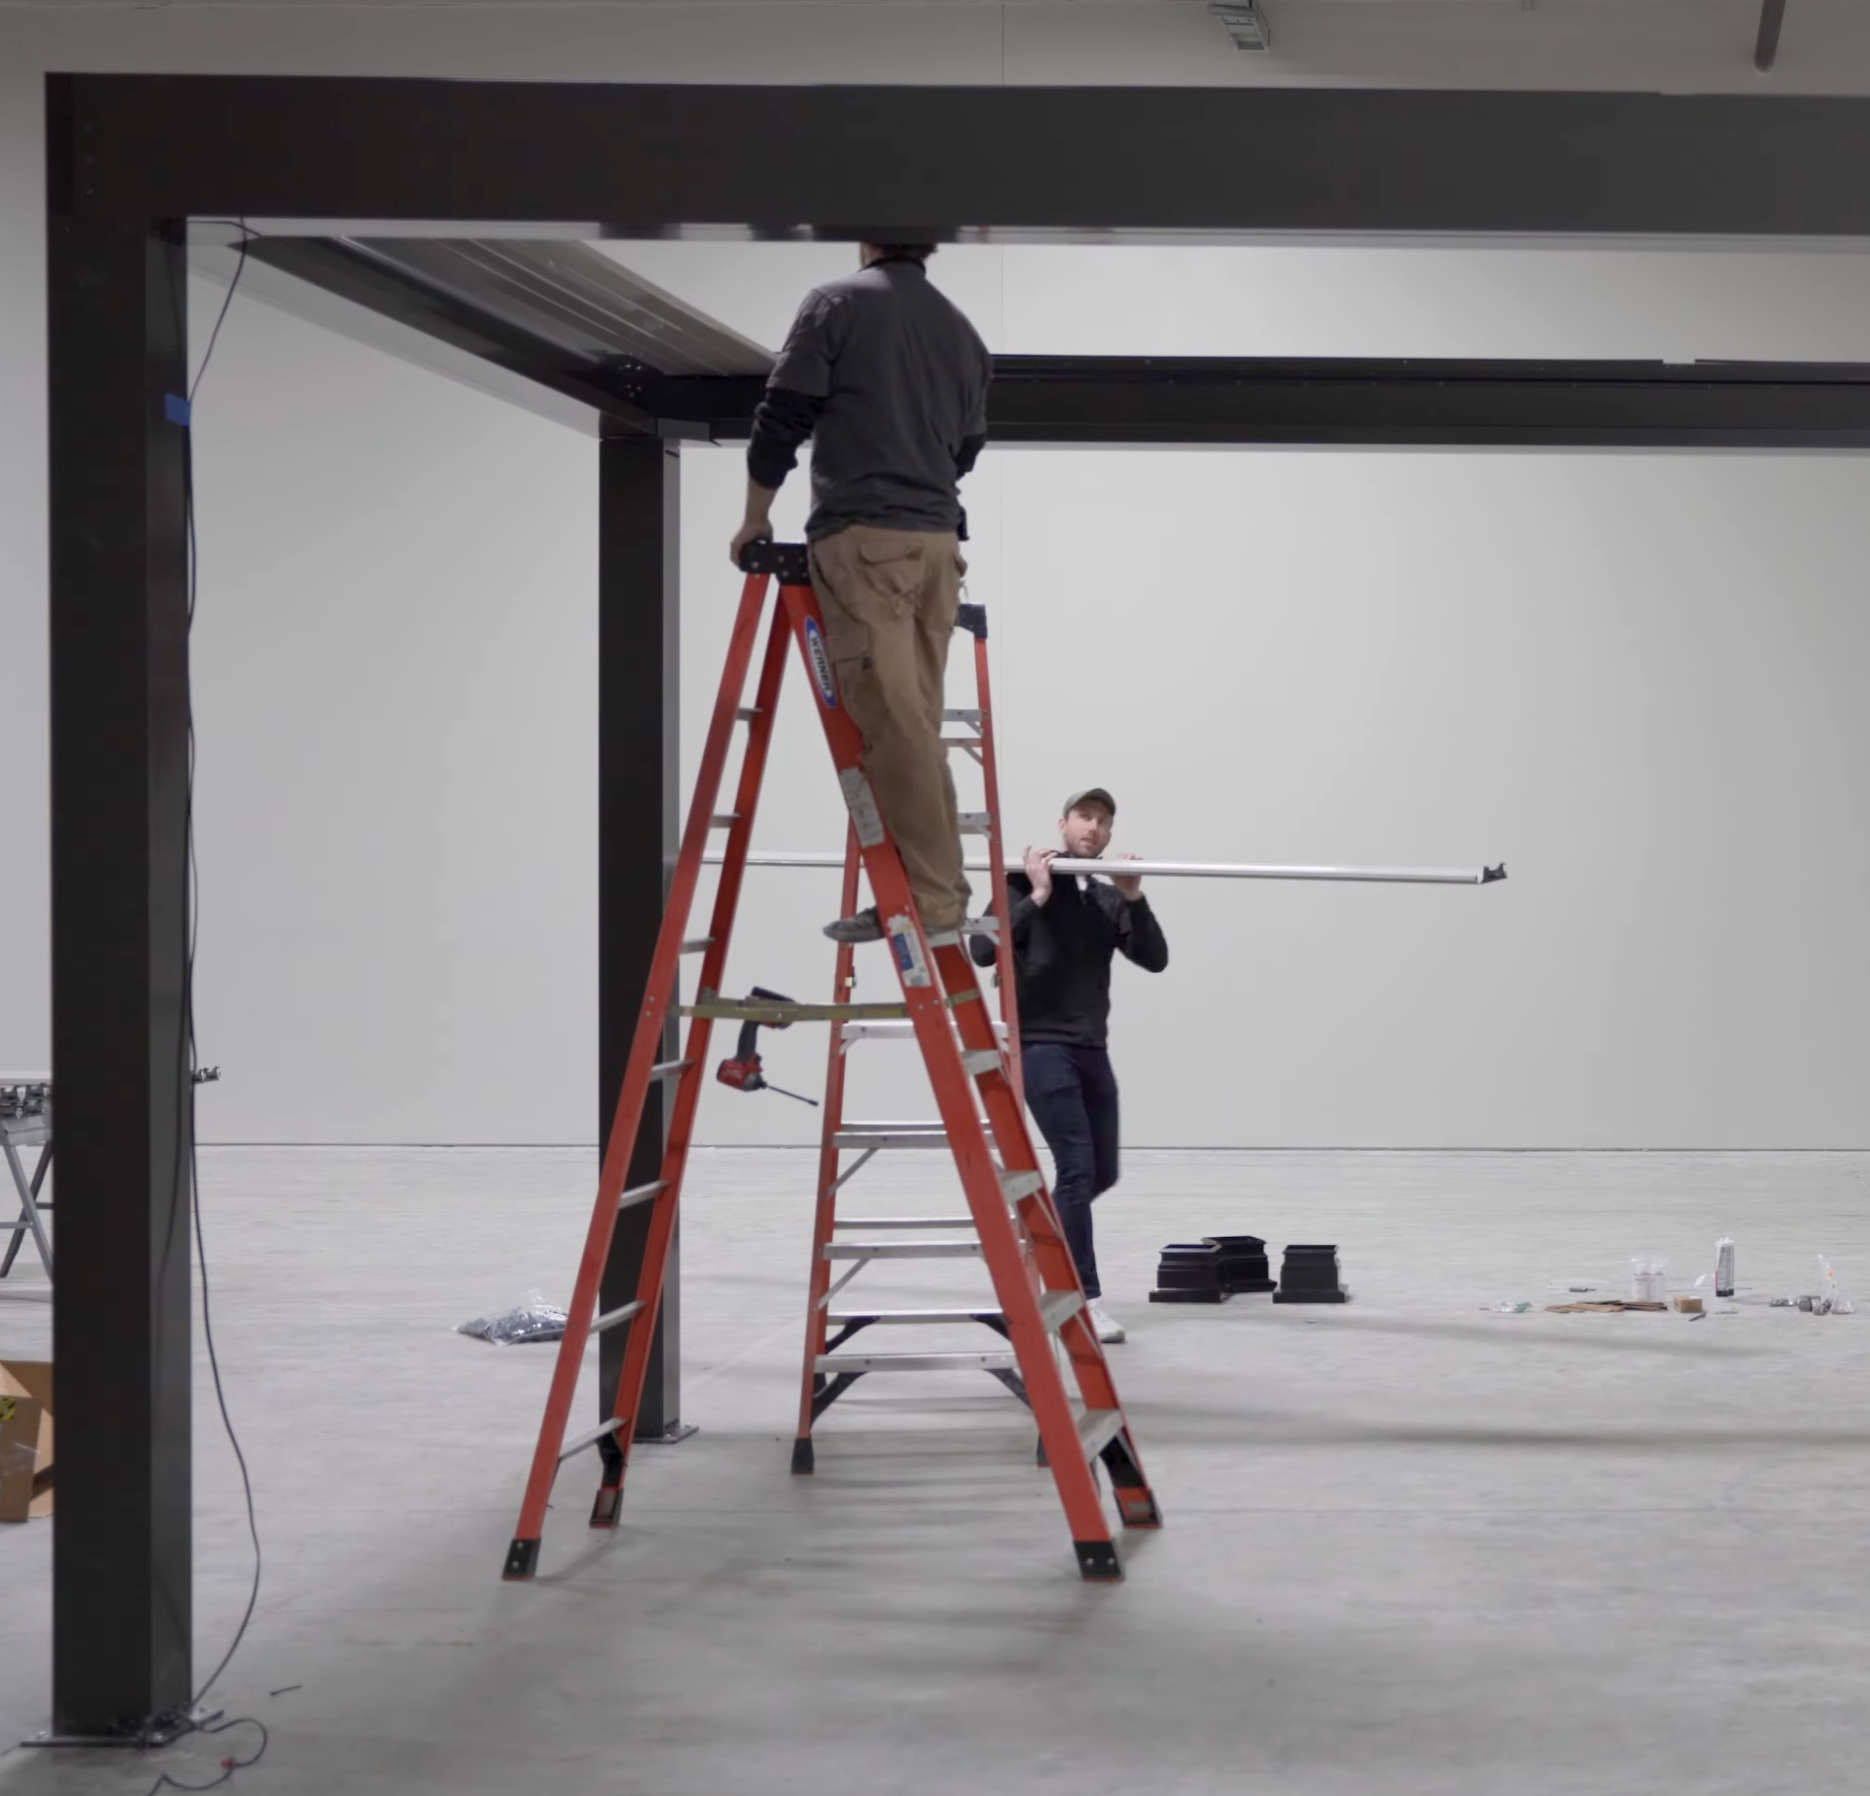
Set Exterior Walls
For the purposes of our louvered pergola kits, D Wall will be the longest beam or the beam with the pivot strip on the beam (U - shaped punches attached to the beams).
It is easiest if 3 people are here for this step. Two people will hold the beam in place, while the third goes back and forth and drives the screws into the pergola.
Attach Bottom "L" Screws through Gutter connector
Make sure you attach the corner screw through the gutter connector.
Make sure Unit is Square After Placing all Beams
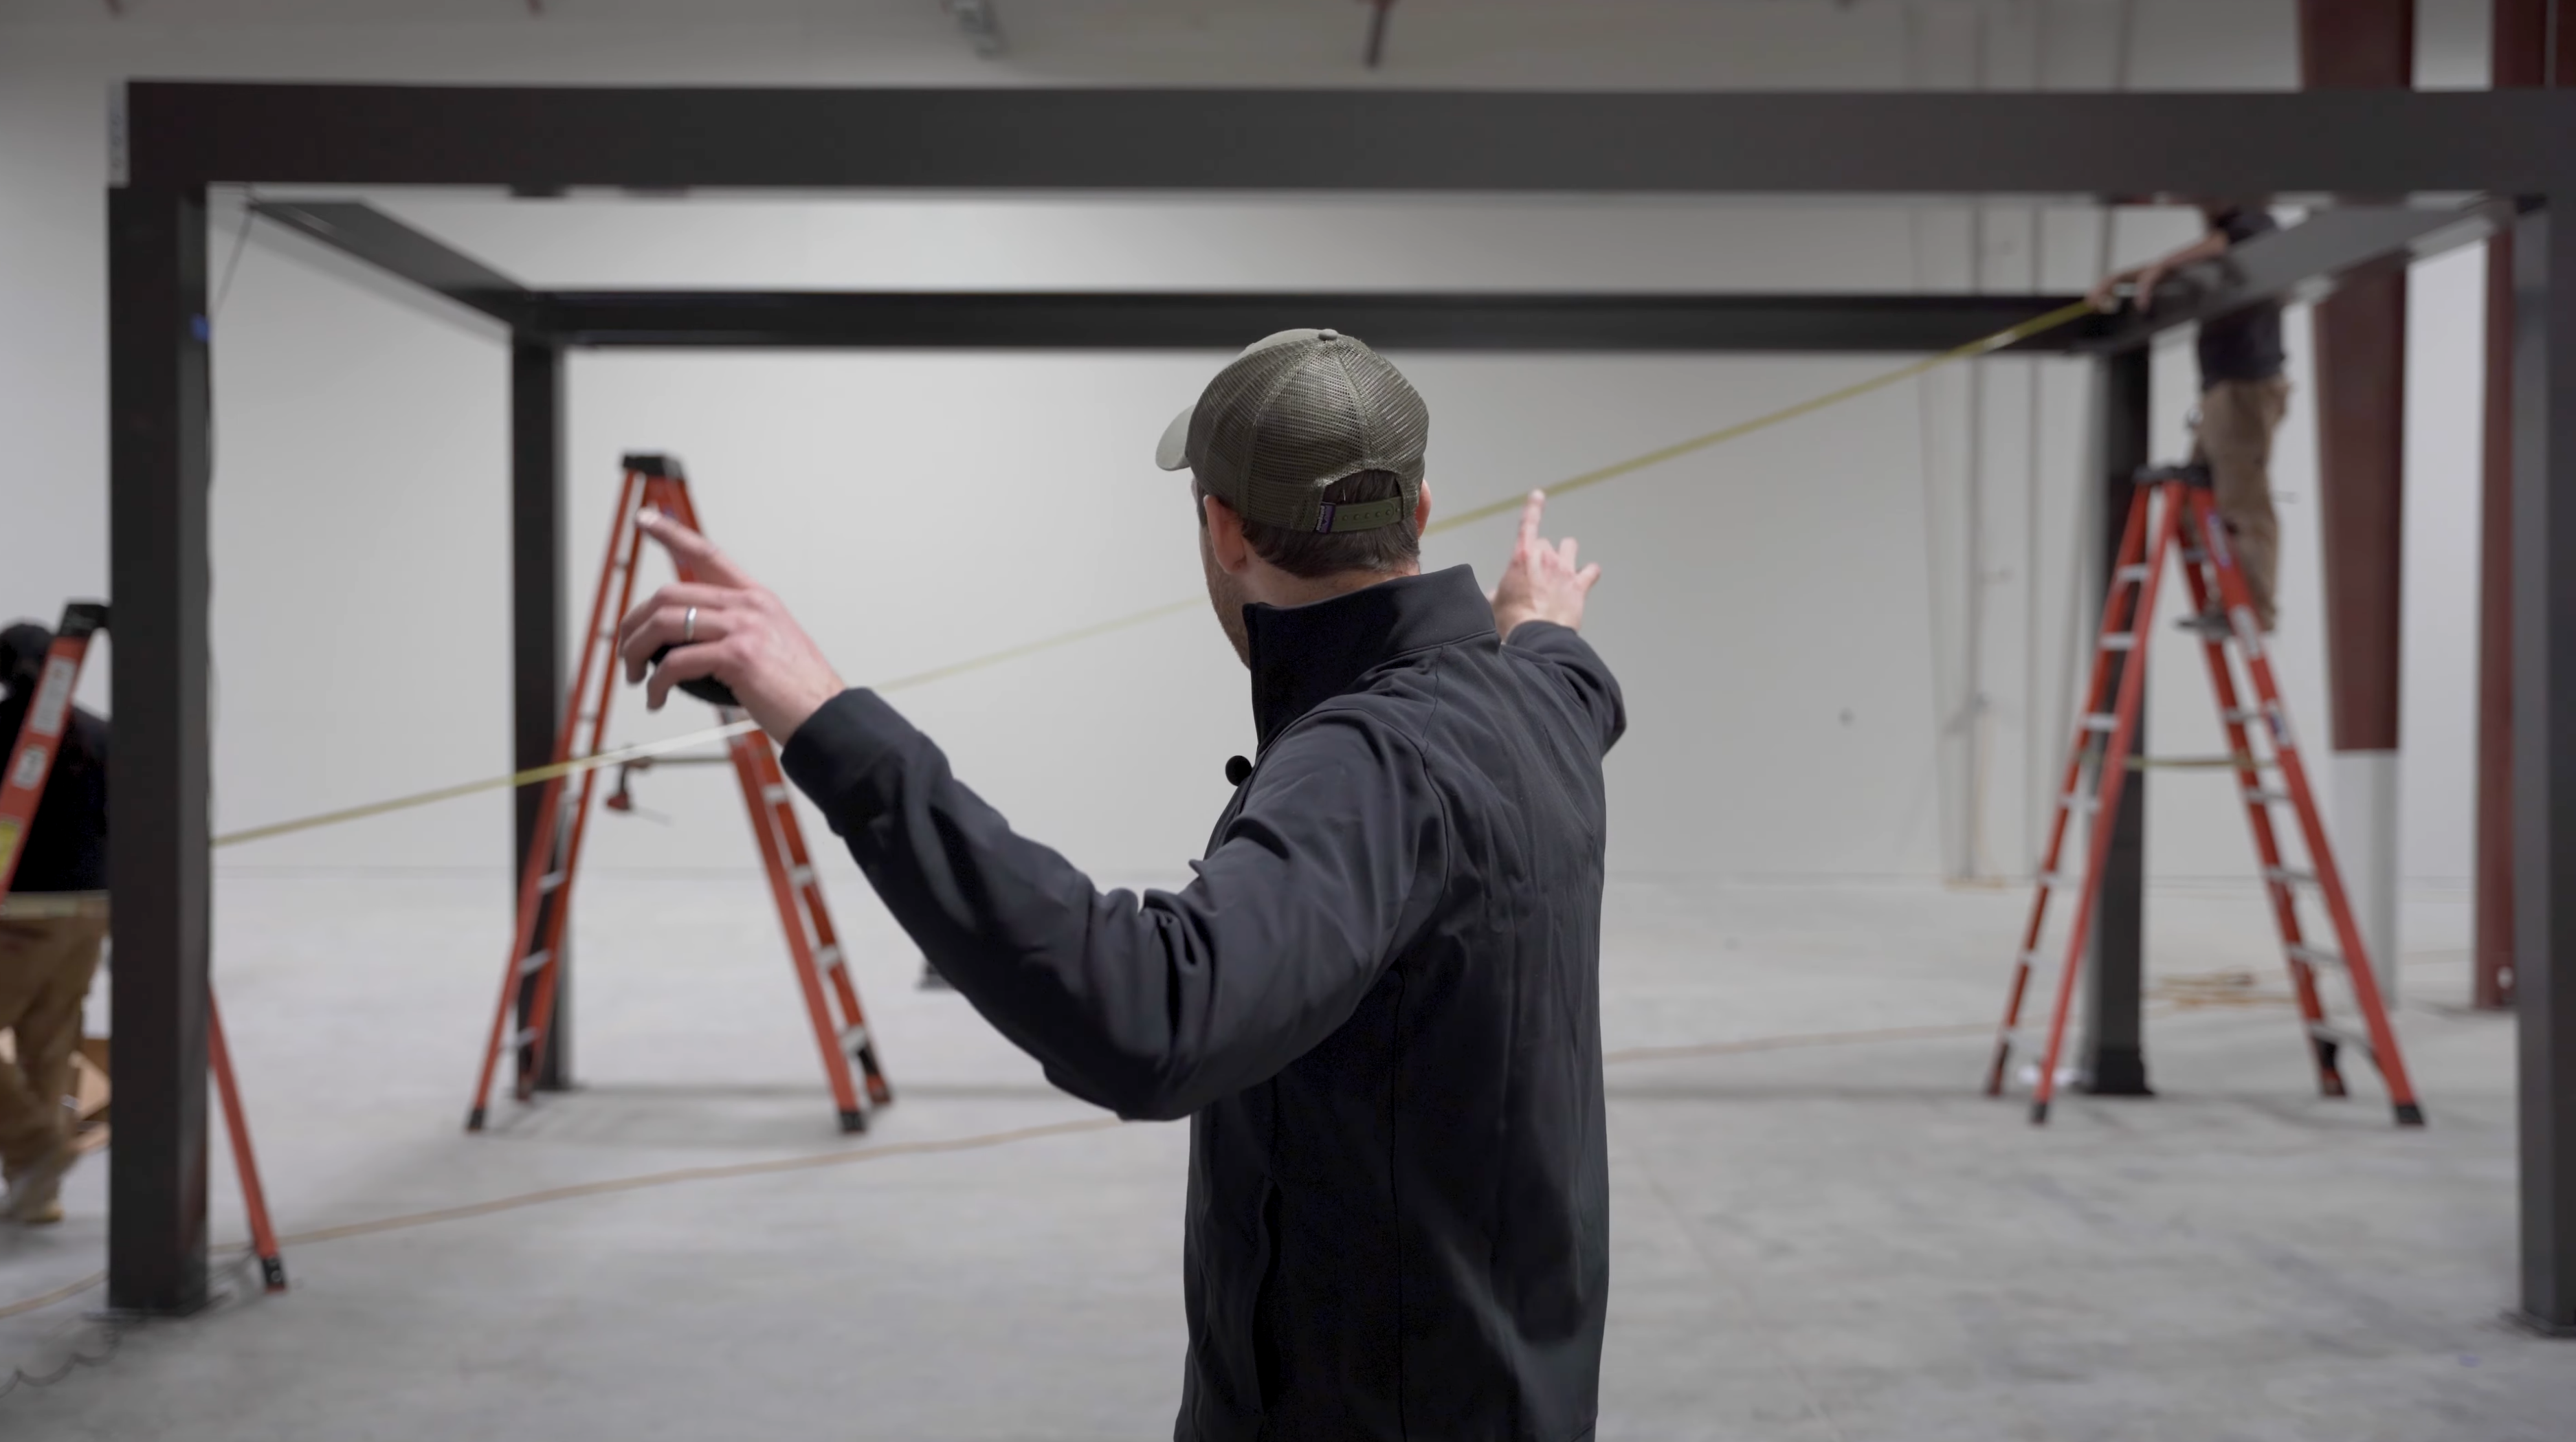
You will check the pergola for square at this stage. To check for square, run the tape from the top corners, diagonally. So if you measure an X, each measurement should be the same. See the video of you are confused about this portion of the project.
Square, Plumb and Anchor Posts
Now is the time to fasten the posts in place. The structure takes 4 fasteners in each base. Make sure you level the posts with composite shims to ensure plumb, and then anchor them to the concrete slab.
Adding Sleeve to Corner Connector

The corner cover is purely decorative. Add 2 lines of caulk to the structure to create a surface for the corner connector to bind to. This will keep your diy louvered pergola kit looking nice and clean.
Next you will attach the corner connector cap to the top of the corner connector and use your end cap screws to fasten it in place.
Seal the Unit

At this stage it is best to seal your unit with the provided caulk. Please view the video at the top of the article for more guidance on running the sealant properly.
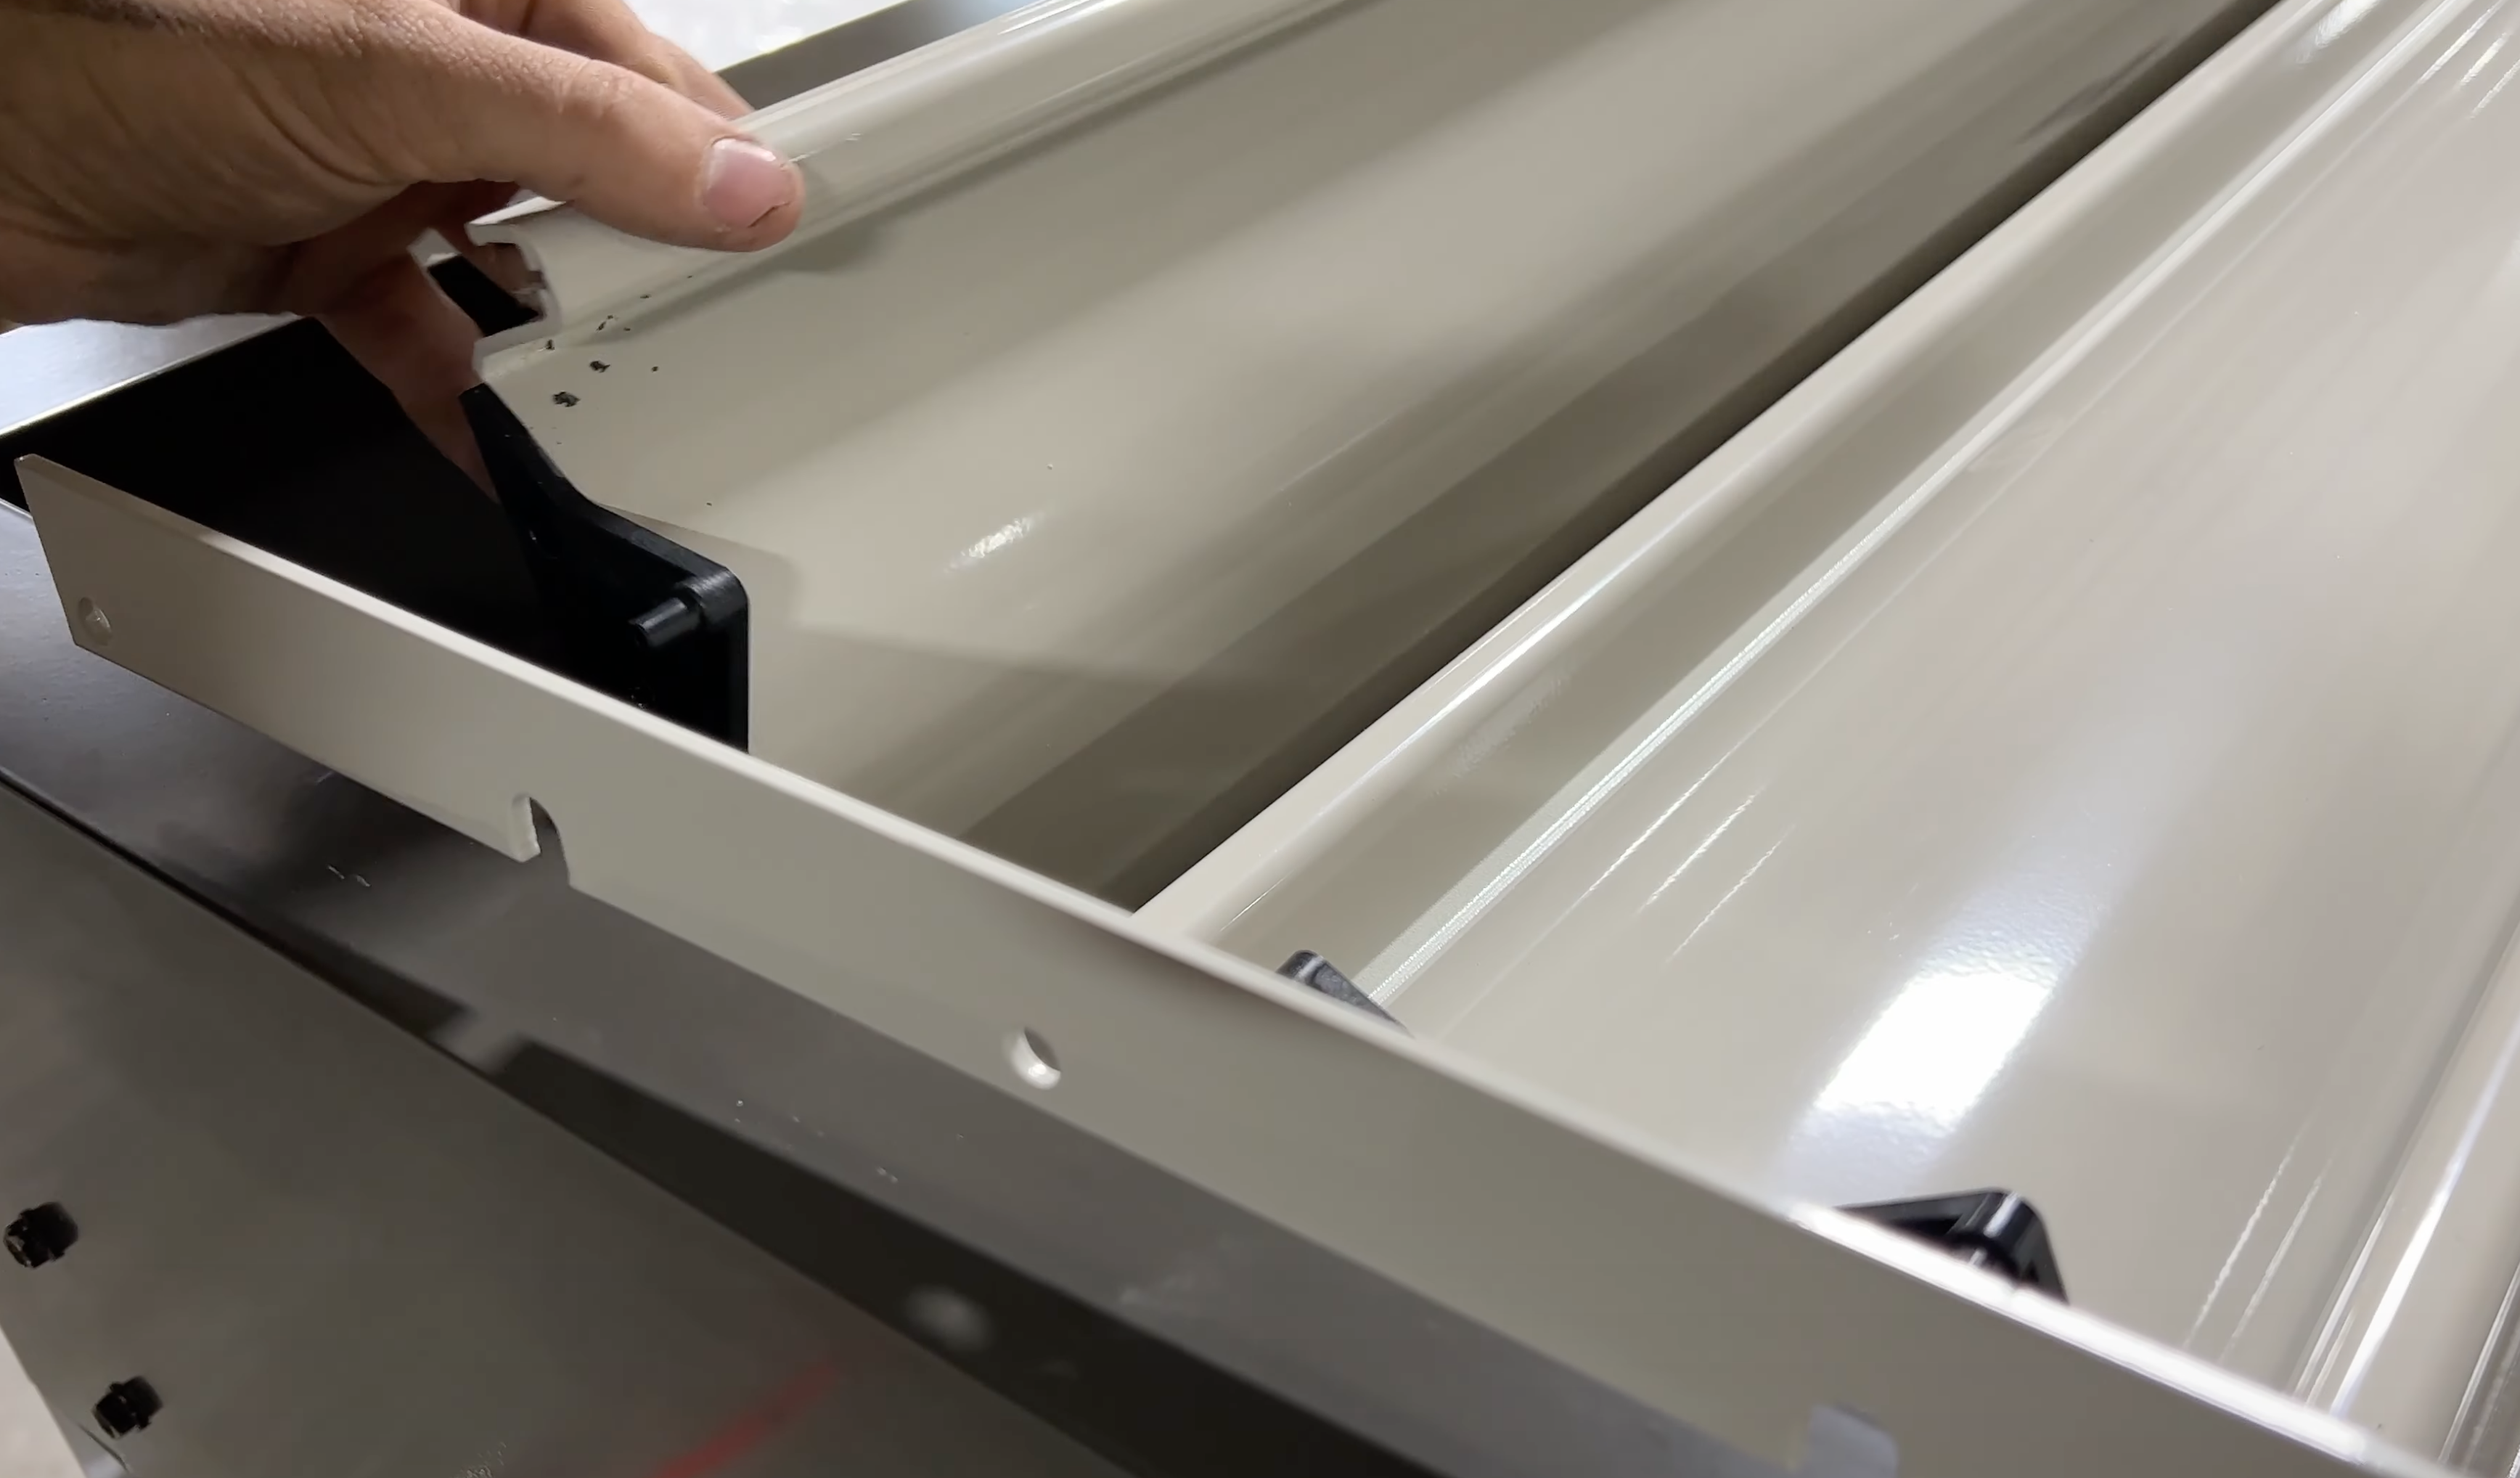
Adding the Louvers for Shade
Now add the end caps to each of the louvers. These fasteners will come from Bag R.
Remove Retainer Strip
Next remove the retainer strip from the beams and place them on top of the frame beam. It will look like a piece of metal shaped like an "L".
After you remove the retainer strip and place the strip on the beam you can begin to add louvers to your own pergola kit with a roof.
Add the Louvers to the Frame
Now that you are ready to add the louvers, make sure the side with the pile weather stripping is facing the direction you wish the unit to close.
Most people like the open and closing pergola to close to either the north or the east.
Start placing the louvers into the pergola from the closing end all the way back.
Attach the Link Bar
When you attach the link bar, ensure that the you add the link bar properly. We recommend you watch the video at the top of the article to fully understand how to do this properly.
After you get the link bar in place, use the channel lock pliers to get the push nuts onto the end cap.
It's Motor Connection Time
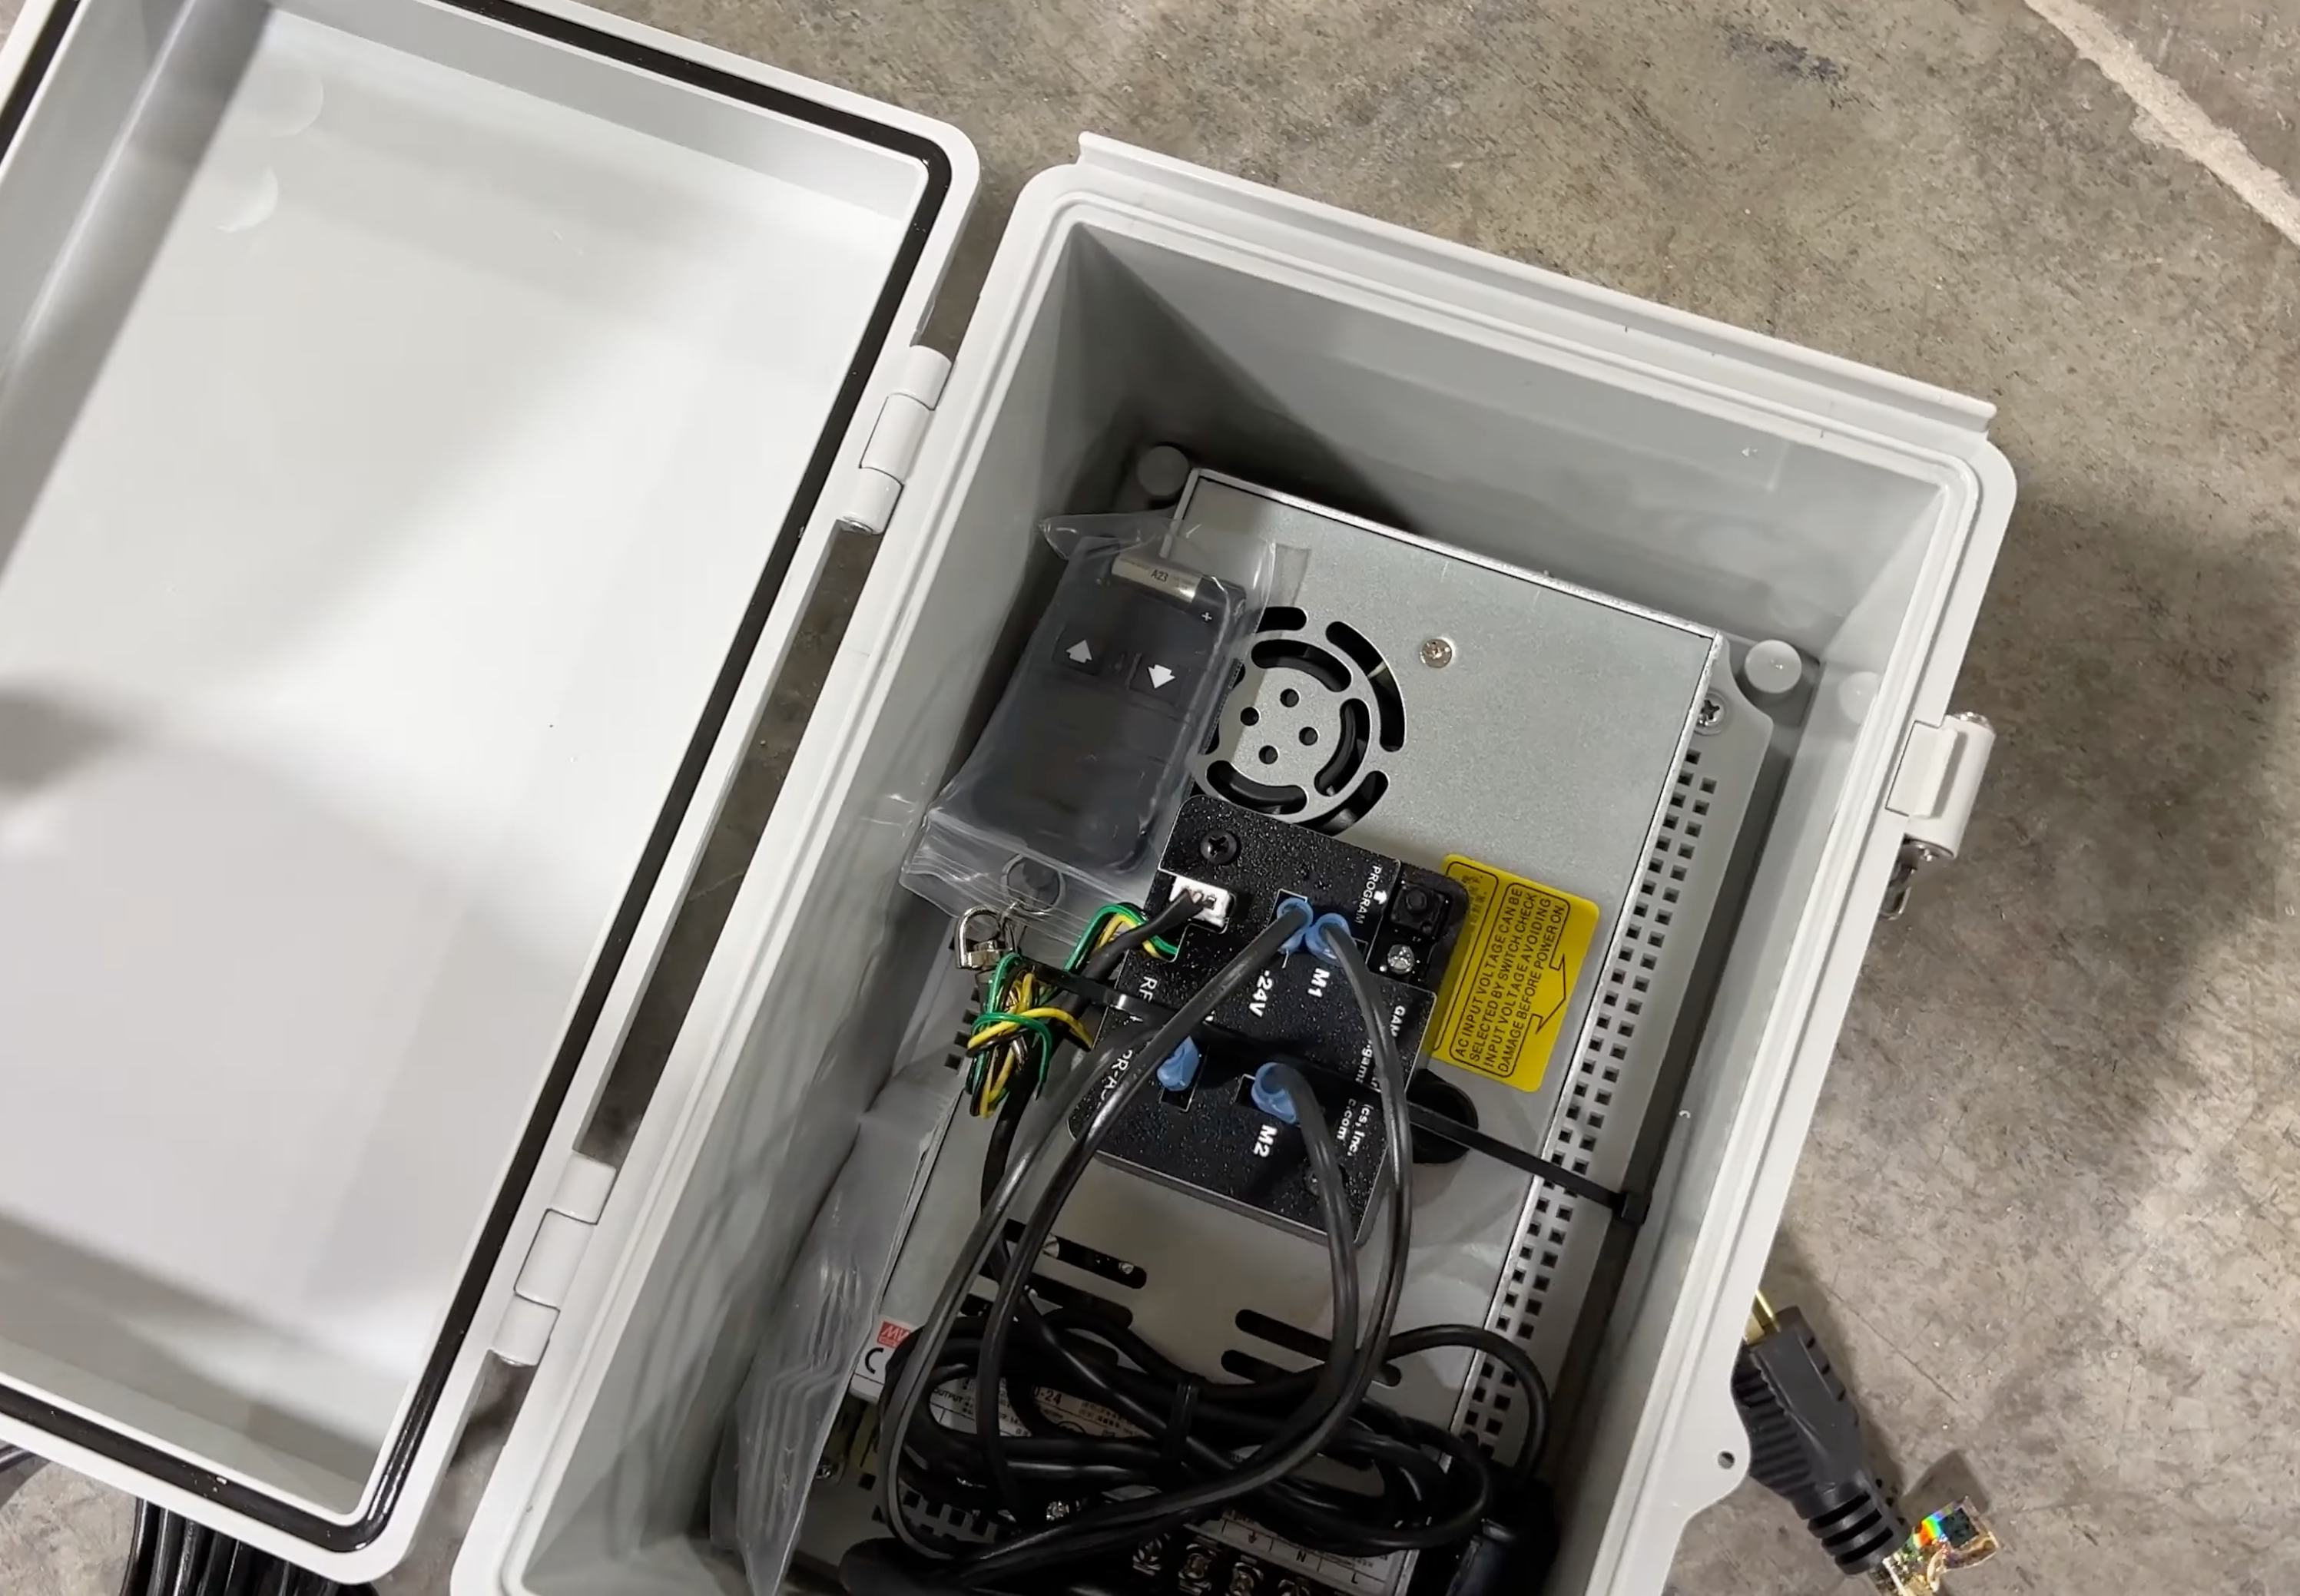
Now it is time for the motor! Open the electrical box and remove the remote from the interior of the box.
Make sure you get the remote out.
Ensure the Motor is Operational
This portion is rather complex and difficult to describe in words. We recommend watching the video portion at the top of the article to ensure that this runs properly. Like any of your local utilities should.
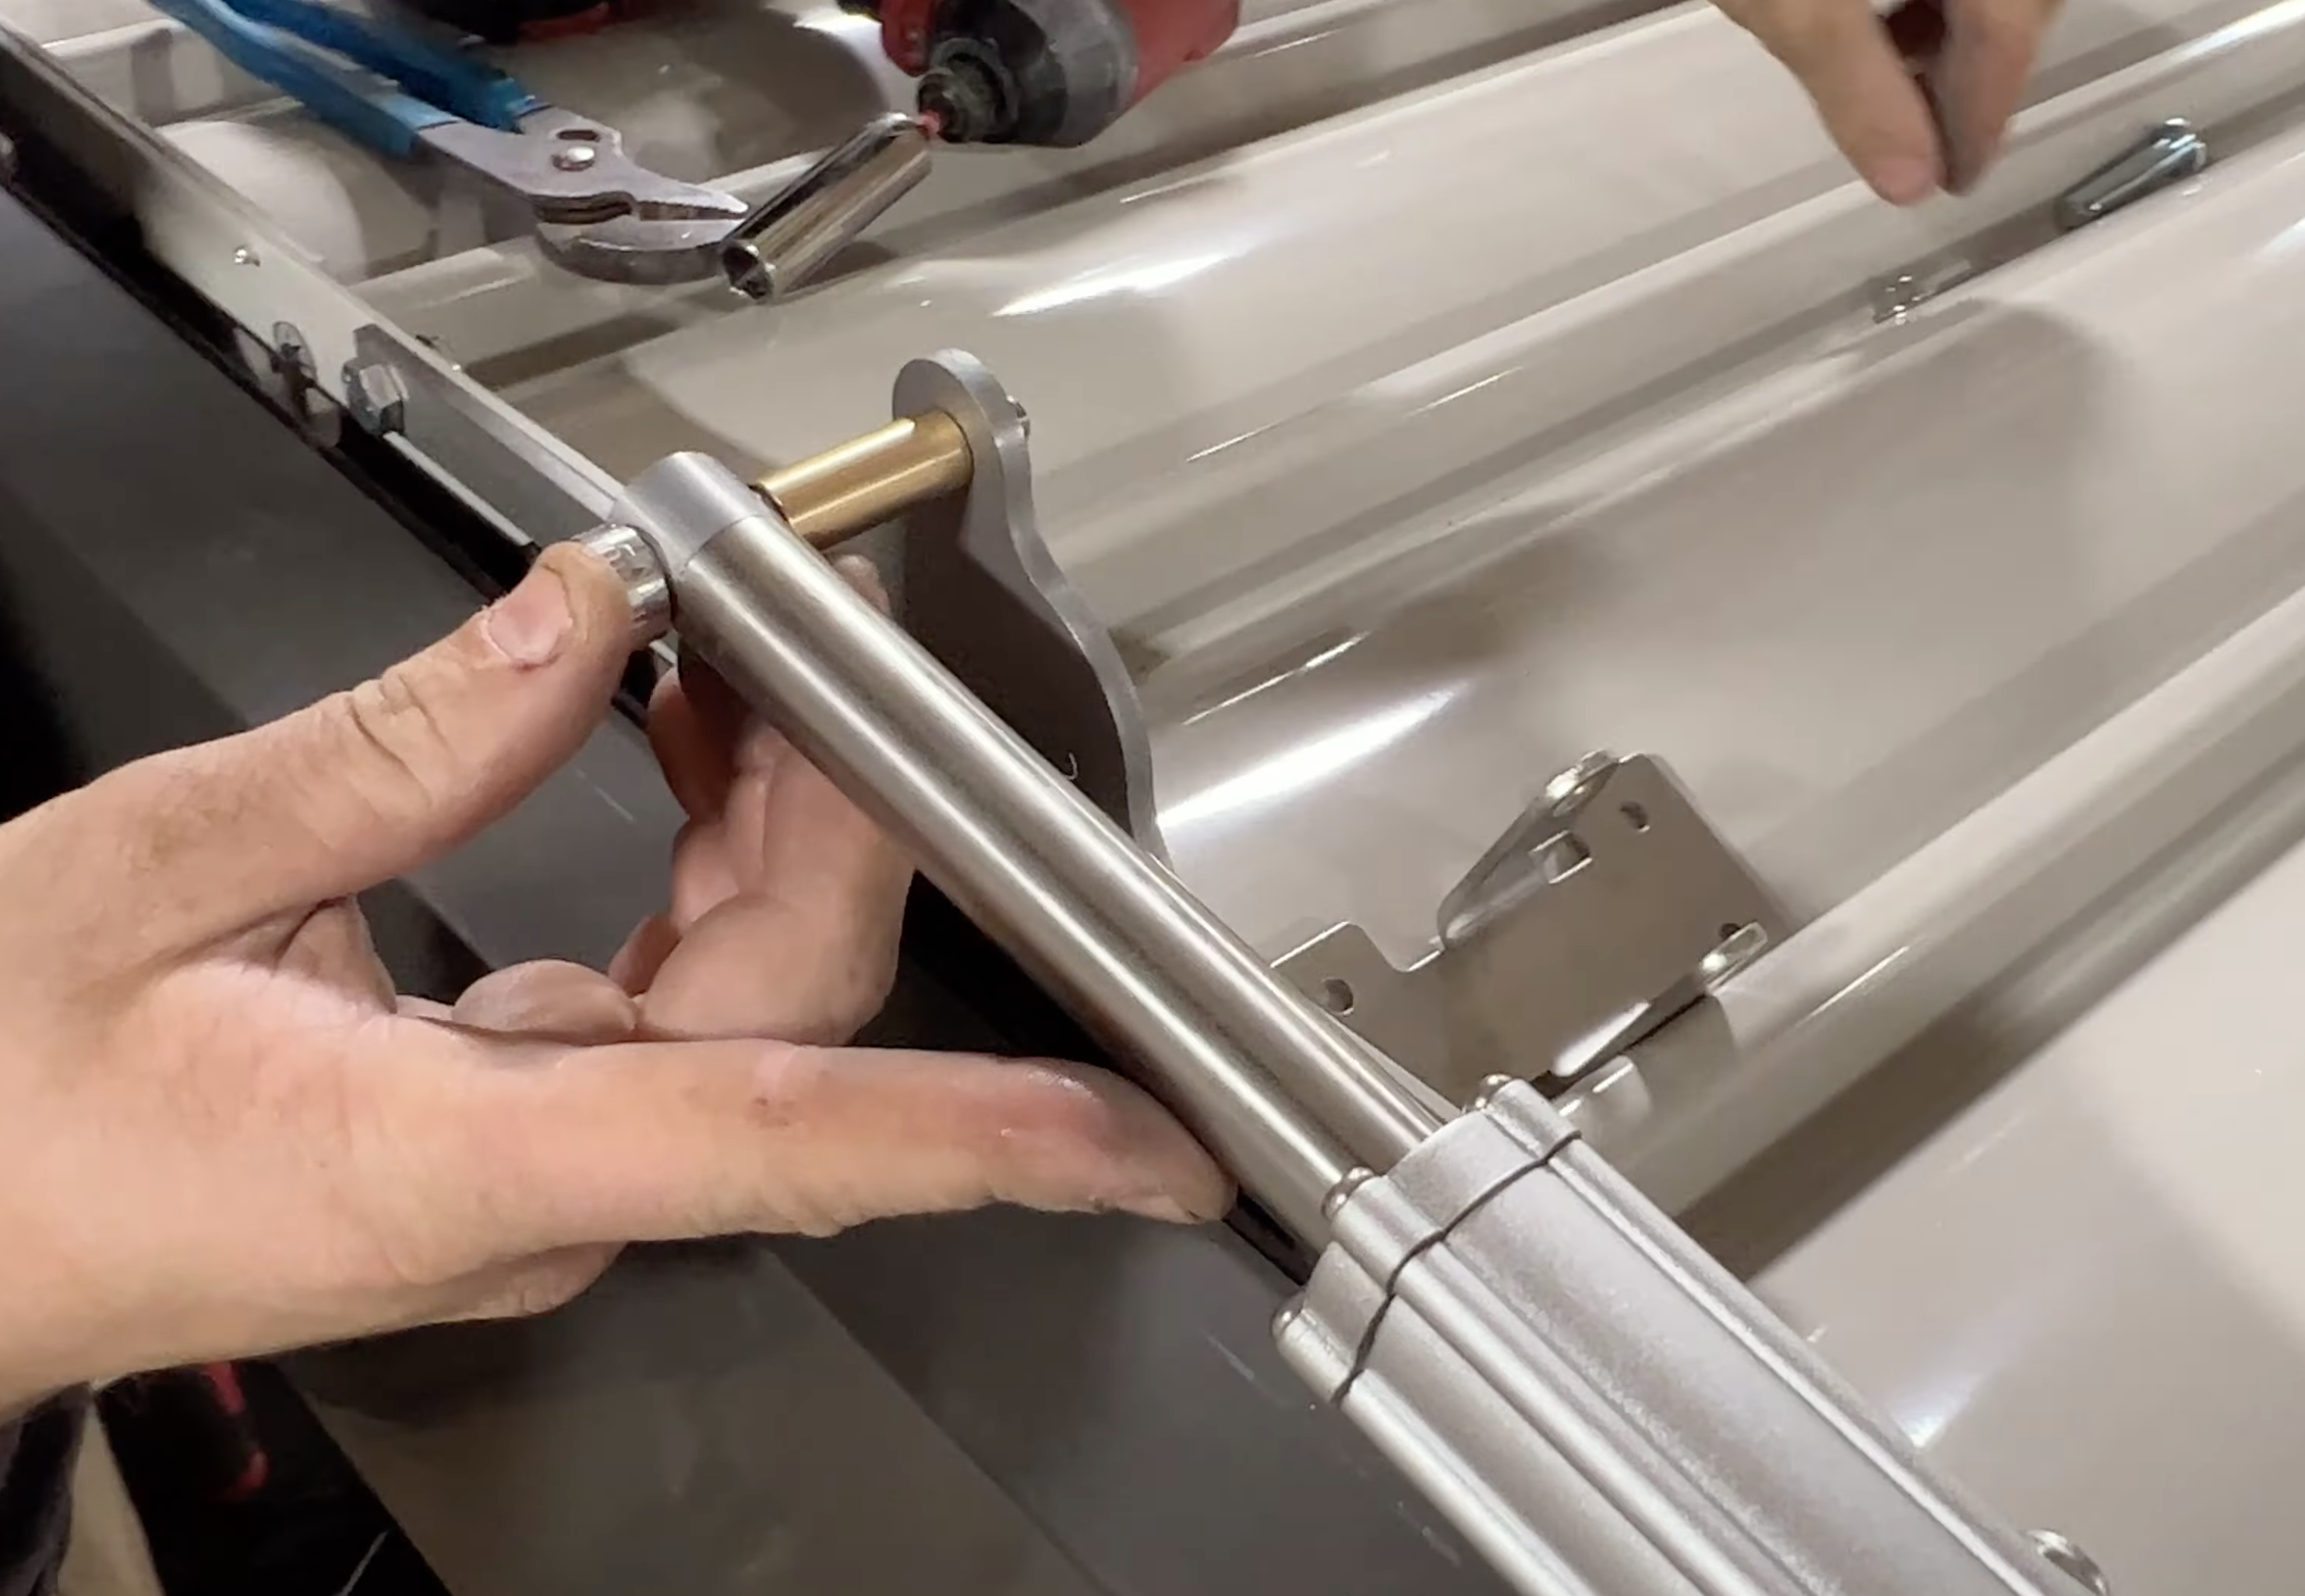
Mounting the Motor
After you ensure the motor is working properly, you will use your motor connection bar to attach to the link bar.
Use your 3/8 bolts and 3/8 lock nuts to tighten each of the three bolts like is pictured above. Do this to ensure proper functioning of your diy pergola.
Make sure motor is fully extended before proceeding to next step
Place the rear of the motor away from the side of the louvers with the pile weather stripping.
Next follow the steps in the video portion to ensure proper functioning of the motor when in use.
Do the same by referring to the video for fastening the motor down to the beams. This is a very important step and you will need to make sure this is done properly by confirming with the instructions before proceeding with this step of the project.
Conclusion
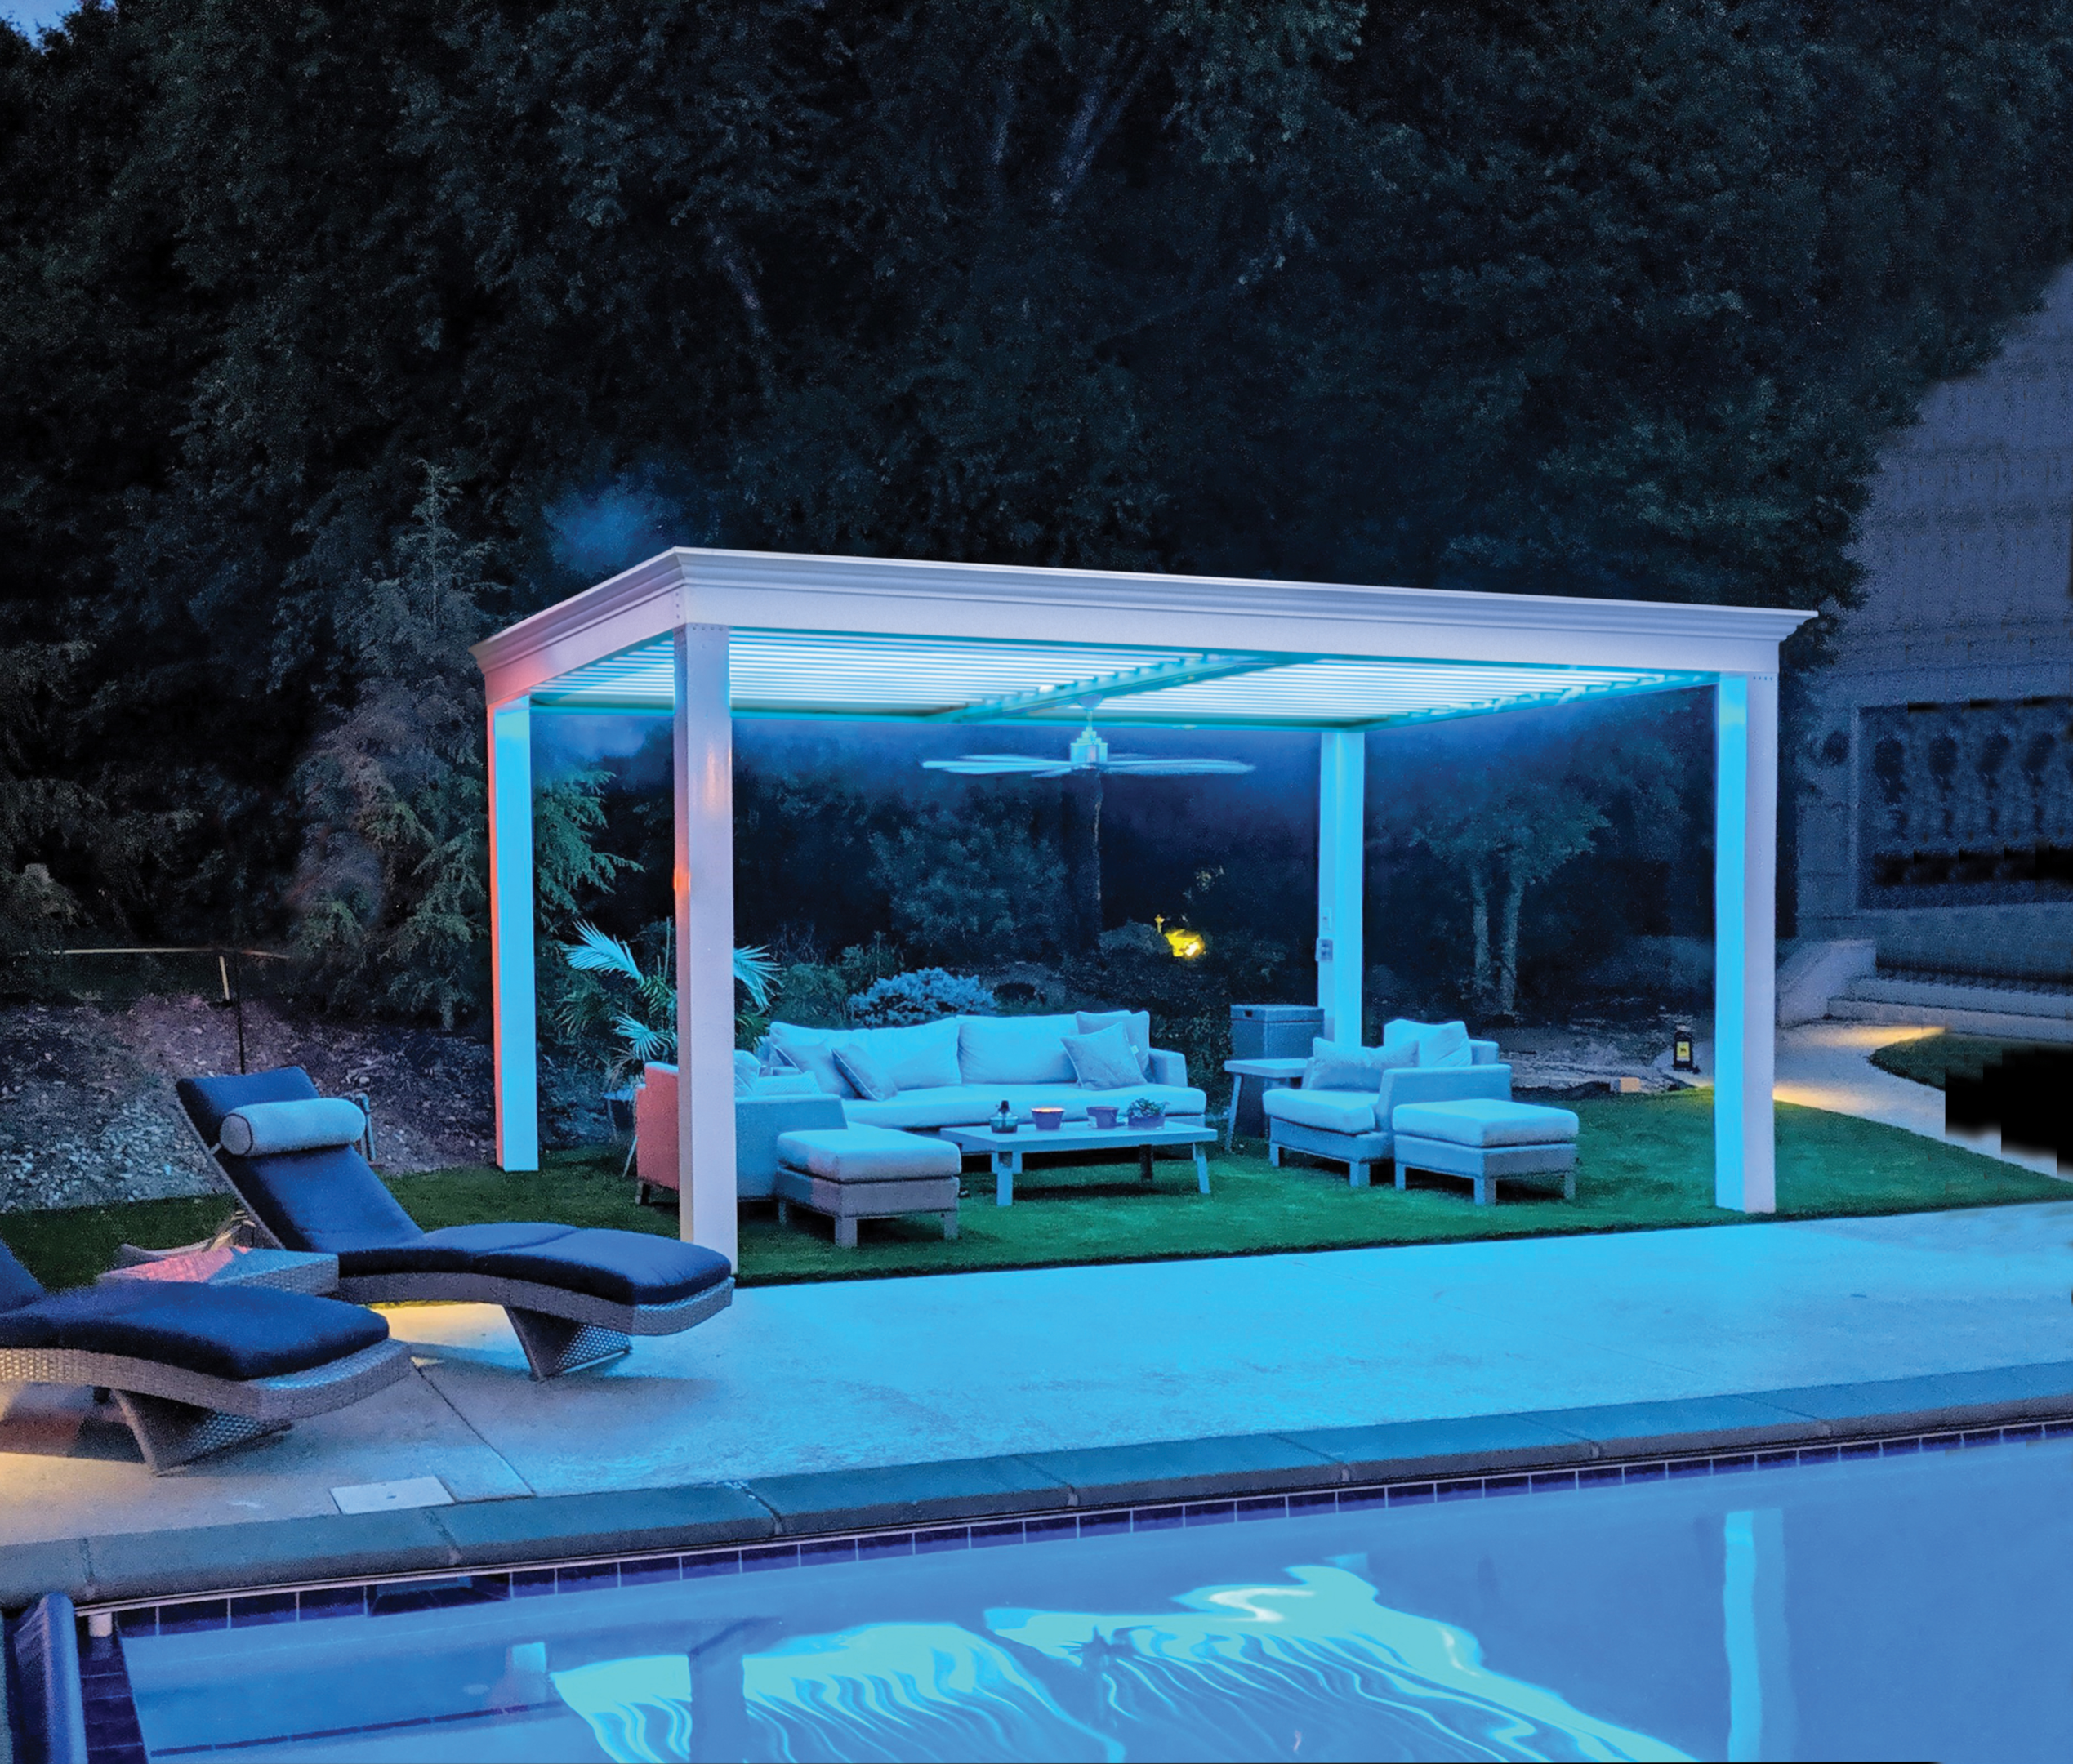
You should now be done with your pergola installation. Now you won't have any wood or cedar to take care of and you should be able to enjoy the outdoor oasis with your diy pergola.
You will have the highest quality shade possible for your backyard and this will be a project you can stand behind for decades to come. You also now know how to build a pergola.
If you are just shopping, please consider taking a look at the options on our website linked below. Best of luck and happy building.
