
Create a Stunning DIY Pergola Easy: Step-by-Step Guide for Beginners
Planning Your DIY Pergola
Are you in the market for a new DIY pergola? If so, you've come to the right place! In the document below, I will go over an easy step-by-step guide and help you get your pergola project started.
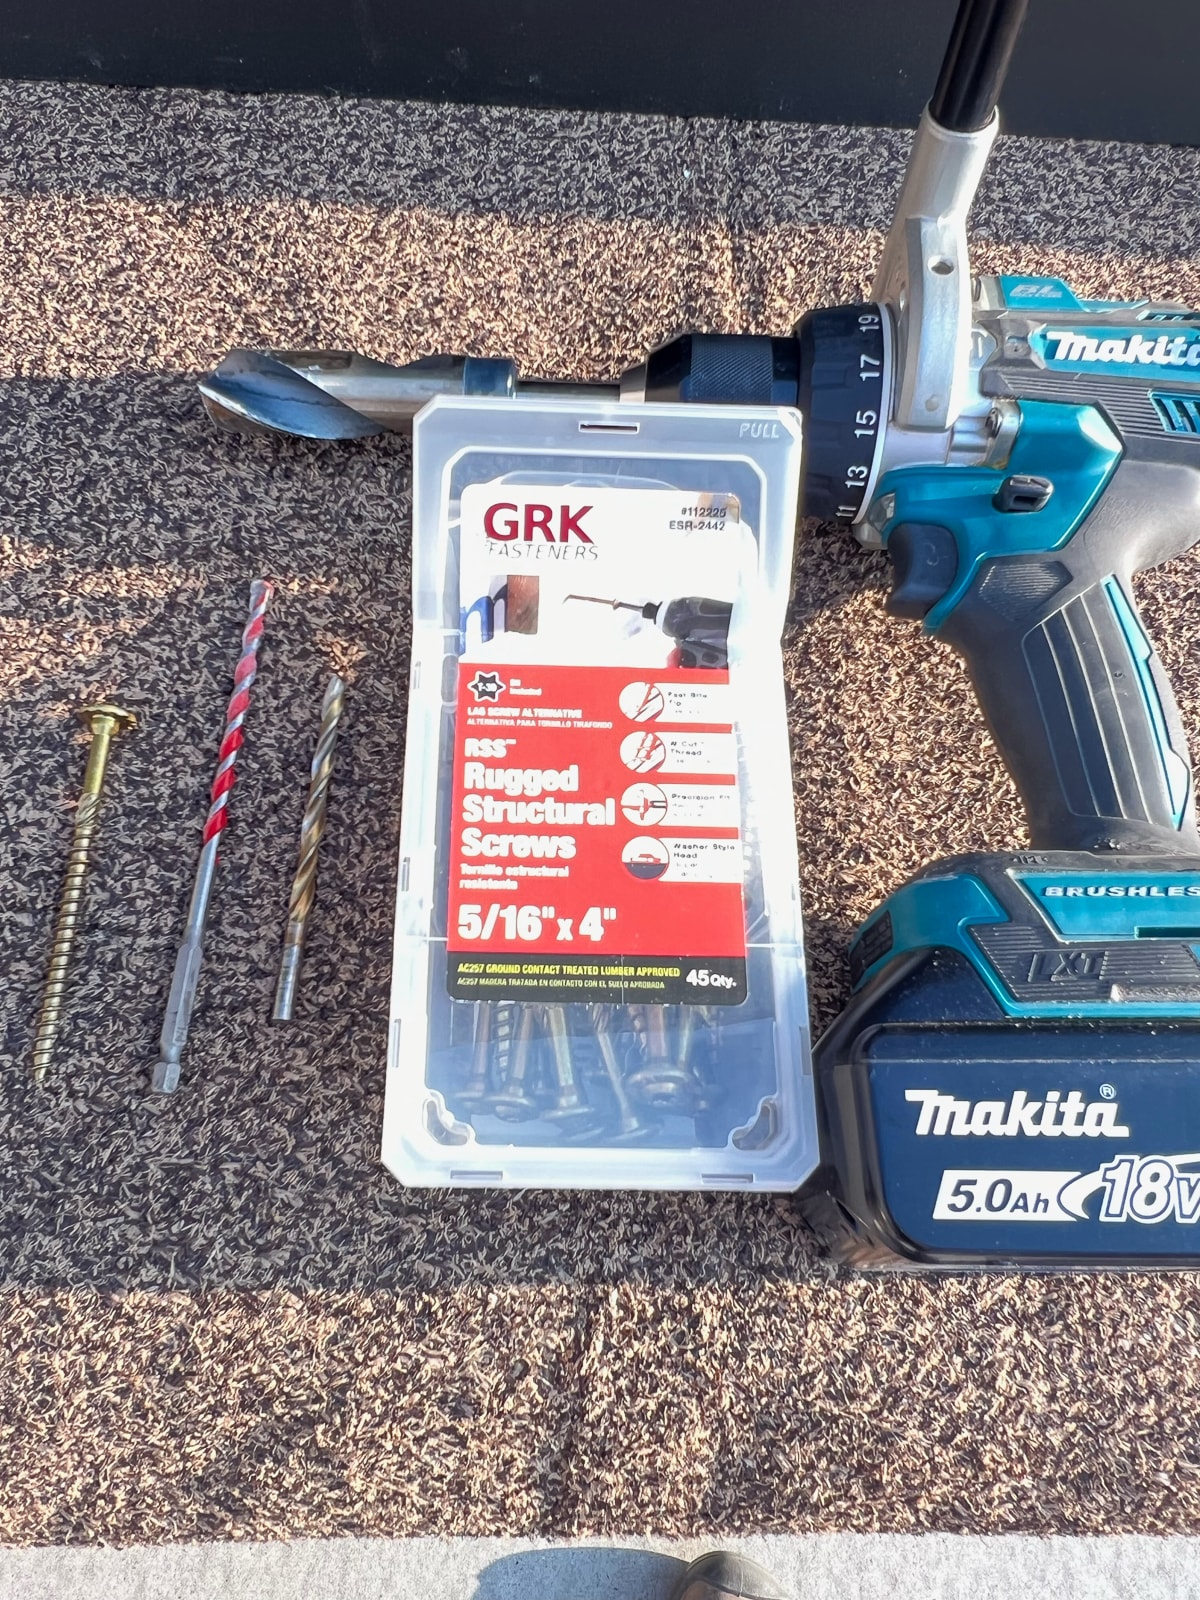
Table of Contents
- Create a Stunning DIY Pergola Easy: Step-by-Step Guide for Beginners
- Planning Your DIY Pergola
- Materials and Tools Needed
- Preparing the Site
- Building the Pergola Frame
- Adding a Roof or Canopy (Optional)
- Finishing Touches
- Tips for a Successful DIY Project
- Common Mistakes to Avoid
- Enjoy Your New Pergola
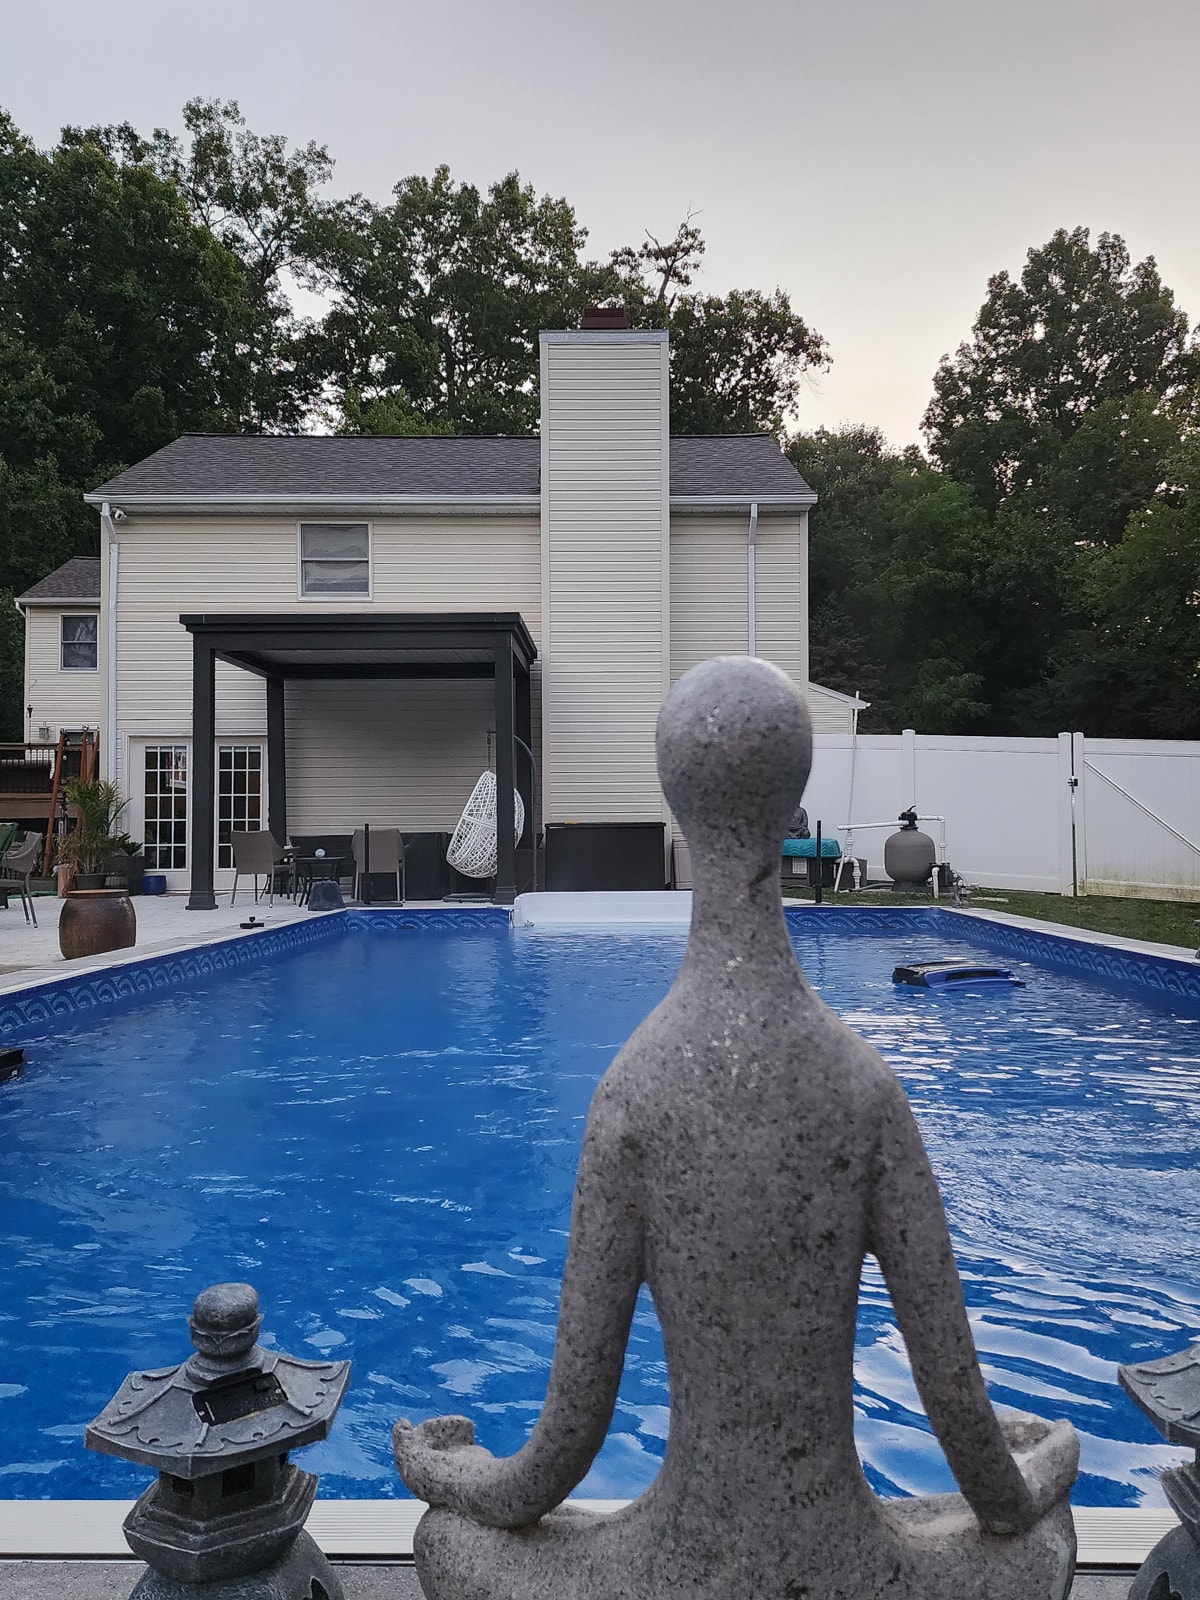
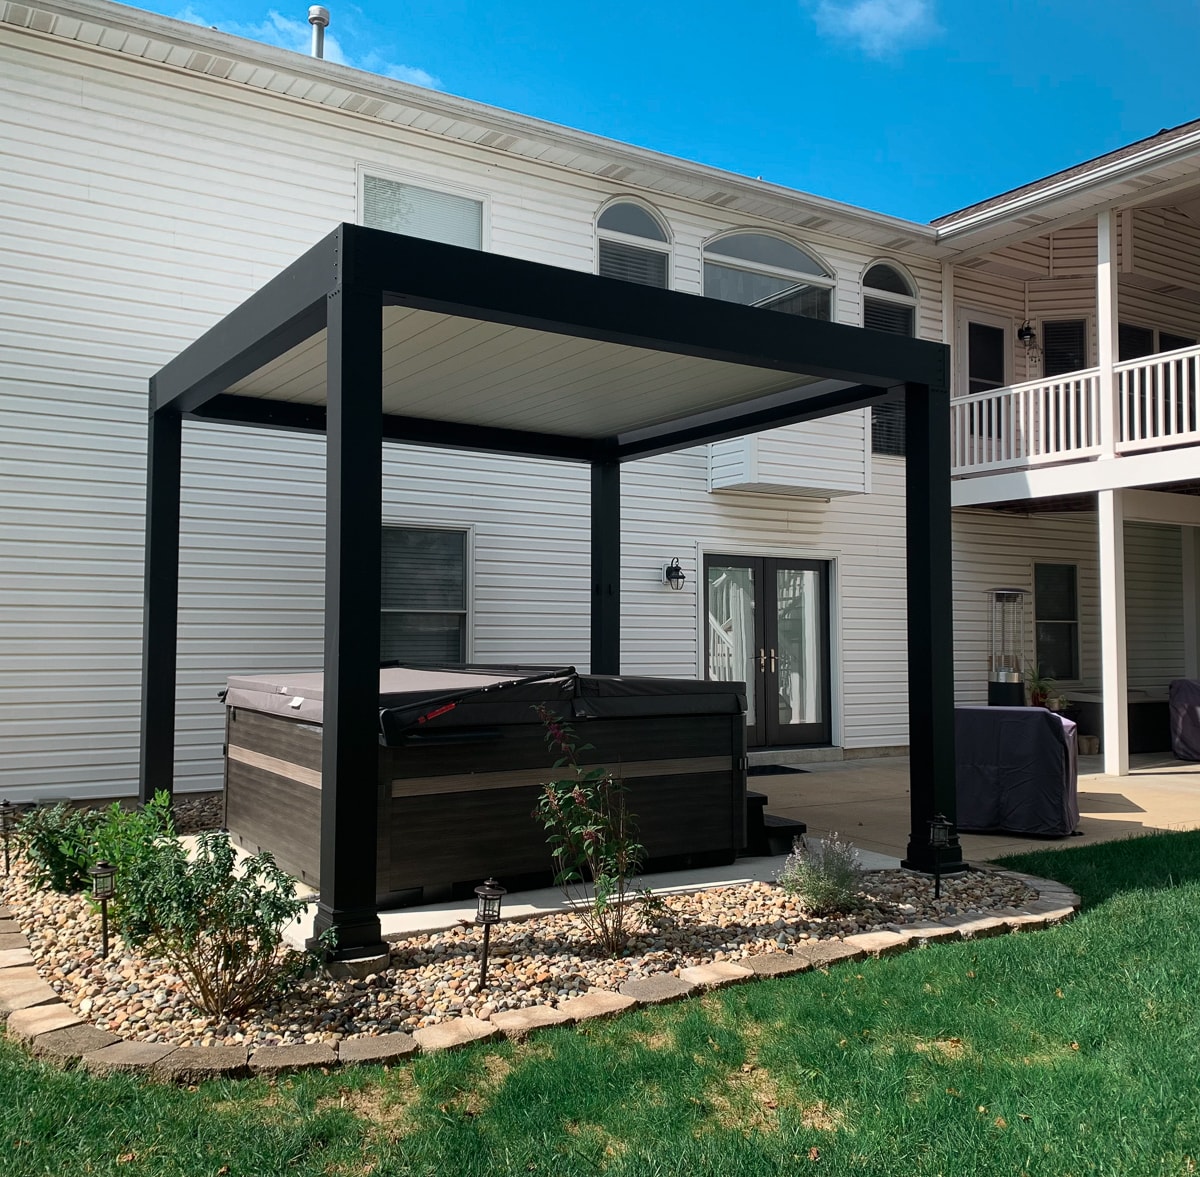
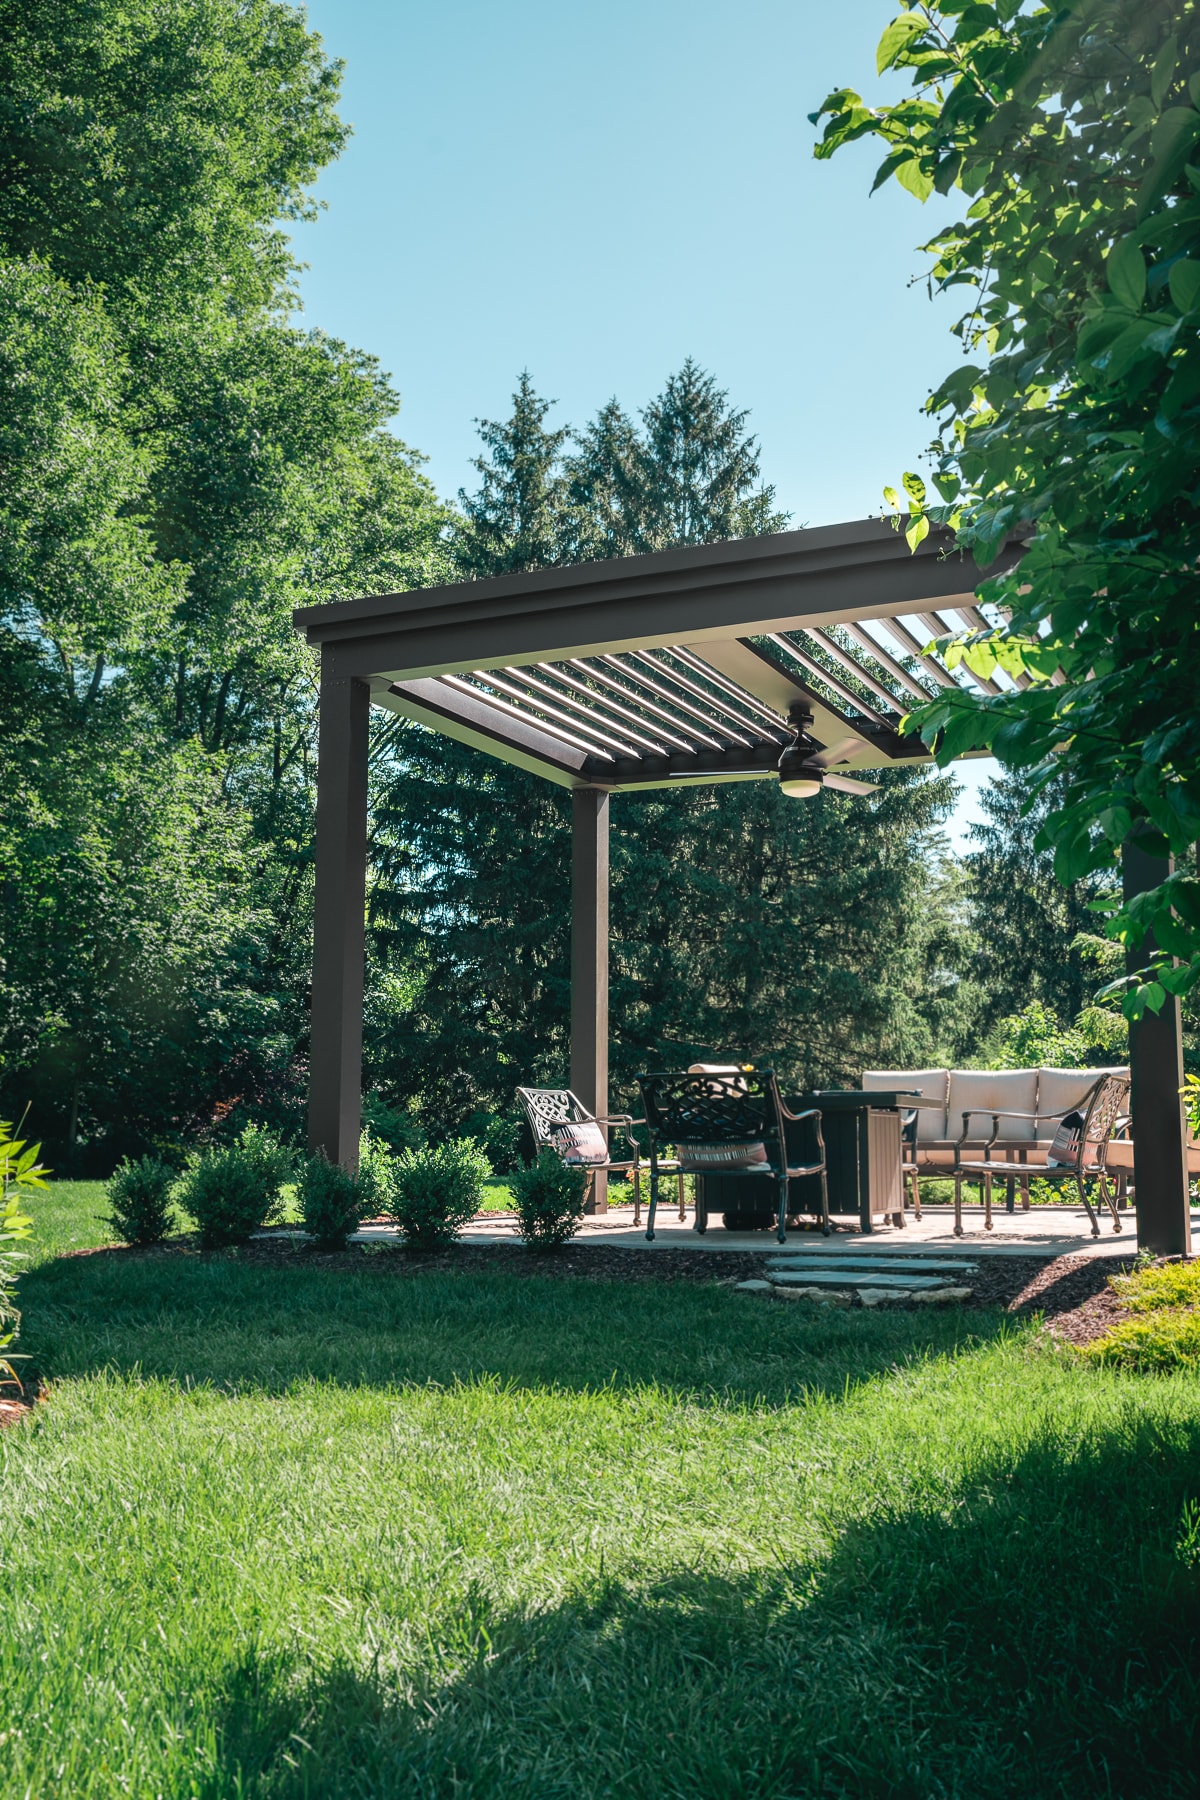
The first step in the process is to determine the purpose of your DIY pergola. Are you looking for the option of full shade or are you covering an outdoor kitchen? Perhaps you are looking for a calm, relaxing space to unwind after a hard, long day at the office.
Take stock of the current design of your home and space to determine the best style for your pergola. Is your home more modern, traditional, or even rustic? If so, there is a pergola out there for you.
The next crucial step in your DIY pergola process is to determine where you would like to install your pergola. Is there a pre-existing patio or slab this will go on top of? Are you thinking about adding it to your backyard or having it attached to your home to create a seamless transition from indoors to out?
Be sure to measure the space you are adding the pergola into to ensure that it fits comfortably. Also, it's a wise decision to have a conversation with your local building department to understand what permits or additional licenses may be needed to install your pergola.
Materials and Tools Needed
To build a DIY Pergola, there are certain materials and tools that are needed. I will go over those general tools, below.
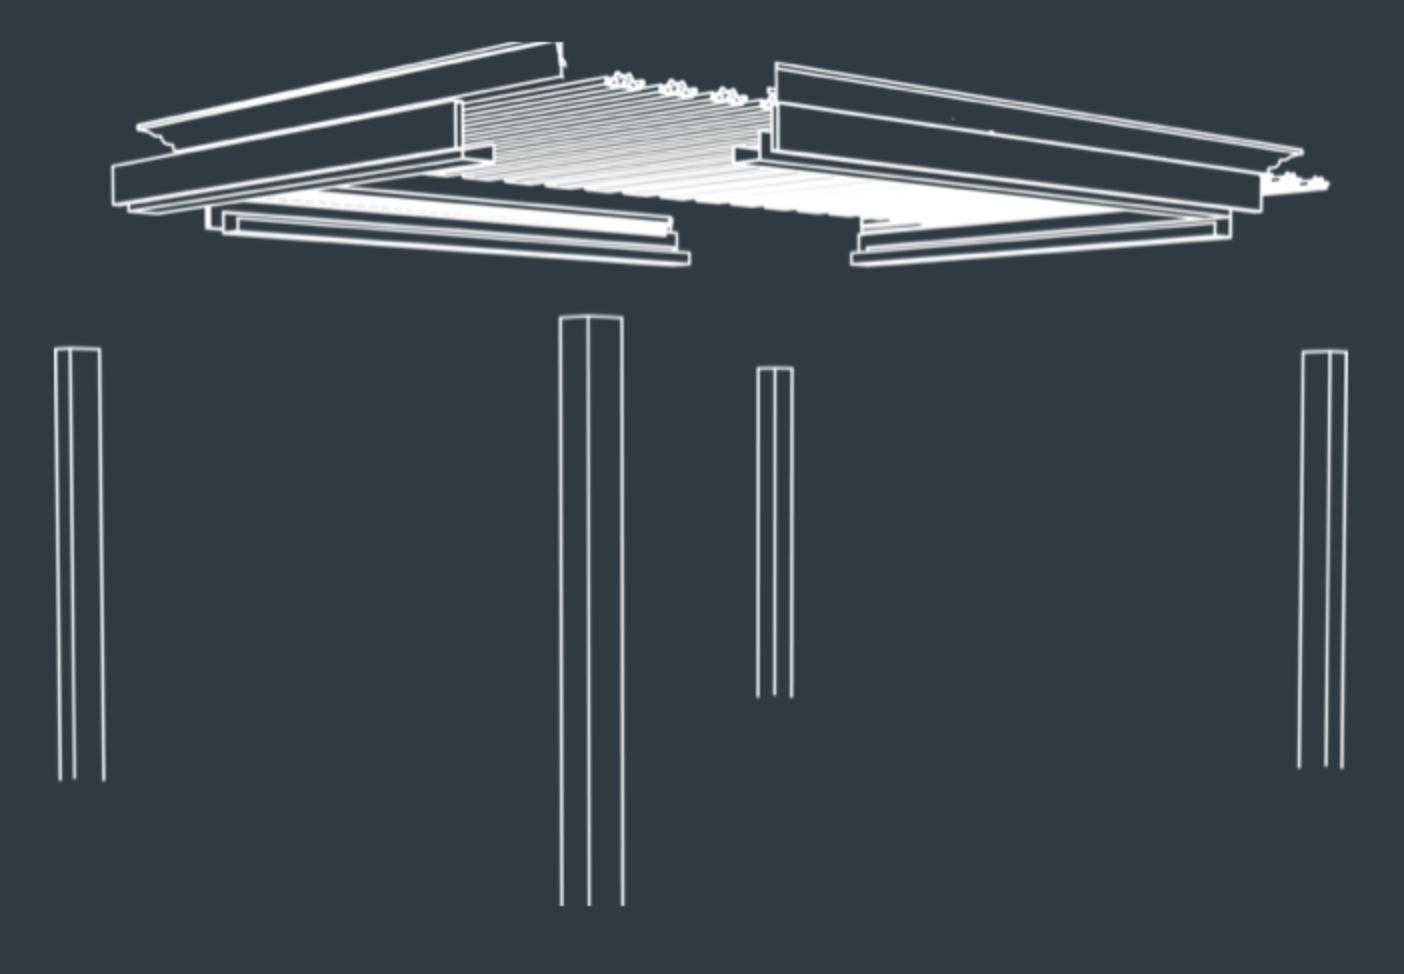
A pergola will be built with a variety of vertical posts, horizontal beams, fasteners, and roof slats or louvers. If your pergola has a motorized louvered roof, there will also be a motor, wiring, and an electrical box that will also arrive with your structure.
Some folks may be a bit nervous about attempting a DIY pergola kit. It is important to take into account your comfort level with certain tools and your ability to read a tape measurer, determine plumb/level/square, and overall construction ability.
The main tools needed for a DIY Pergola kit installation are: an impact driver, Hammer Drill, tape measure, level, safety glasses, and a few other basic hand tools.
Preparing the Site
Prepping the site will be the next step in your pergola installation project. Determine what will be needed to mount the pergola and be sure to have your concrete pad or footings poured well in advance of receiving your pergola. Make sure there are no obstructions or any debris that may cause any installation issues.
Before installation, ask your pergola manufacturer for a center-to-center footing document. This will show you the exact post location so you can mark these spots and make your life a bit easier before installation.
It is also a crucial step to contact your local utility companies prior to any digging you may need to do in your backyard. You don't want to hit any power or gas lines on accident.
Once your pad or footings are poured, it is then time to attach the post. Most well-made pergola kits will come with baseplates and post bases. The base plate will attach to the concrete and then the post slips over the post base and then is screwed through to attach everything.
Building the Pergola Frame
As stated above, once the posts are anchored with lag bolts, it's then time to begin building the pergola frame. You will then proceed to attach the horizontal beams to the posts, checking for squareness at the corners and opposite corners. Both diagonal measurements should be the same.
Adding a Roof or Canopy (Optional)
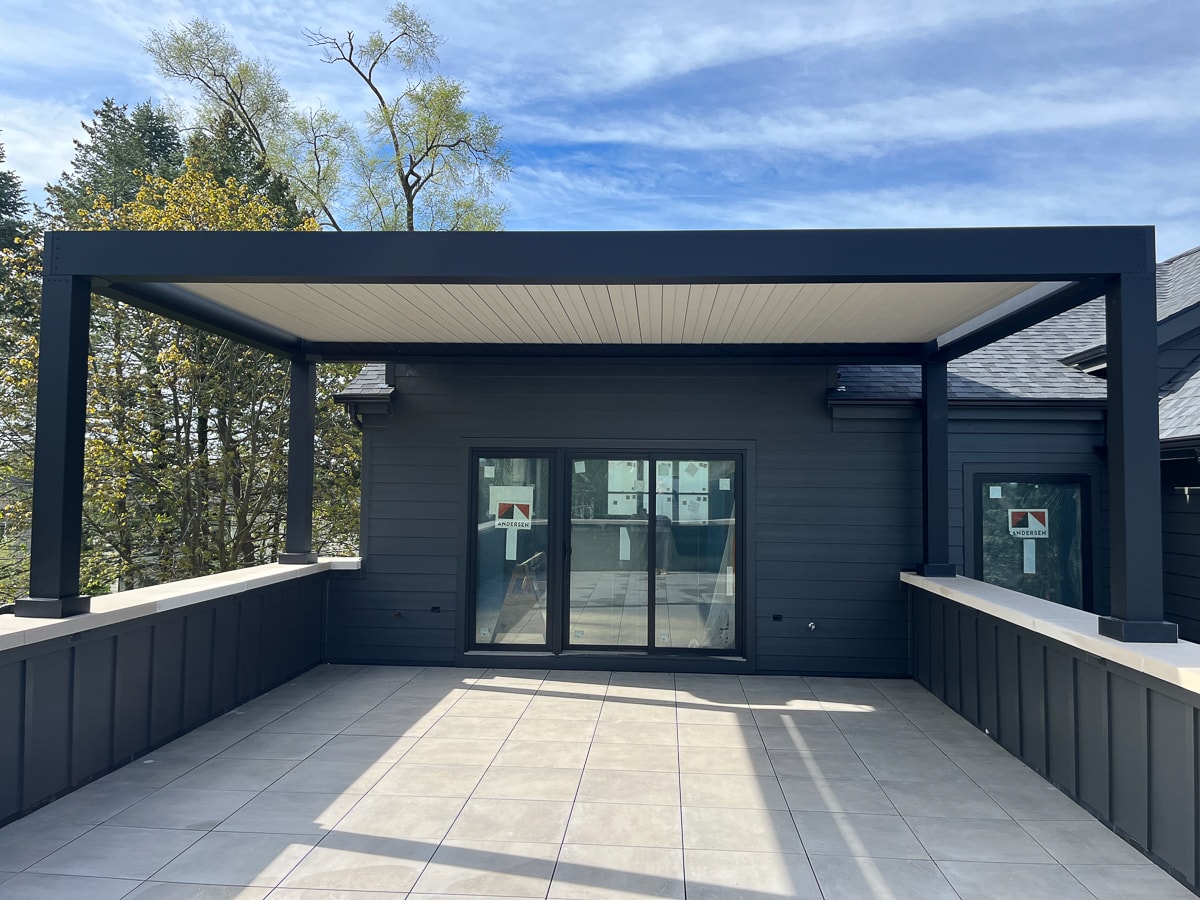
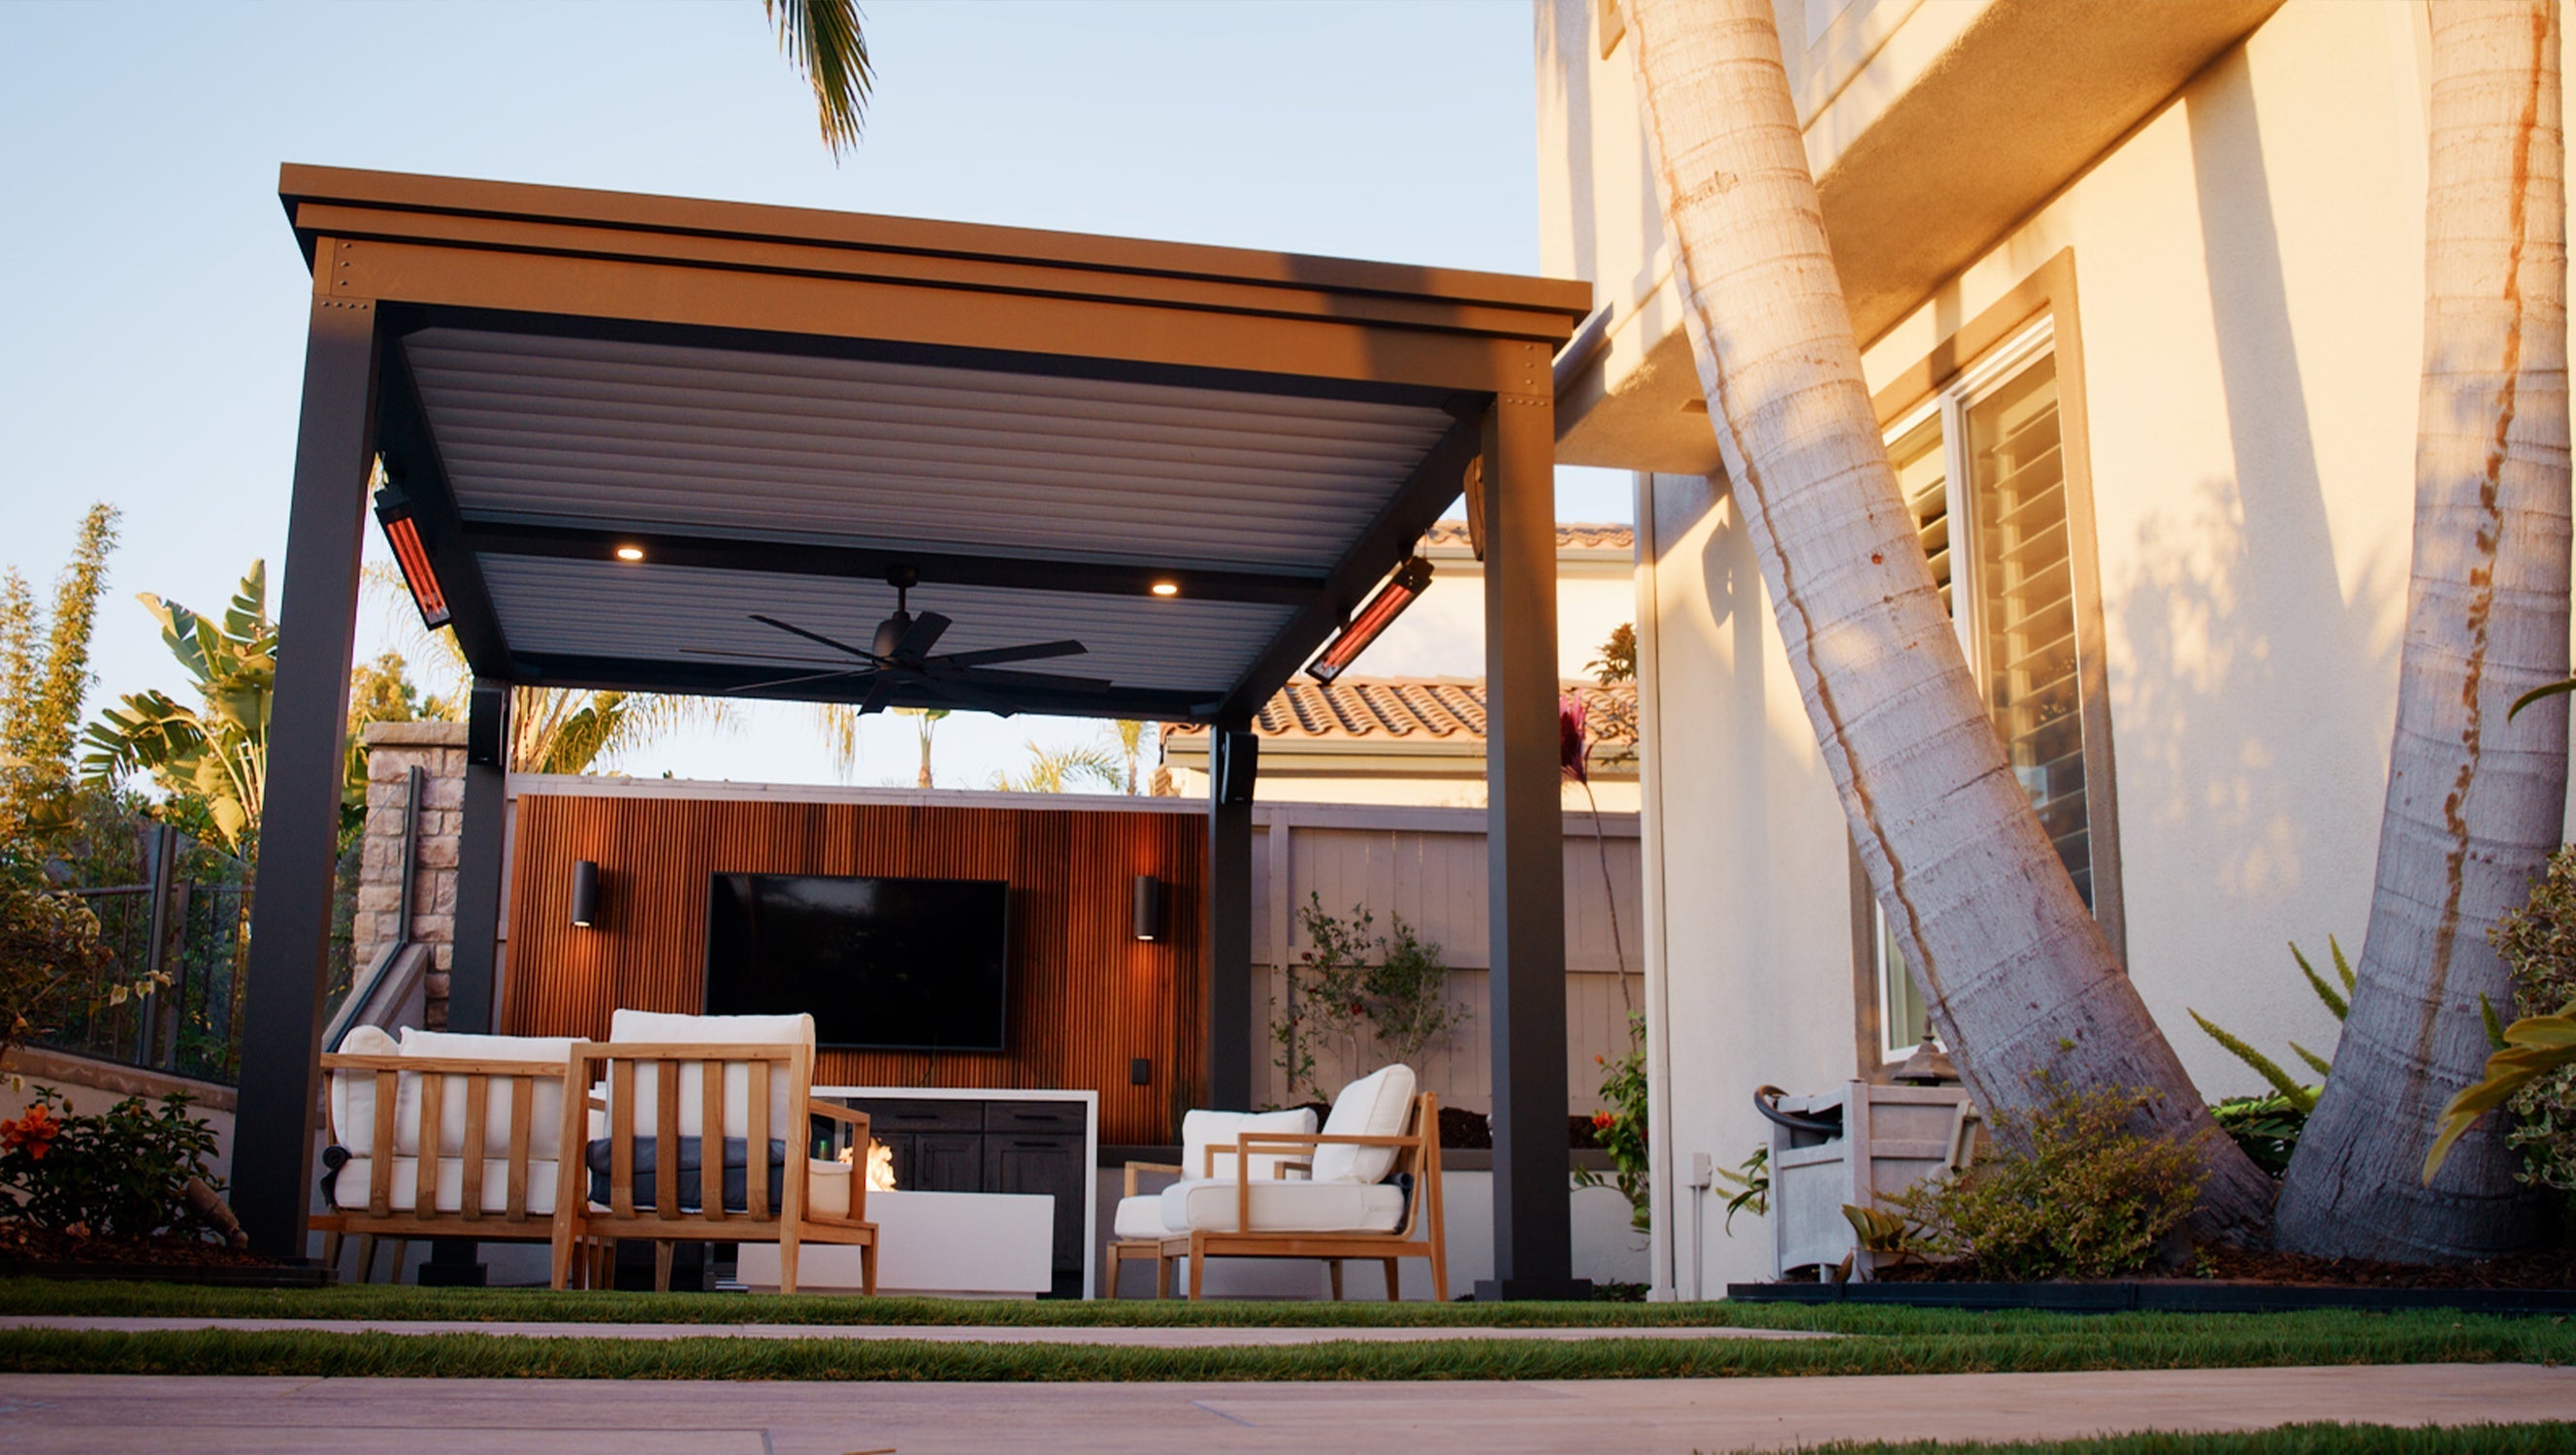
Adding your motorized louvers or slats is the next step in the installation process. If using a kit, the louvers will have already been cut to fit the frame of your unit. They will need to be installed into the pivot strip on each long wall.
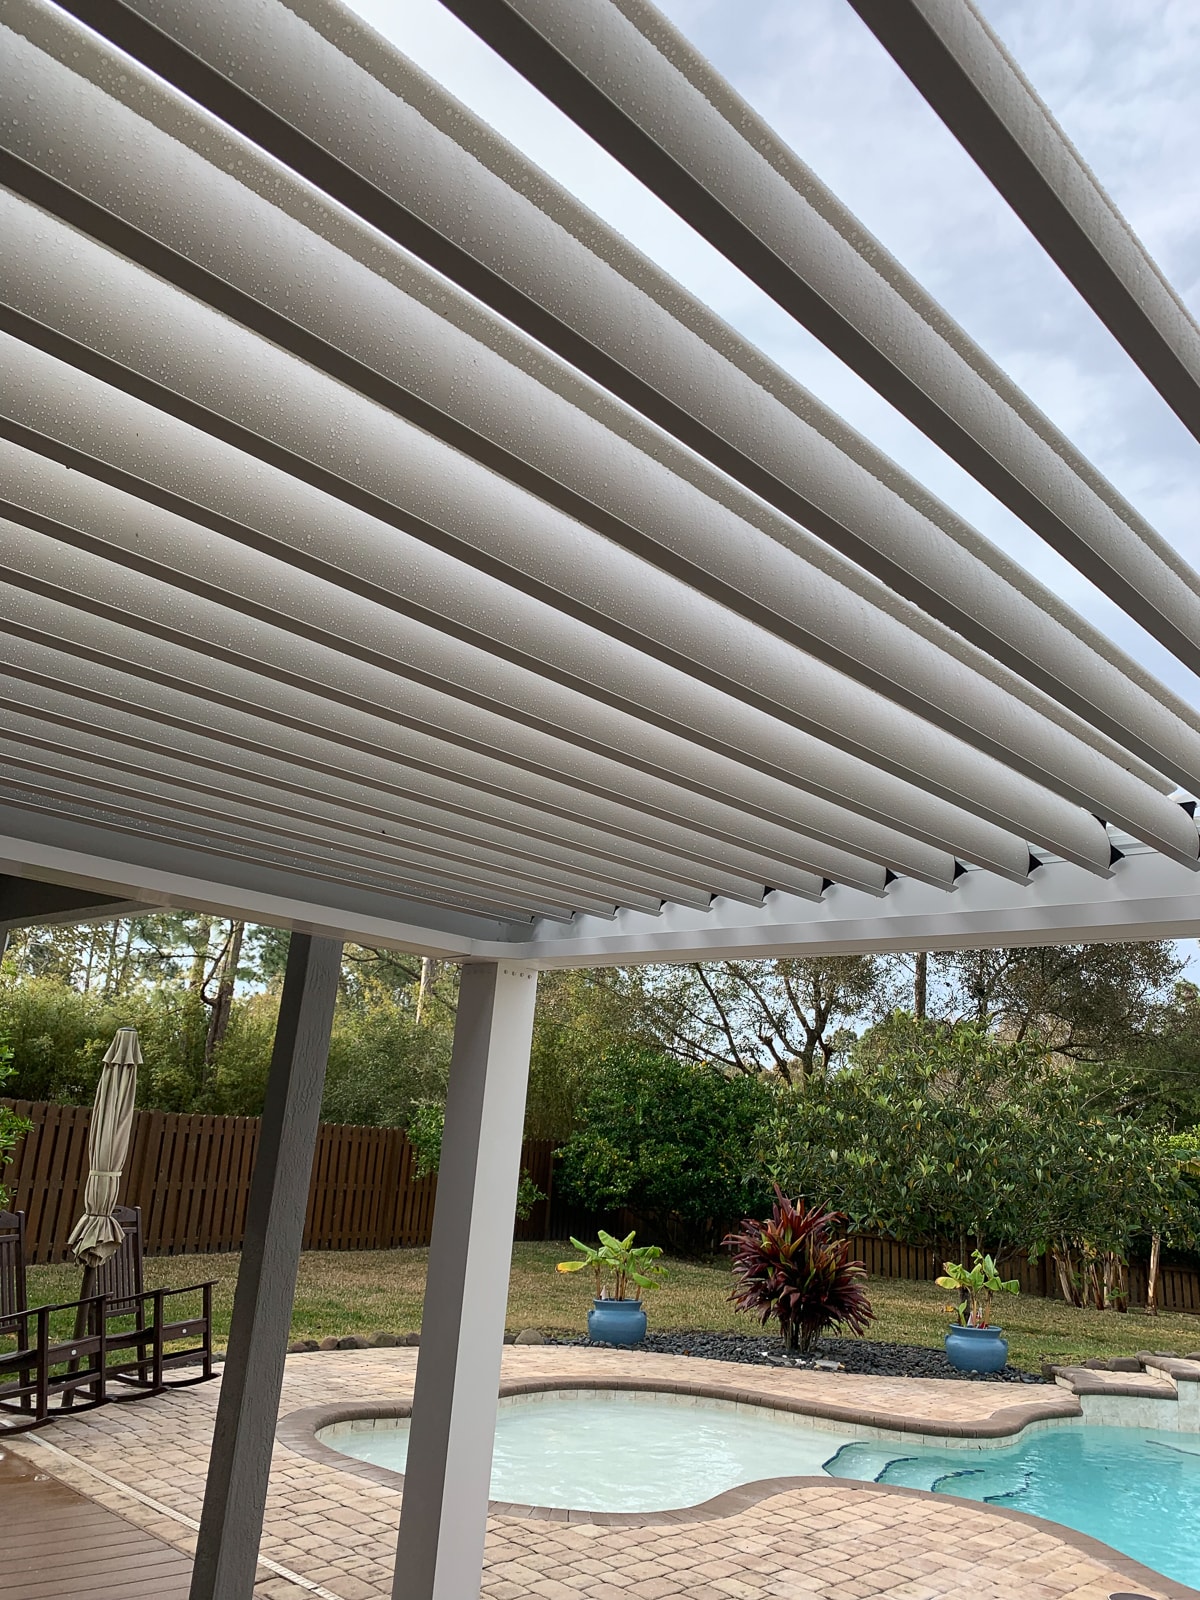
Once the louvers are installed into the pivot strip, it is then time to attach the link bar to the endcaps of the louvers to get them all synced and attached.
The motor is connected to the junction box at the top of the unit and will control the louvers via a simple radio frequency remote.
Finishing Touches
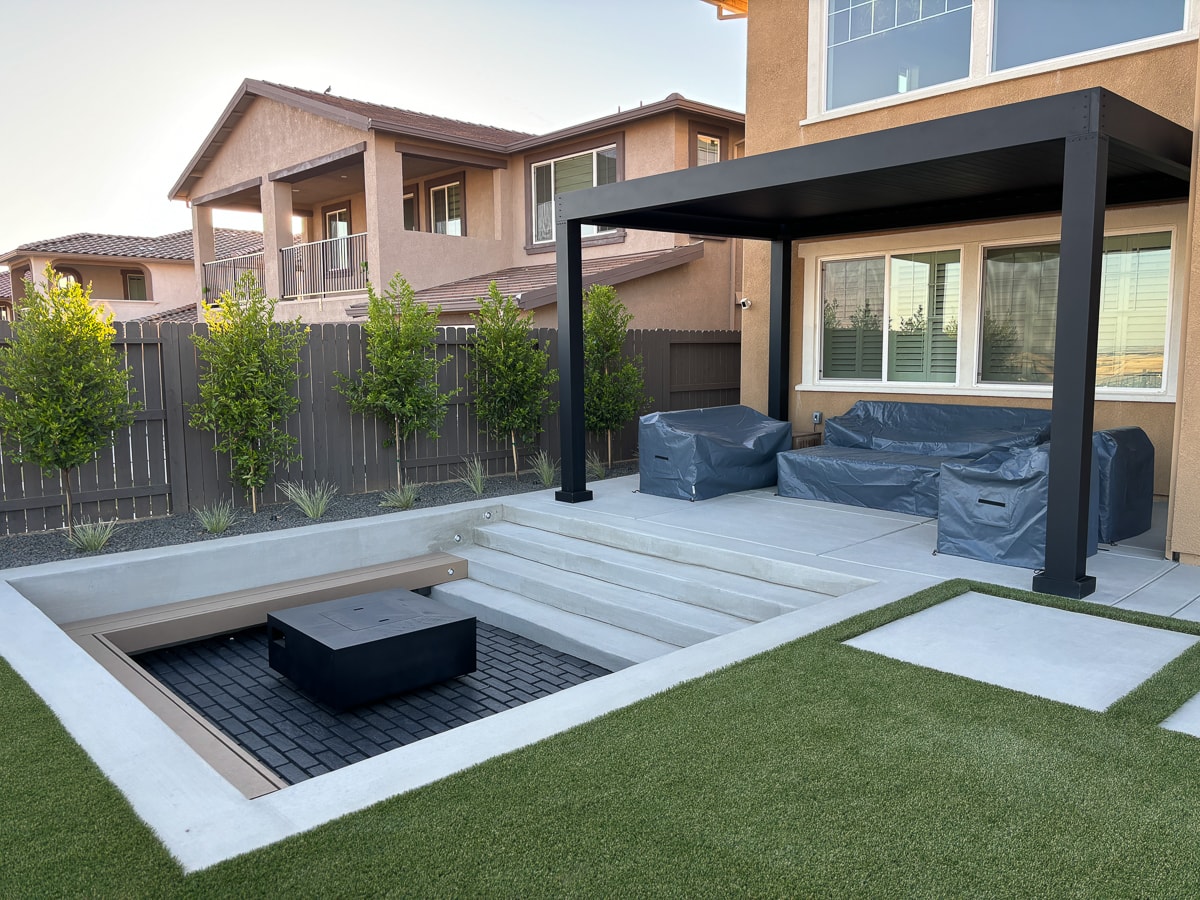
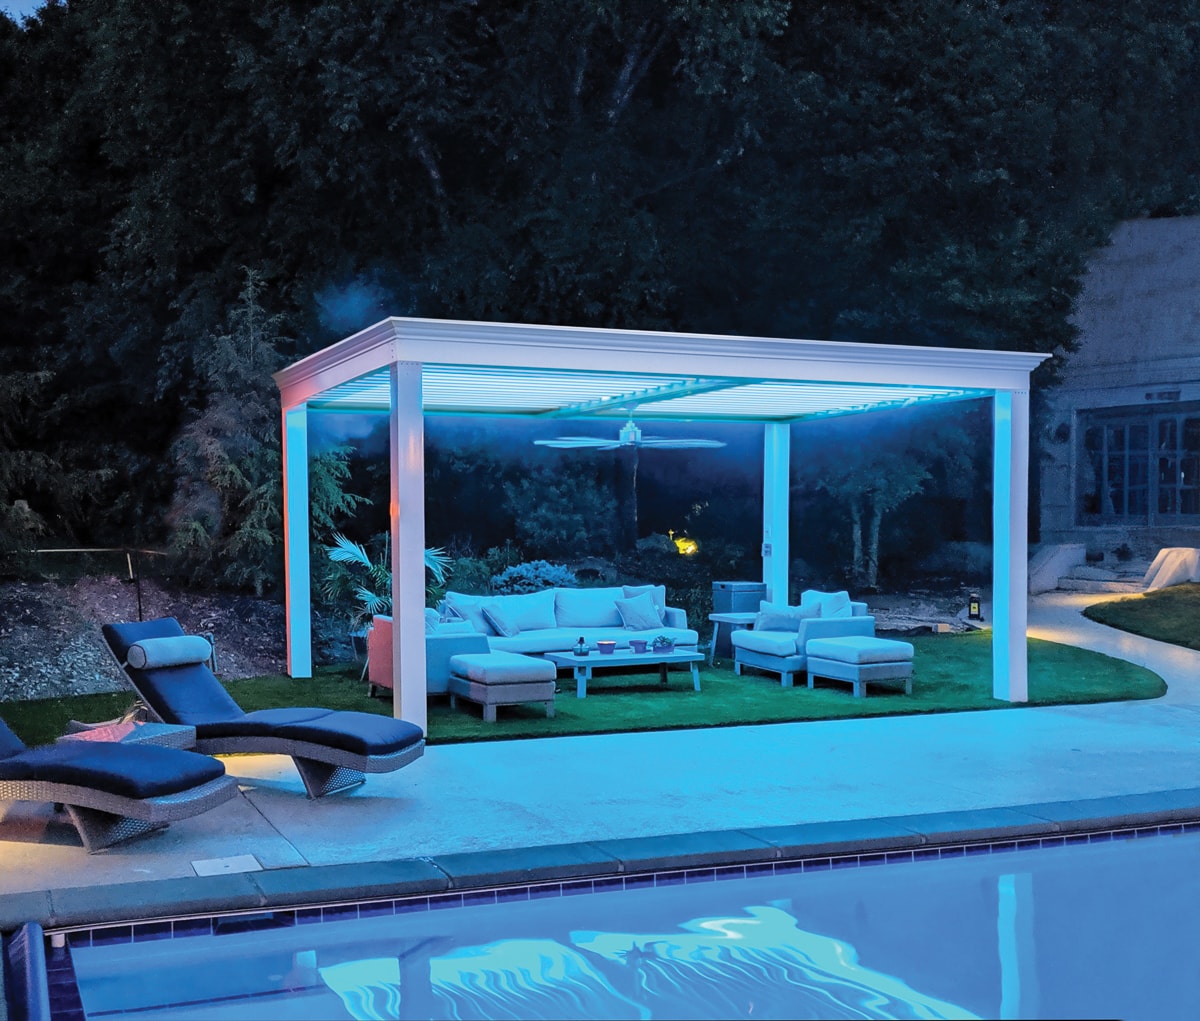
There are a few different additions that can added to spruce up your pergola and make it feel a bit more custom. These include adding lighting, heaters, fans, and even decorative panels or shades.
Adding hanging plants, baskets, flowers, and other items can enhance the ambiance under your pergola.
All finished? It is time to invite friends and family to take a look at your new outdoor space. Get the grill going and have a good time under your new, absolutely stunning, pergola.
Tips for a Successful DIY Project
Always follow safety guidelines and precautions before working with building materials and power tools. It's an old adage but a good one nonetheless - Measure twice, cut once.
Don't be afraid to reach out to family and friends for assistance. Oftentimes, a couple of extra hands will be needed to lift some of the heavier beams and posts. Working together toward a common goal is a rewarding project and can be a bonding moment.
Once your pergola is installed, it's important to review maintenance requirements and stay on a maintenance schedule to get the longevity out of your pergola that you desire.
Common Mistakes to Avoid
There are a few common mistakes to avoid that will save you a bit of heartburn on your project. I'll go over those, below.
Not checking with your local building department for codes, permits or other licenses can be a catastrophic mistake. Imagine installing your pergola without checking the code and you get a surprise visit from the building department towards the end of your installation. There is a good likelihood that you will need to tear down your pergola and start again once the proper paperwork is gathered.

Accuracy when measuring your space is vastly important. If you are wrong on your measurements and order the wrong-sized pergola kit, it may not fit in the space or be too small. You will then need to either use the smaller unit and not be satisfied, or you will need to order a brand new, correctly sized pergola.
Using proper safety precautions is important. You don't want any accidents out on the job site.
Enjoy Your New Pergola
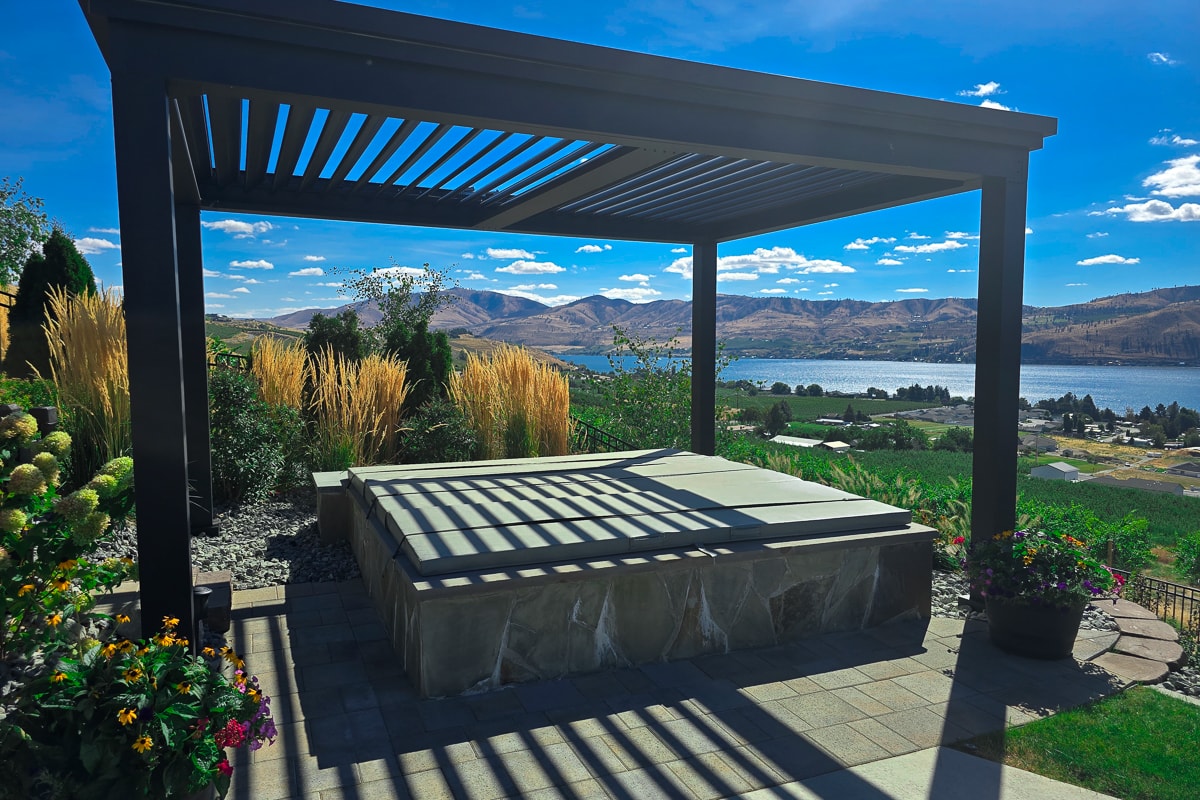
Now it's time to relax and enjoy your new outdoor space - Nice work!
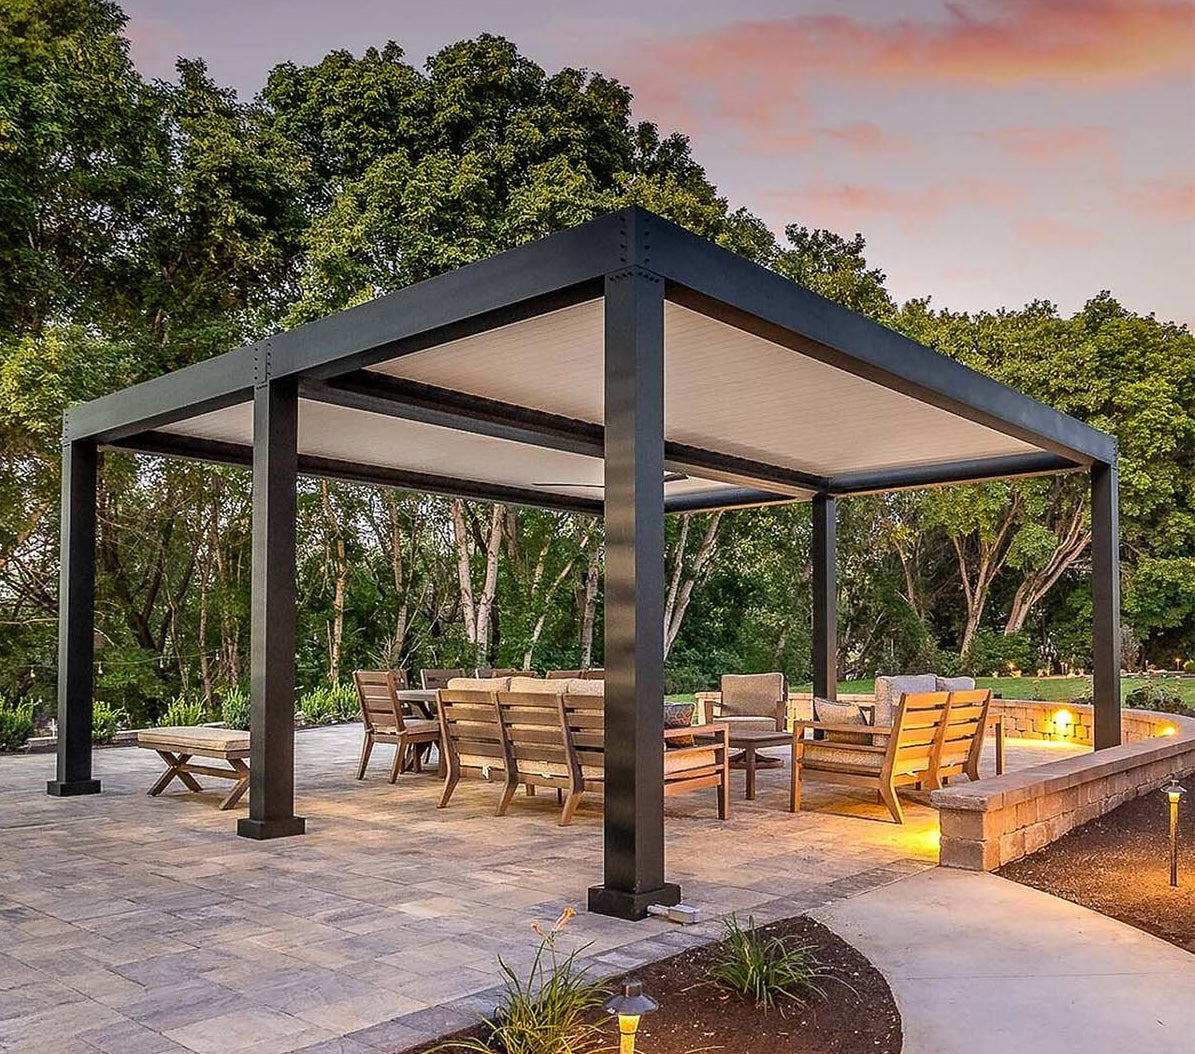
Adding furniture under your pergola to relax or enjoy fine dining is a good place to start. Lighting can also be a simple way to add some personal style and ambiance to your gorgeous new space.
Build a pergola or free-standing pergola on your porch to add some curb appeal and even increase your property value. This will also add visual interest to your space and look awesome!
