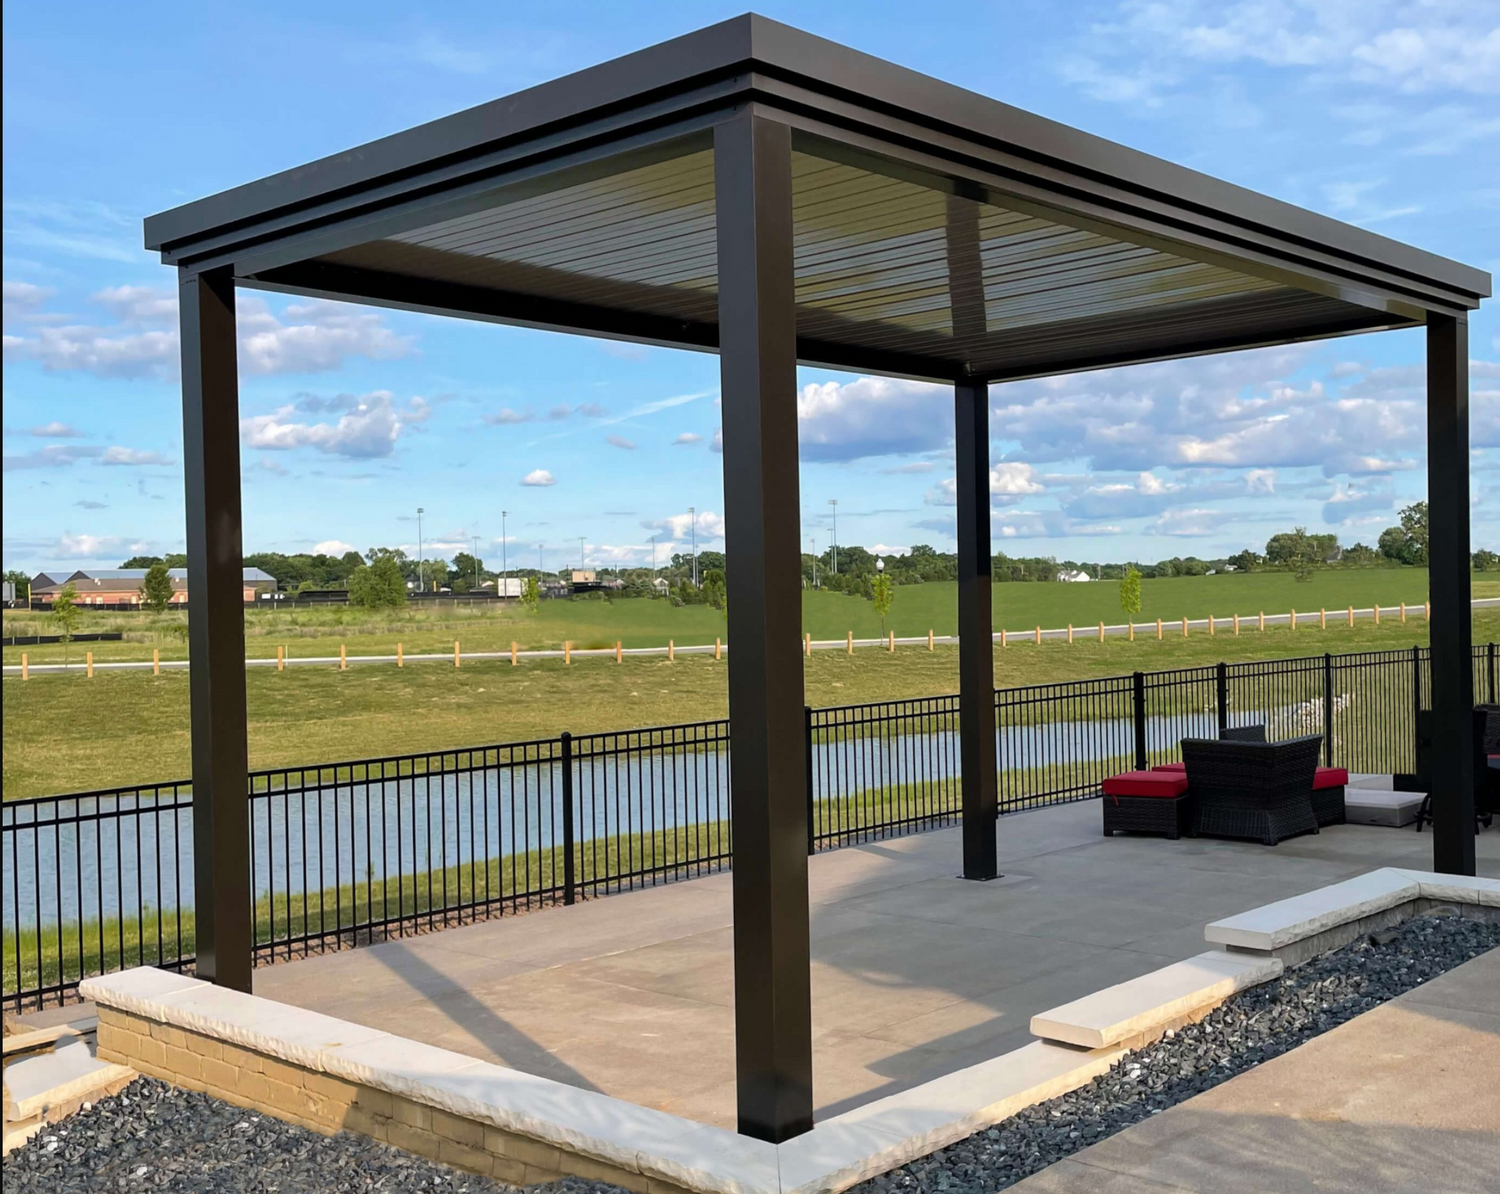
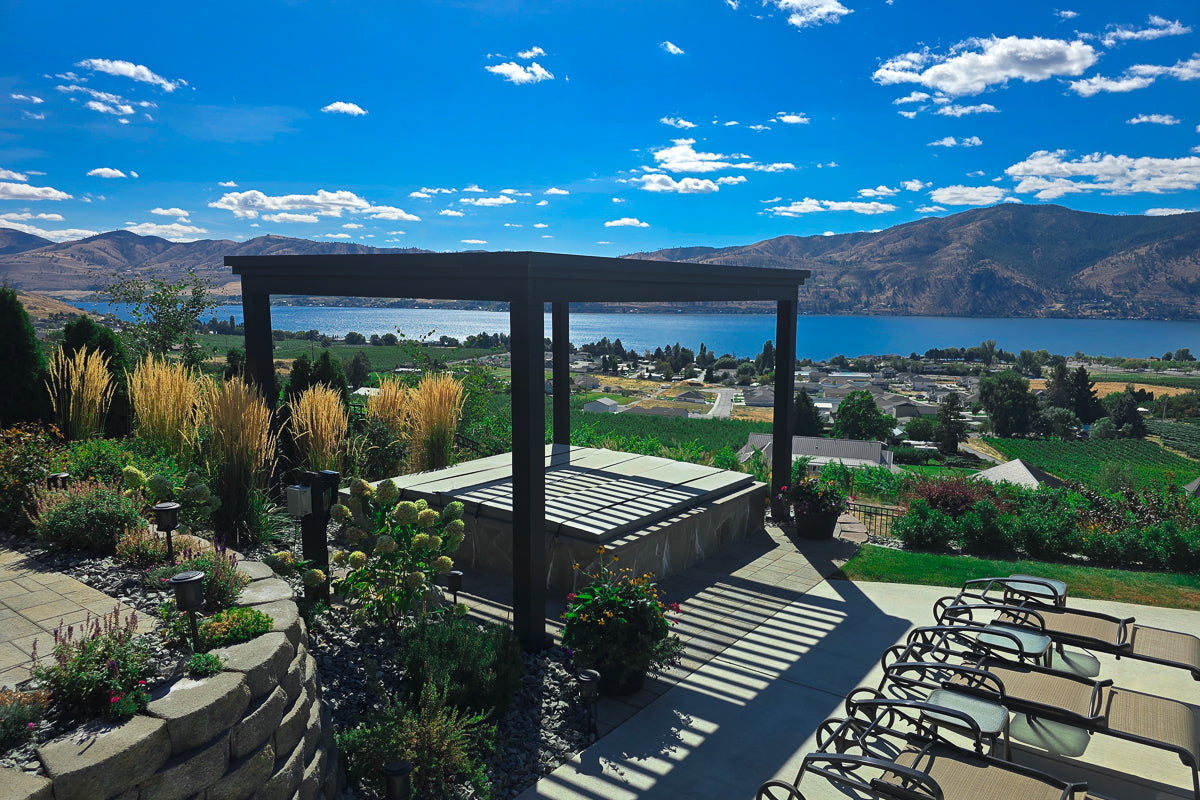
Modern pergolas have made a huge comeback. It's hard not to notice the backyards of homes that have some type of pergola structure. The modern day pergola differs greatly from it's predecessors.
Table of Contents
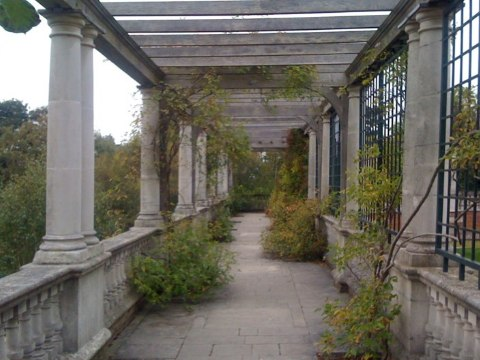
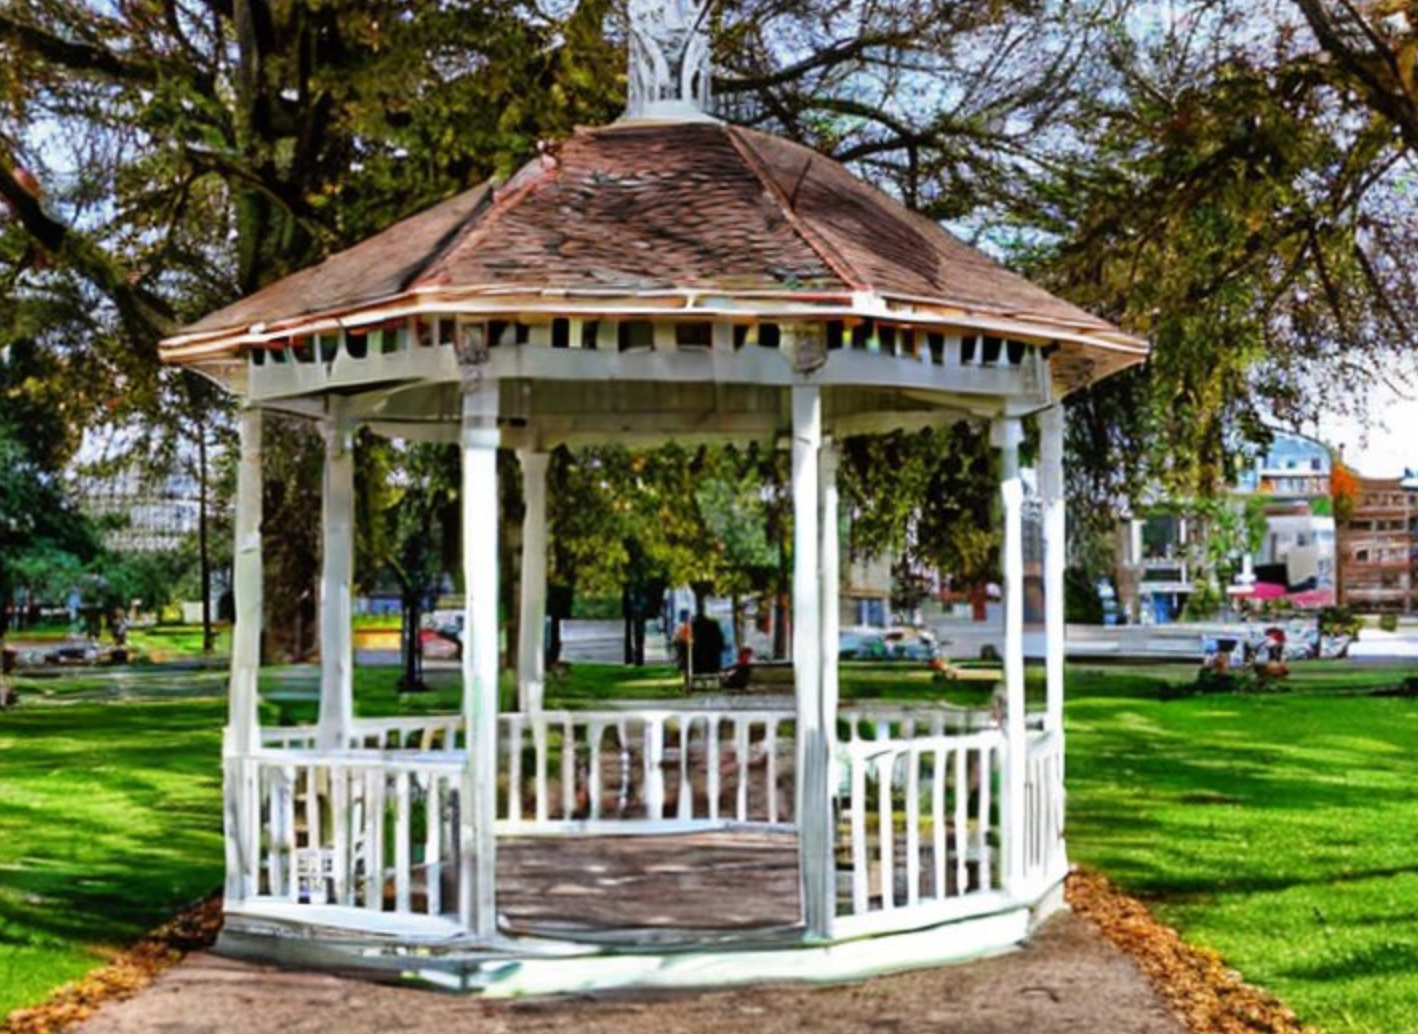
History of the pergola.
The origin of the word is Late Latin pergula, referring to a projecting eave. Eave is the portion of the roof that meets or overhangs a buildings walls. The first pergola is thought to be from the Egyptian high court official of Thebes.
Wealthy Romans built pergolas in their villa during the Great Italian Renaissance of the 17th century. Usually built with luxurious smooth stone pillars to grow grape vines for winemaking. Grand and dramatic for the rich elite these pergolas showed social status and prominent presence.
The concept for a pergola was a garden feature forming shaded walkways, narrow passageway or sitting area. A place to rest and seek shelter from the scorching heat. Pergolas have stood the test of time dating back to 1400 BC.
Popularity waned in the 18th and 19th century due to increased naturalistic gardening. During the 20th century they were revitalized and used to grow wisteria and other climbing vines. Today they thrive among outdoor enthusiasts who appreciate their beauty and performance.
Planning your outdoor experience.
When planning a backyard remodel prior to the pergola installation there are two things to consider. What hardscape and softscape elements do you choose in order to accomplish your dream.
Hardscape attributes would include solid non-living items like paved areas, patio, retaining walls, fences, etc. Softscape elements include non-permanent qualities and are everchanging like plants, trees, vines, turf and flowers to dress up your backyard.
Getting the details
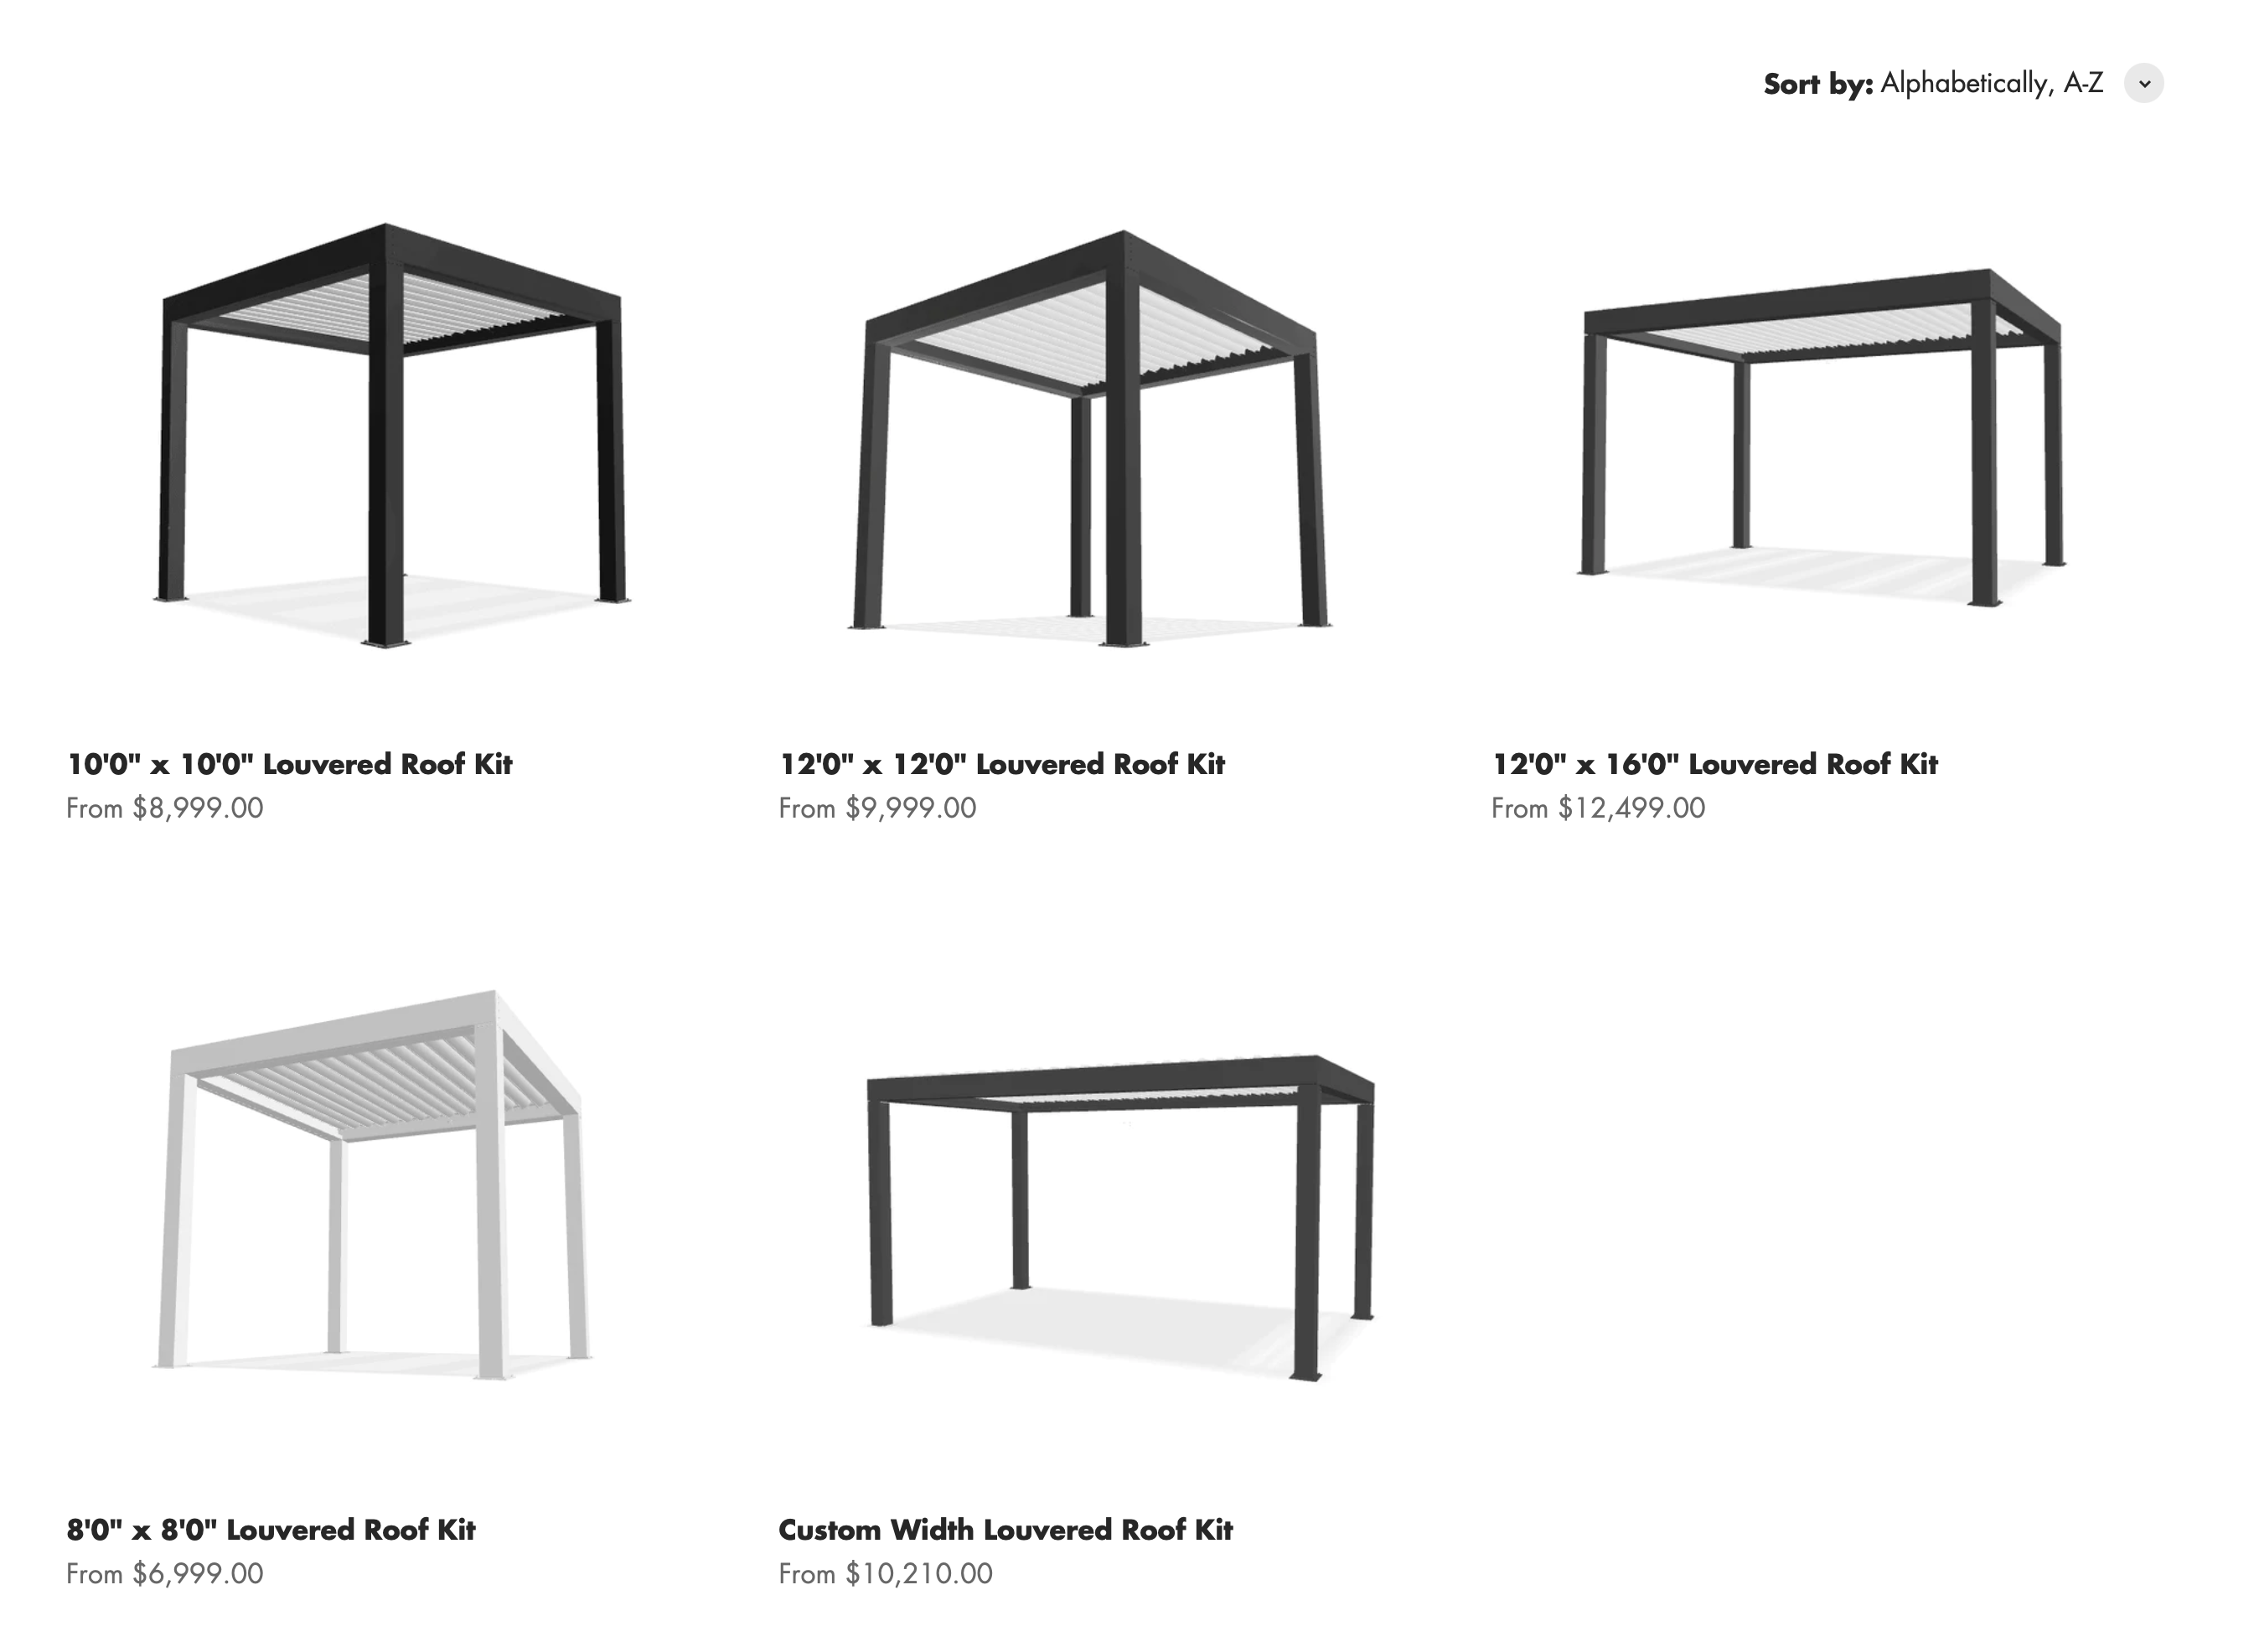
Are you planning an attached pergola or a freestanding DIY pergola kit? Consideration should be given to how narrow or wide your area will be as well as water drainage. Also depending on the lead time you may want to order your freestanding pergola kit early.
Check for how much post length you can have if clearance is a concern. The pergola kits may only come in standard sizes so spend time researching your needs. Study the sun and shade during the day create the best placement.
The best 12 x 16 pergola available will be from the Luxury Pergola kits.
Permits or HOA approval
You may need to obtain HOA permission or need a permit to install your unit. Check with your local building and planning commission for direction. Permits can be time consuming and may delay your project. Get started soon to avoid delays.
Breaking ground for your new outdoor space.
Once you have decided on the design it's time to make it a reality! You may need to install a concrete patio, pavers, retaining walls or footers in preparation for your new outdoor area. Concrete can take 2-4 weeks to cure depending on the area you live. If doing footers, check with your local building codes to find the depth and circumference needed in your state.
Once you have all these things in place and your hardscape complete, you are ready to install your pergola. The dream of the hottest outdoor trend in your backyard is almost a reality!
Installing your DIY pergola kit.
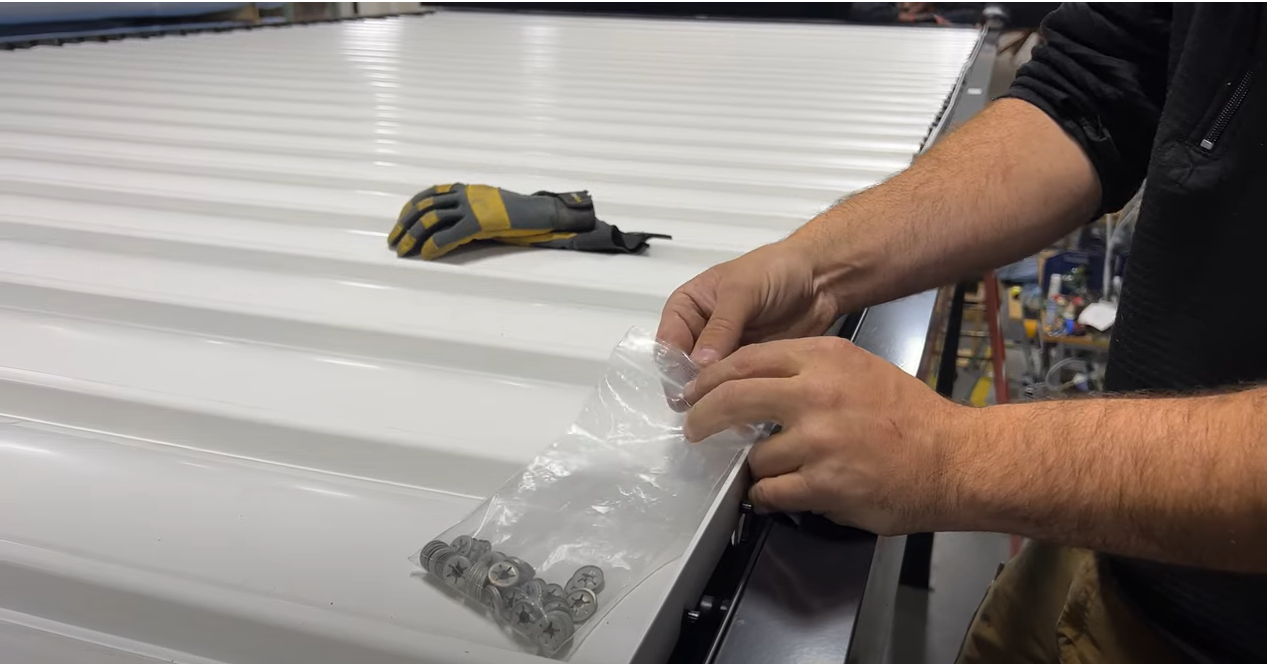
The Luxury Louvered Pergola Kits have detailed instructions and a detailed video to help streamline and complete your installation. They are easy to follow step by step instructions. You will need one or two extra people available to help with the installation due to the size and weight of the unit.
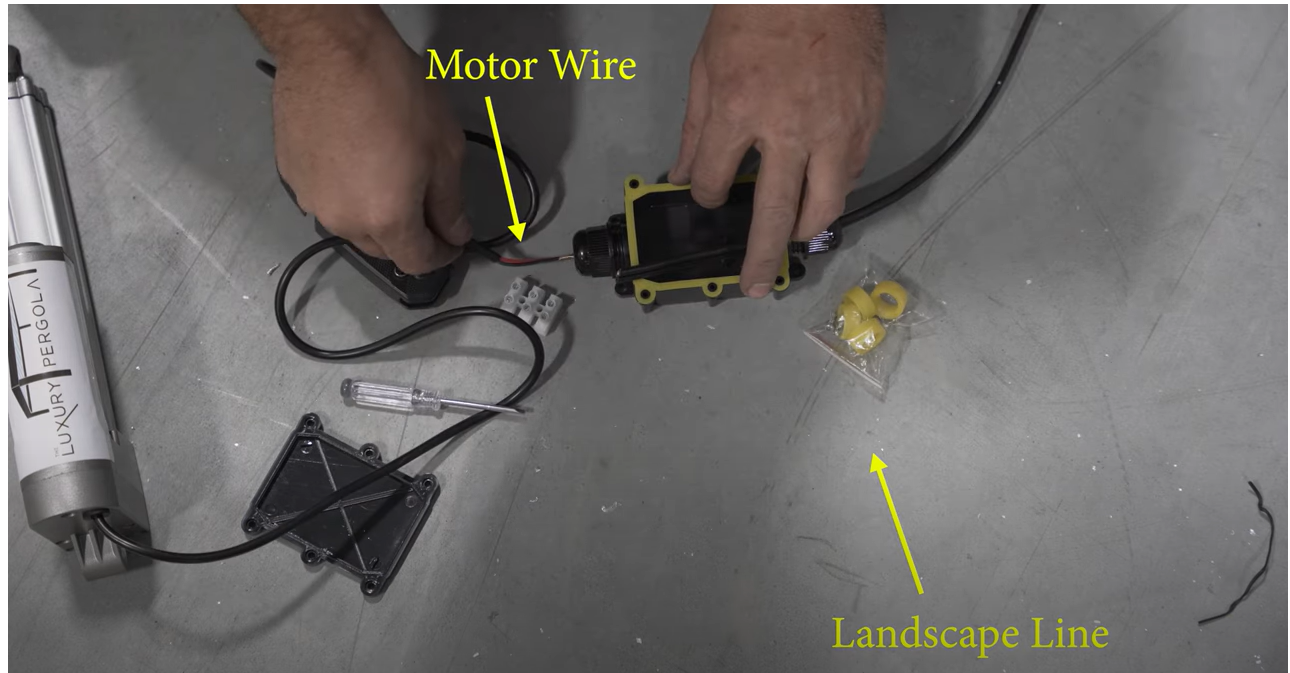
After unpacking the boxes you will first need to decide where you will place the four post bases and posts. One of the posts has the drainage hole for water and one will have the hole for the landscape wire that connects to the motor. Decide were these two posts will go before proceeding and match the post base and post together that have the coordinating holes. Measure out your space and decide where all four posts will go. Install your first post and move on to the others until you have finished all four.
Next up is installing the corner beam connectors and then the beams. The gutters on the unit are attached to the beams but you will need to do some chalking to seal out the rain. Now your frame is up and the louver installation comes next. An end cap will need to be placed on both ends of the louvers before you can put the louvers on the beams. After installing all the louvers and the link bar you are ready to install the motor.
Detailed step by step instructions are shown in the video on how to wire and attach the motor to the pergola unit. This motor is IP67 rated, 24 volt and plugs into 120 volt power.
Once your first pergola kit is complete, test the louvers with the remote provided to open and close the pergola top. After cleaning up your area you are ready to begin decorating the softscape under and around the pergola!
Implement your softscape plans
Now it is time to start decorating your pergola area. You can arrange your outdoor furniture in a way that gives your guests the best view of your backyard area. Choosing furniture that is comfortable is important if you plan to spend a lot of time under your pergola. Consideration should also be placed on the durability and cleaning instructions.
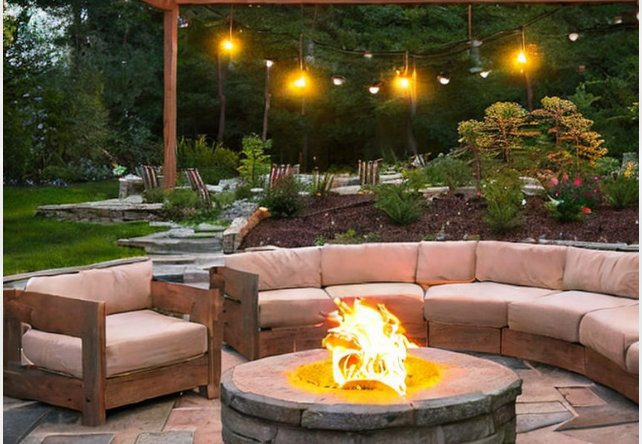
A firepit would be a good addition to your area allowing you to spend more time outdoors in the spring and fall on cooler days. Check with manufacturers instructions to see if a firepit is an option for the type of pergola you installed. They may recommend a propane firepit opposed to a wood burning firepit.
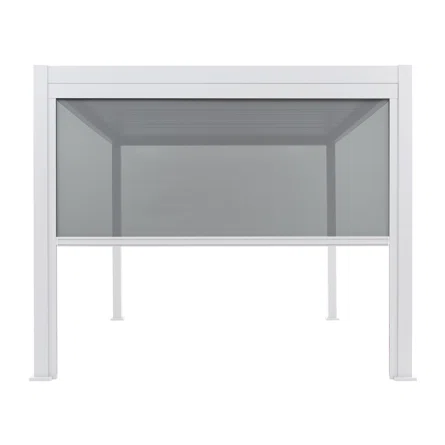
You may want to consider adding dropshade screens to your freestanding pergola. They can provide extra privacy and create shade when the sun is coming from the side of the unit during sunrise or sunset. It can also provide protection from mosquitos allowing you to extend you time outdoors into the night.
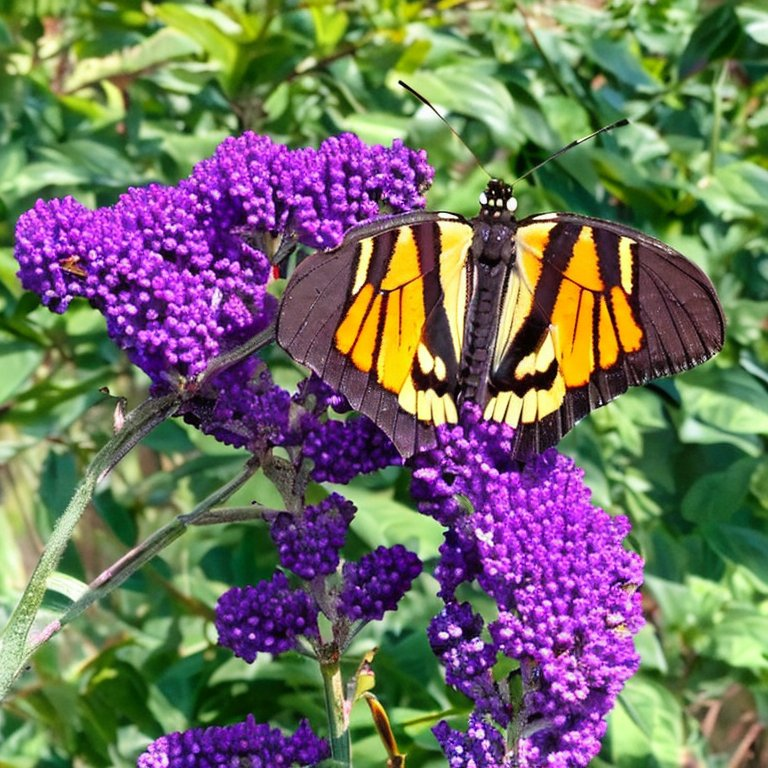
Strategically placed landscape around your pergola can add an inviting appeal to guests. Some perennial flowers bloom all summer long. Coneflowers are a good option as they bloom throughout the summer and grow in a cluster keeping their shape from year to year. Adding a butterfly bush to one corner of your pergola would attracts beautiful butterflies to enjoy watching as you sit and enjoy your space. Choose easy plants to care for to reduce the maintenance needs of your area.
Spending time outdoors in your newly built area will benefit your entire family and provide a much needed escape from the the pressures of work and stress. Plan a family game night, invite your neighbors over or plan a BBQ with friends so you can share the experience with others. It's time to enjoy your labor of love!
