
How to Choose Where to Put a Pergola: The Ultimate Placement Guide
Where you put your pergola matters more than most people think. It's not just about what looks good in the yard. It's about whether you'll actually use the space.
Think about it: if the space is too hot at 3 PM, you won't be out there at 3 PM. If it's tucked in a corner that's hard to get to, it becomes a destination instead of a habit. And a pergola you have to trek across the yard to reach is one that mostly sits empty.
The good news is that placement is a solvable problem. Research from the University of New Hampshire shows that shade can drop ambient air temperature by as much as 15 to 20 degrees Fahrenheit. A peer-reviewed study in Building and Environment found pergola shade specifically reduced perceived heat by about 16°C (60.8°F) compared to full sun. But those numbers only hold when the structure is in the right place.
This guide walks you through every factor worth thinking about before you pick a spot. Sun path, prevailing winds, drainage, orientation, and what the building code actually requires for footings.
Key Factors to Consider Before Choosing Where to Put a Pergola
A few things will make or break your placement decision. Get these right and the rest falls into place.
Sun Path and Shade
The sun moves east to west every day, hitting its highest point in the south around noon and dropping low in the western sky by mid-afternoon. That afternoon window, roughly 1 to 4 PM, is when the heat really builds. It's also the window where a well-placed pergola earns its keep.
If you put your pergola on the west side of your seating area, it'll block the worst of that afternoon sun. On the south side, you'll get more even coverage through the whole day. To get the most shade as the sun moves across the sky, run your louvers north to south. That way they cast a wide, shifting shadow across the footprint of the structure all day long.
One thing to keep in mind: a fixed-rafter pergola gives you partial shade, not full blockage. If your spot gets intense midday sun with no trees nearby, you'll want to consider a manual or motorized adjustable louvered setup. More on that below.
Wind Direction
You want your pergola to work with the wind, not against it. Aligning it parallel to the direction your prevailing winds come from will keep air moving through the space. That's especially important in summer, and especially if you add curtains, shade panels, or a canopy that can catch wind like a sail.
Avoid wedging the structure into a tight gap between a fence and a wall. That kind of narrow channel tends to funnel wind in uncomfortable ways. And if you're in a windy area, a slight angular offset from the dominant wind direction can help route air around the frame rather than straight into it.
Ground Conditions and Drainage
Your pergola posts need to sit on stable, level, well-drained ground. Low spots where water puddles after rain are a bad choice. Prolonged moisture around footings speeds up decay in wood and corrosion in metal. Even with non-corrosive materials like aluminium, structural integrity depends on dry, stable ground. For example, repeated freeze-thaw cycles can loosen anchors over time. The National Centers for Environmental Information tracks ground-freezing severity across U.S. regions, and that directly affects how deep your footings need to go for long-term stability.
Before you dig anything, call 811. It's the national Dig Safe line. They'll send someone out to mark your underground utilities for free. Water lines, gas, electrical conduit, irrigation systems: all of these are common in residential yards, and hitting one is expensive and dangerous.
How You Actually Use Your Yard
This one sounds obvious, but it gets skipped a lot. Before you commit to a location, pay attention to where you already hang out in the yard. Where do you set up chairs? Where does everyone drift toward at a cookout? Which spots do you avoid because they're too exposed or too hot?
That natural gravitational pull is your placement guide. A pergola that lands in the middle of where you already want to be will get used constantly. One that goes in a scenic corner nobody visits will look great in photos and collect dust the rest of the time.
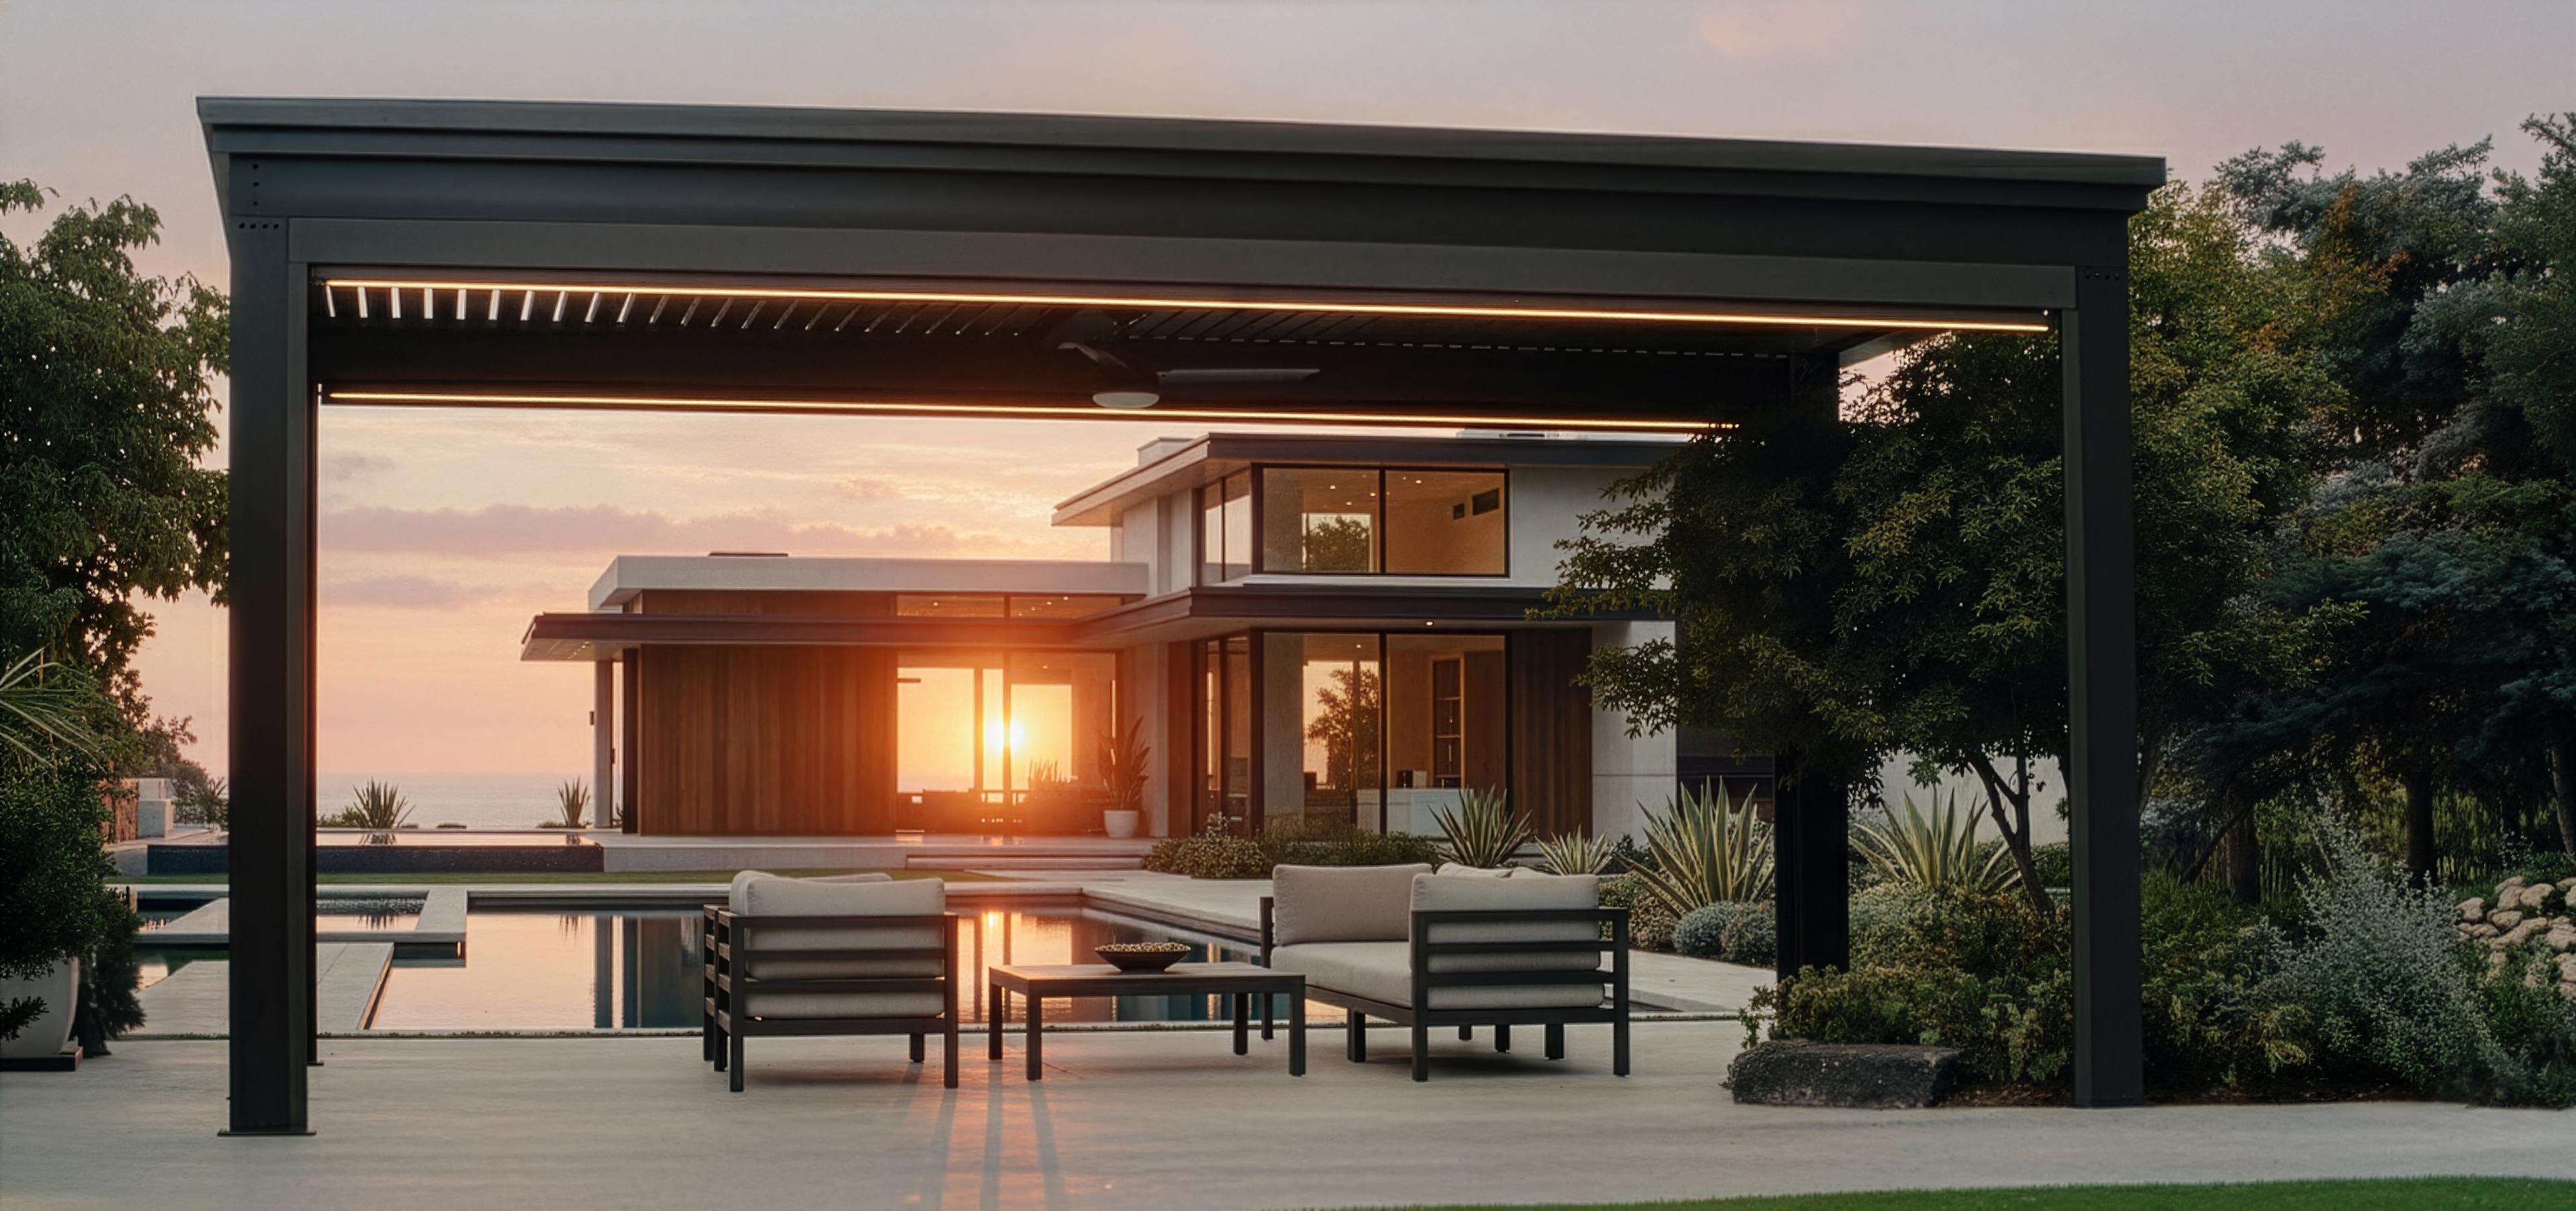
View, Privacy, and How It Looks from Inside
Think about what the pergola will frame on each side. Is there a garden view worth preserving? A pool to look out over? A neighbor's yard you'd rather not stare at? Place the structure so it captures the sightlines you want and screens the ones you don't.
Also think about the view from inside the house. A pergola you can see from your kitchen or living room creates a much stronger connection between indoors and out. It stays top of mind. And spaces that stay top of mind are spaces that actually get used.
Best Locations: Where to Put a Pergola in Your Yard
Attached or In Close Proximity to the House or Patio
This is the most popular setup for good reason. A proximal or attached pergola is either about one or two feet away, or connects directly to your home's exterior wall where the house provides two anchor points. Some people prefer the attached pergola because you only need two freestanding posts instead of four. This can cut material cost.
On the other hand, placing you pergola a foot or two away from the house can sometimes simplify installation. Plus, the transitional space between your home and the pergola can help really define it as a “separate” and unique space with its own energy.
Either way, proximity puts the pergola right next to your kitchen or dining room, which makes all the difference in how often you use it. Easy access means it becomes part of your daily routine instead of a faraway destination. Running electrical out there is also much simpler since you're already adjacent to the house.
The one thing to get right: if you’re attaching, the ledger board where the pergola meets the wall needs to be properly flashed and sealed. Water getting behind that junction is the most common issue with attached pergolas. Make sure your wall framing or rim joist can handle the added load, too.
Take a look at our attached pergola design ideas for layout inspiration.
Over an Existing Deck
Got a deck that doesn't get much love? Adding a pergola transforms it. You already have a level, finished surface to work from, which eliminates most of the ground prep headaches. Check out some pergola on deck ideas to see what's possible.
The structural key here: posts must anchor to the joists or beams underneath the deck, not just the deck boards on top. Surface hardware that grips only the decking won't hold against lateral forces or uplift. If there's any doubt about your deck's load capacity, have someone check it before you go further.
Near the Pool
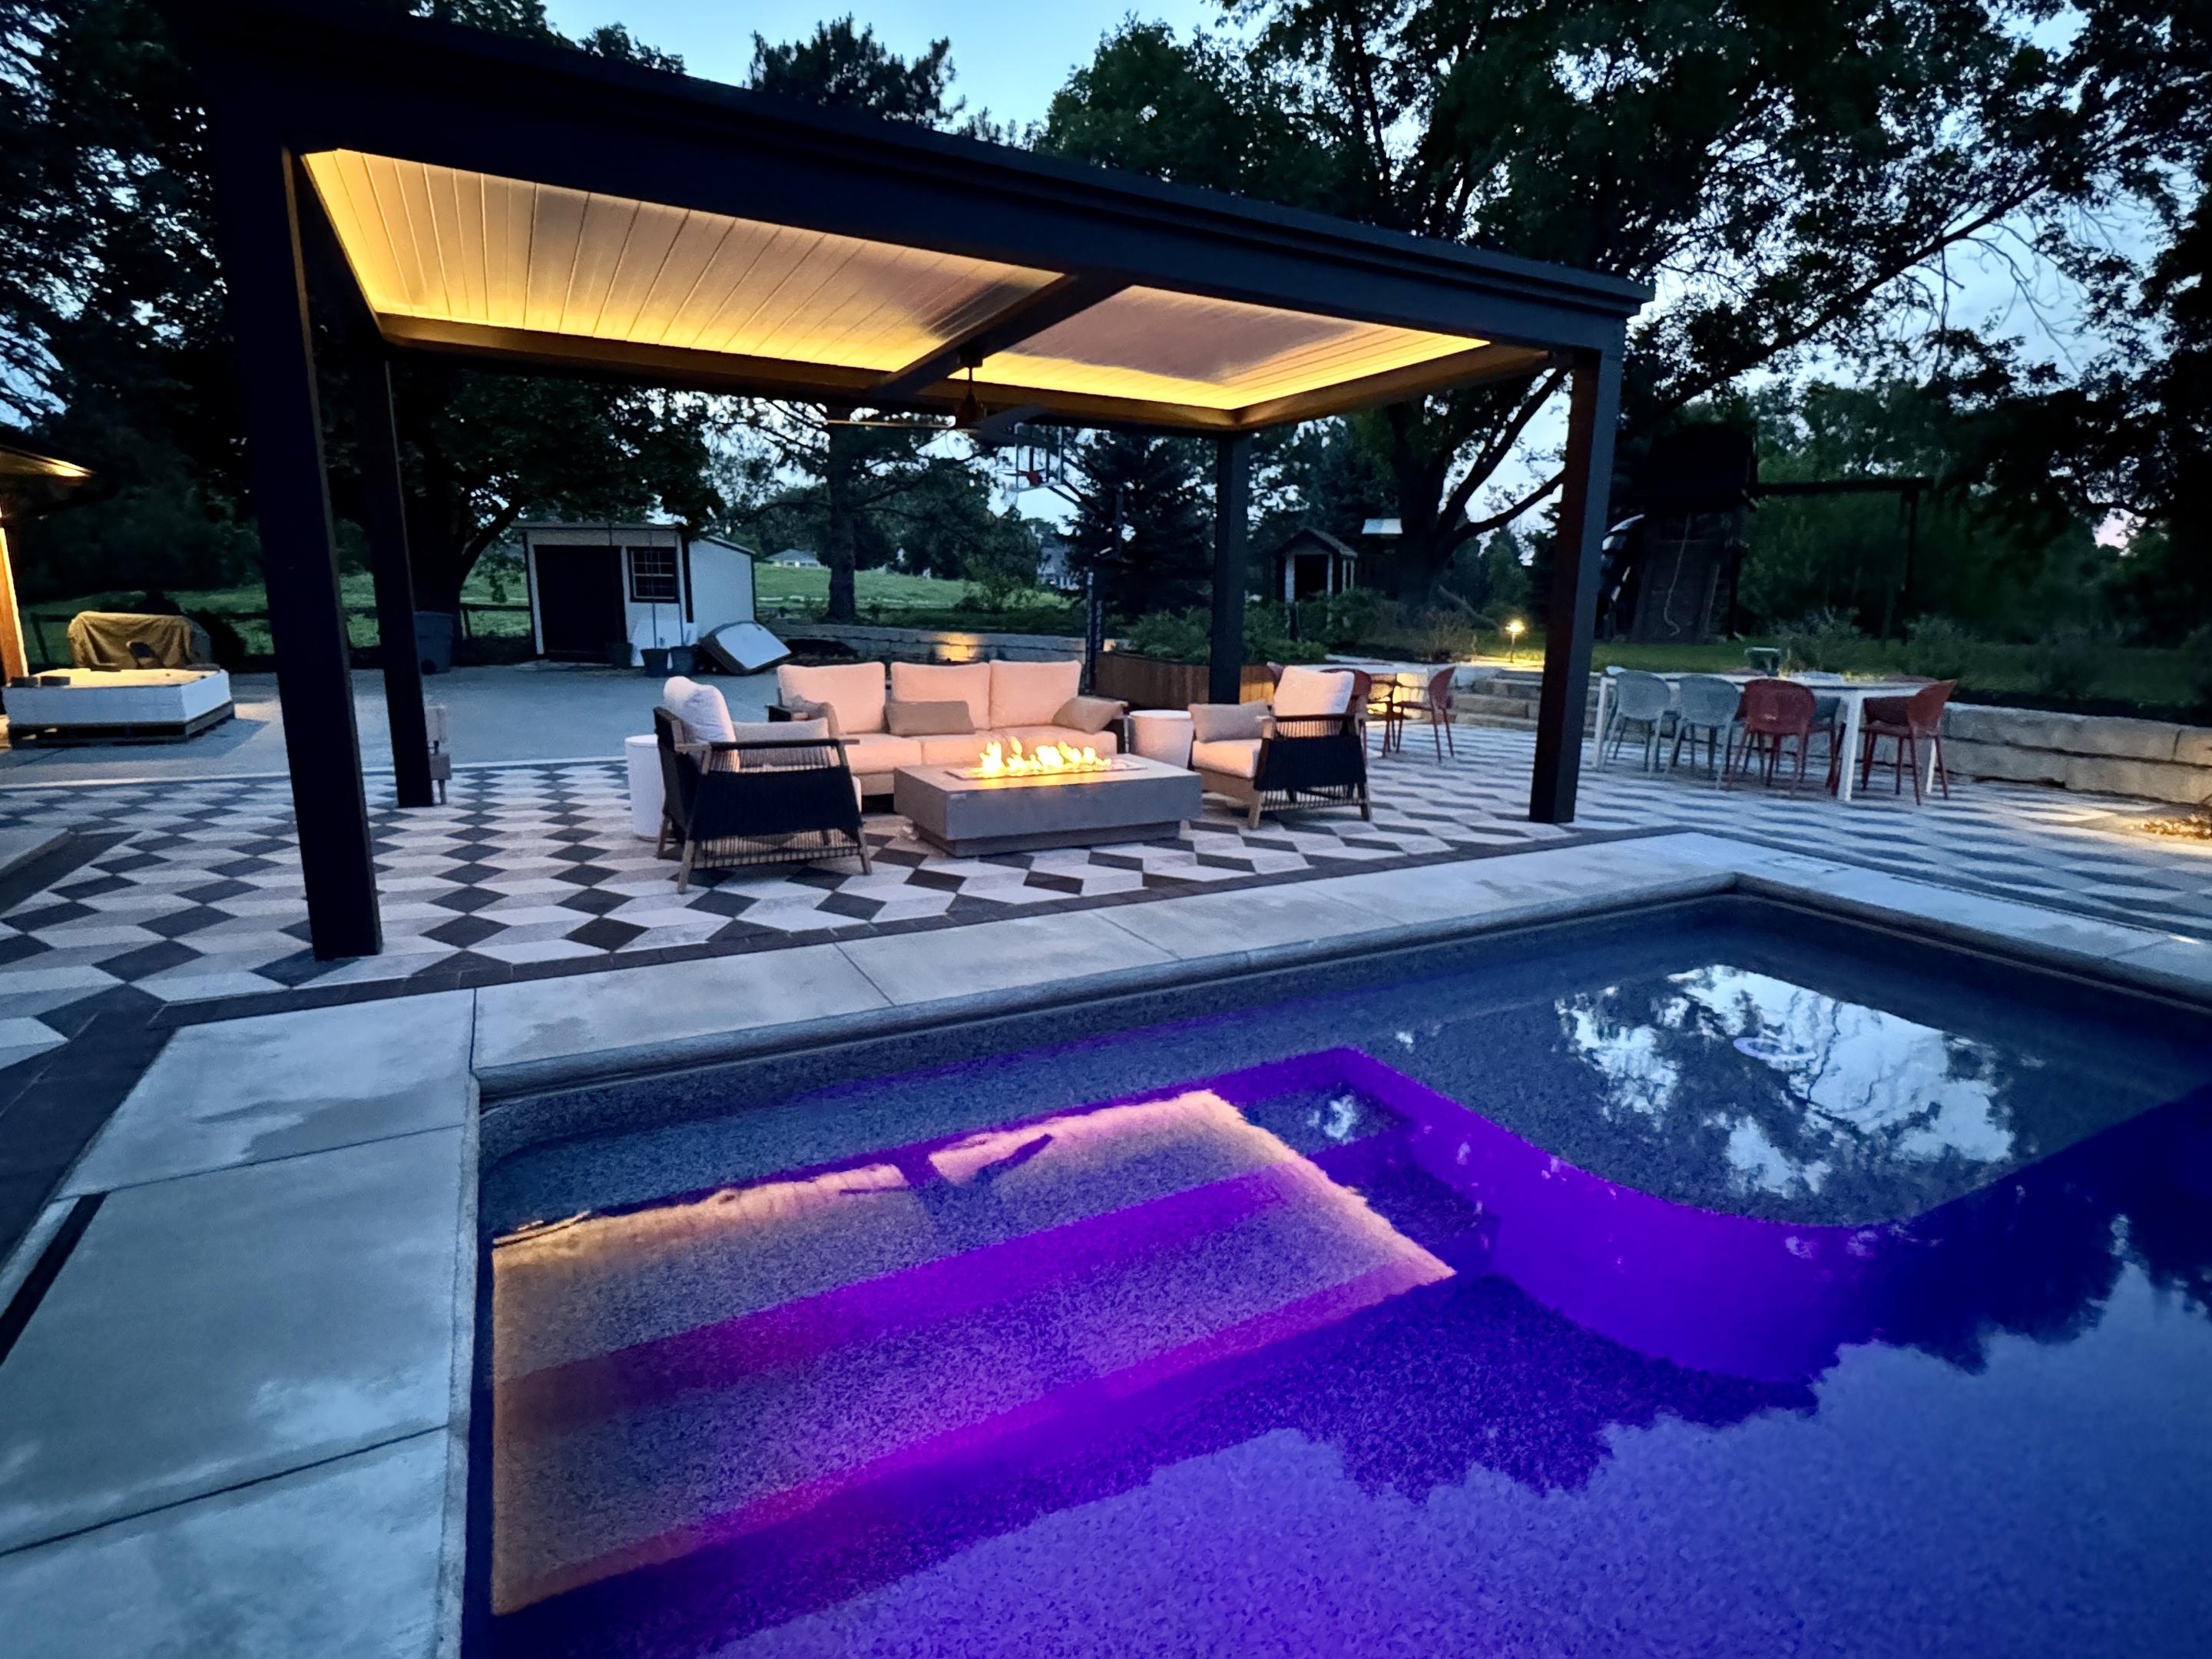
A poolside pergola solves the most common pool complaint: there's nowhere shaded to sit between swims. Putting a pergola adjacent to the pool gives everyone a comfortable retreat without having to go back inside.
For a hot tub, overhead coverage adds privacy and keeps the space usable even when it's cold or raining – not to mention that adjustable louvers make it easier to vent or capture the heat of the hot tub, depending on the season or time of day. In a pool or spa environment, material selection really matters. Powder-coated aluminum holds up far better than wood when it's constantly exposed to water and chemicals. And any electrical work near the water has to be done to code by a licensed electrician.
In the Garden as a Focal Point
A pergola dropped into a garden bed becomes a destination with its own atmosphere. Surround it with trees, tall shrubs, or flowering perennials and you get natural privacy without building a fence. Add lattice on one or two sides and climbing plants like wisteria, climbing roses, or jasmine will work their way up over a few seasons. Eventually the structure and the planting become one thing.
This placement is great for a meditation corner, a reading nook, or just a quiet spot that's intentionally separate from the main entertaining area.
Freestanding in an Open Yard
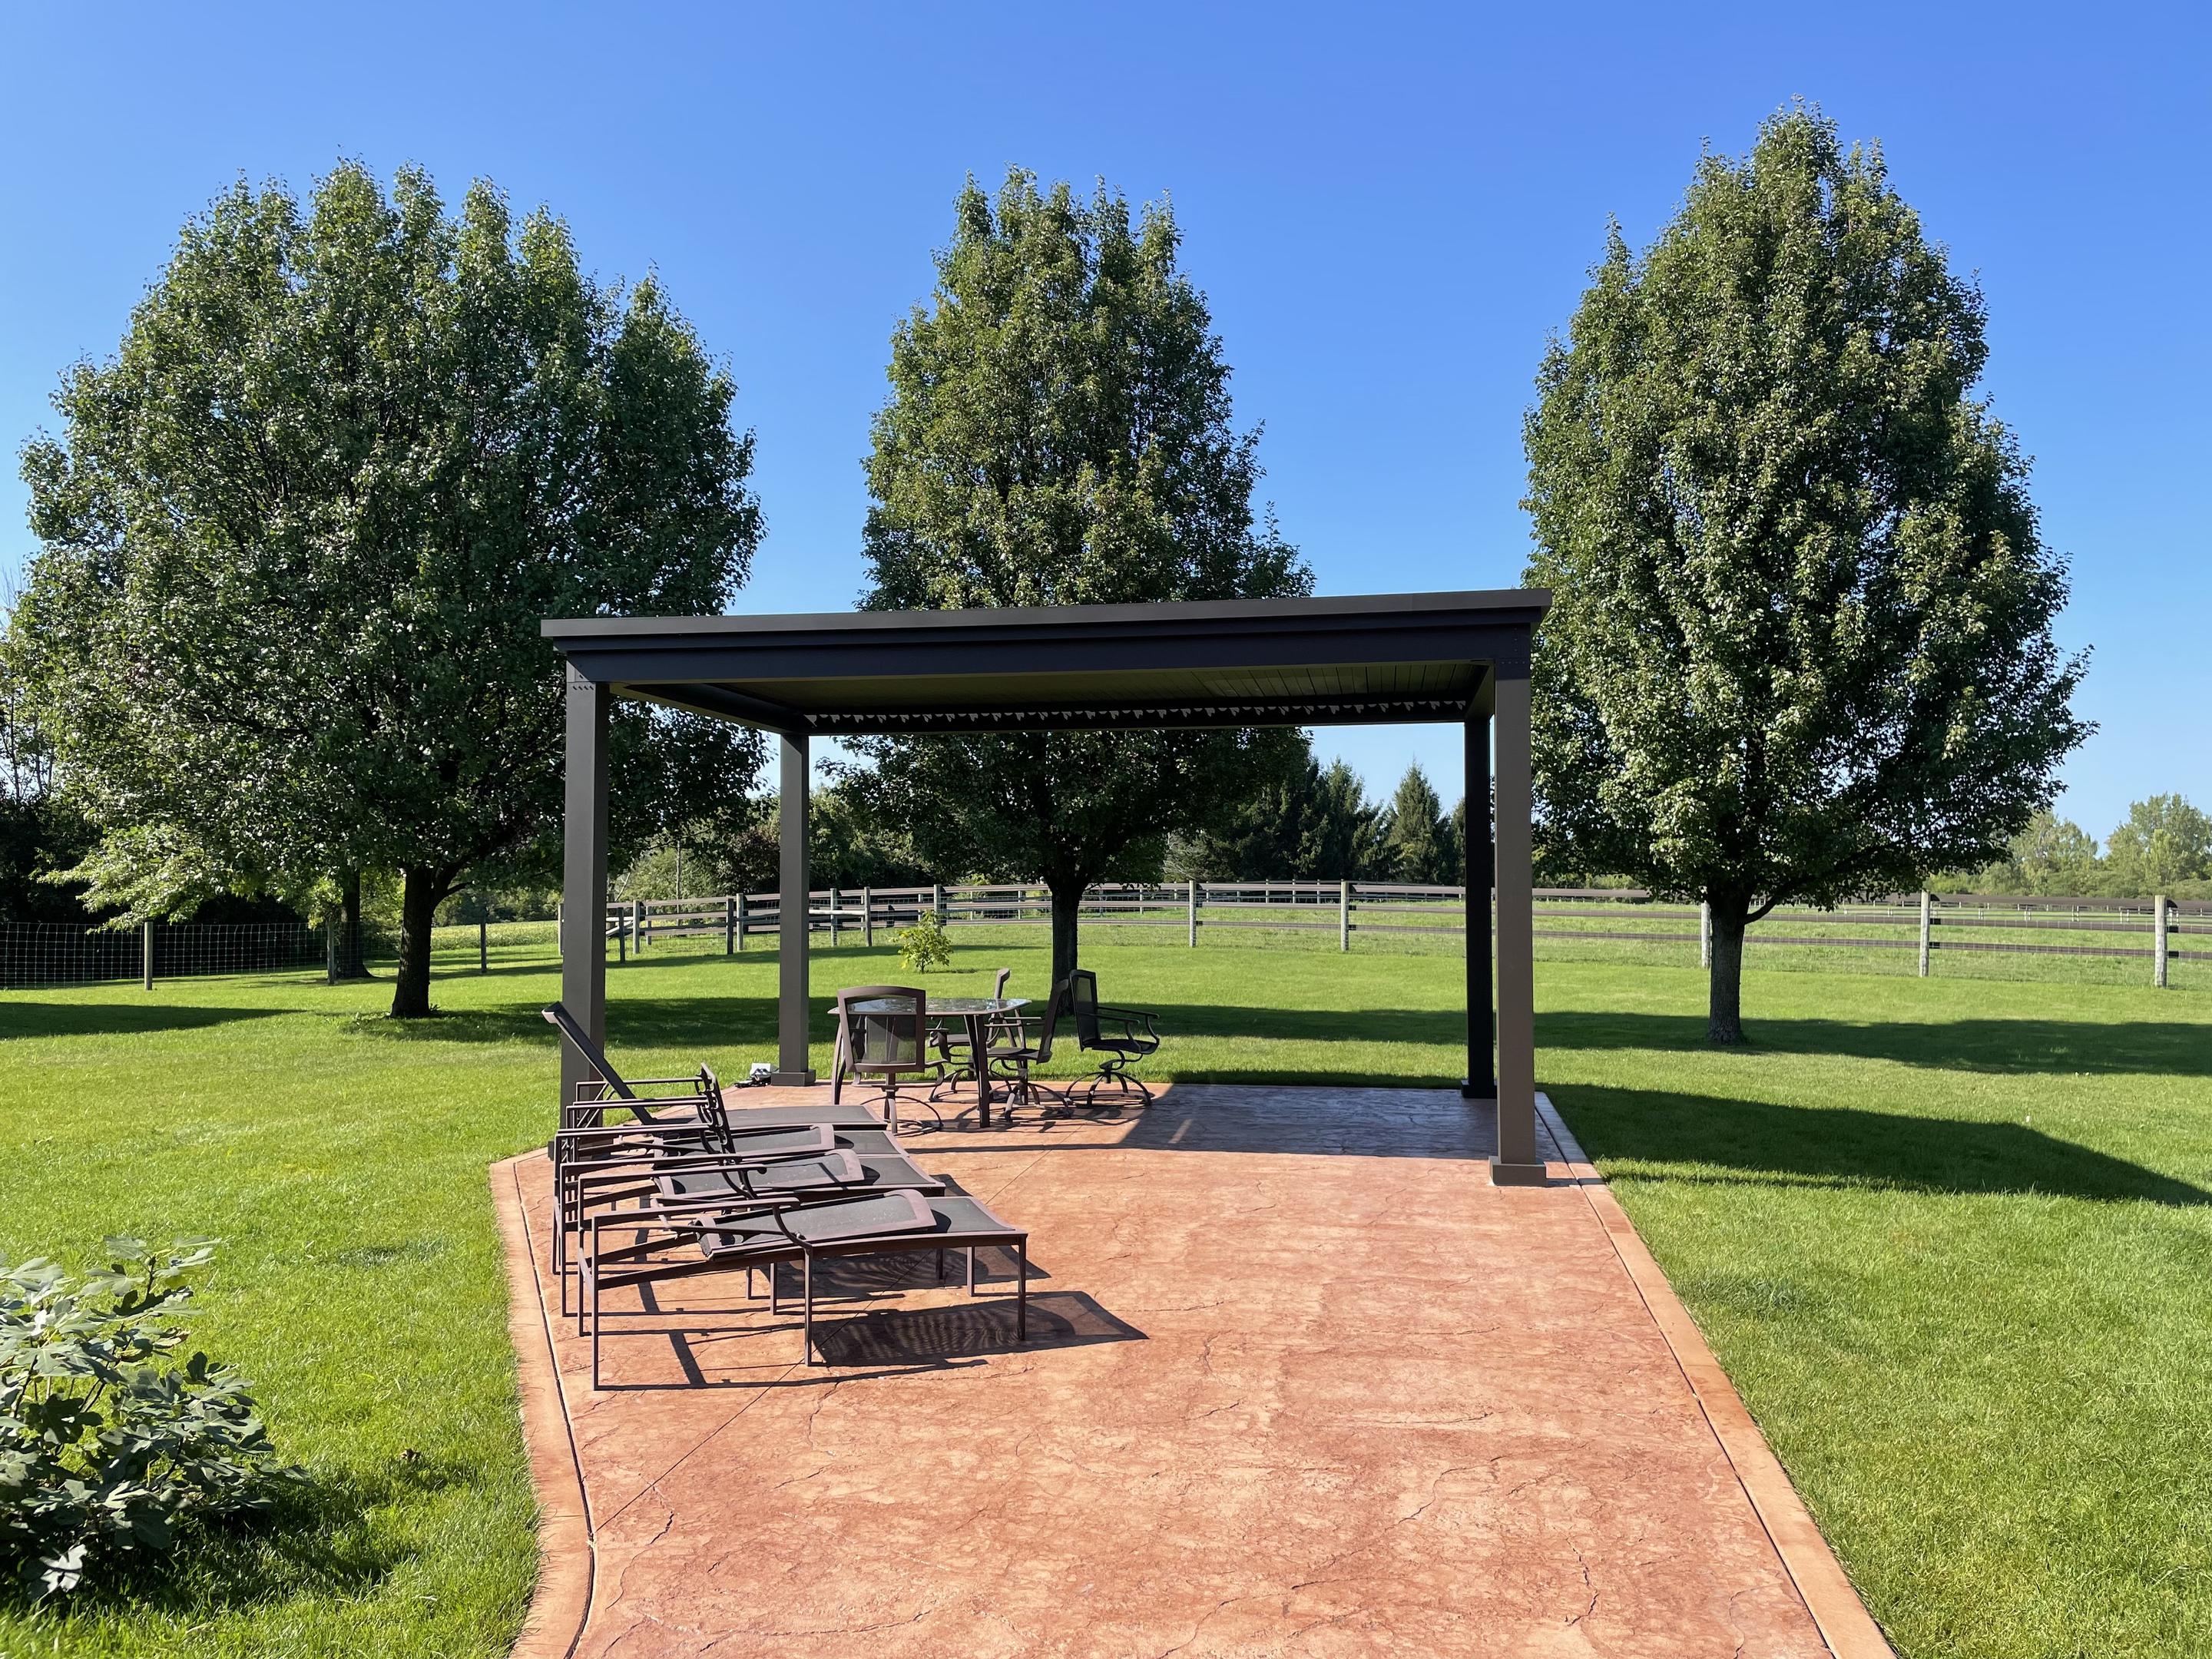
A freestanding pergola on four posts can go anywhere the site allows. It creates its own outdoor room with a distinct identity, separate from the house. This works really well when the best sun, wind, and view conditions are away from the home, or when you want a space that feels genuinely separate from the rest of the yard.
The tradeoff is that freestanding structures rely entirely on their own footings. That means more demanding foundation work than an attached setup. Concrete footings are not optional here. Additionally, a freestanding pergola in the middle of the yard might require additional considerations such as power. Will you be running a line from the house to the structure, or are you looking for a more natural setting?
As a Walkway or Entry Structure
A long, narrow pergola spanning a garden path adds architectural interest and shade to a transitional space. Think of it as a covered connection: between a detached garage and the front door, between two garden zones, or along a frequently-used path that's otherwise exposed. It's a less common use, but it works beautifully when the space calls for it.
How Pergola Orientation Affects Comfort
Orientation is about which direction your pergola faces, and it determines when you get shade and when you get sun. There's no single right answer. It depends on your climate, your schedule, and how you want to use the space. The good news is, you’re working with a four-cornered area, so orientation is going to be achieved with shades, screens, and slat walls – the actual foundation of the structure will not affect orientation.
North-Facing
A north-facing pergola gets the least direct sun of any orientation. It stays cool and shaded all day, which makes it the best choice in hot climates where avoiding sun exposure is the main goal. In winter, the sun's lower angle in the sky lets more light sneak in, which is a nice passive solar bonus in mild climates where you want to use the space year-round.
South-Facing
South-facing pergolas get consistent sun for most of the day. That's ideal in cooler climates where winter warmth matters. But in warm regions, this orientation can overheat badly in summer without a way to close off the sky. A louvered pergola roof solves that. Close it on the hottest days, open it up in the evening or off-season.
East-Facing
East-facing pergolas catch gentle morning light and shift into shade by early afternoon. If you're a morning person and you want a spot for coffee or breakfast outside, this is your orientation. Morning sun is lower and softer than afternoon sun, so the space stays comfortable without extra shading.
West-Facing
West-facing pergolas are built for evenings. You'll catch warm afternoon light and sunsets, which is great for outdoor dinners at the end of the day. The tradeoff is that peak afternoon heat hits this side hardest. A motorized louvered roof that closes during peak hours and opens in the evening gives you the best of both.
If your area gets warm breezes from the south or southwest, face the open side of your pergola in that direction for natural cross-ventilation. For a deeper look at how pergola design choices affect airflow and comfort, see our pergola vs. gazebo guide.
Practical Installation Considerations
Once you've found the right spot, the work becomes about accuracy and foundation depth. Getting these details right the first time saves a lot of headaches later.
Measuring and Layout
Mark your post locations with stakes and string. Then check that the layout is square: measure corner to corner diagonally in both directions. Both measurements must match exactly. Even a small error here shows up clearly once the posts are in the ground.
Use the 3-4-5 method to verify each corner: measure 3 feet along one string and 4 feet along the adjacent one, then check that the diagonal between those two points is exactly 5 feet. Standard post spacing is 8 to 14 feet on the short side, and 16 to 20 feet on the long side for structural adequacy – plus, some pergolas allow you to cantilever an additional foot or two on the ends, extending the length or width of the pergola beyond the posts. Finished pergola height is typically 8 to 12 feet, with 8 feet as the minimum comfortable headroom.
Foundation Requirements
For a permanent pergola, you need concrete footings. The International Residential Code Section R403.1.4 requires footings to go below the local frost line, with a minimum of 12 inches even in the warmest climates. In colder regions, 36 to 48 inches or more is common. The NCEI Air-Freezing Index data gives you a solid starting point for your region, but your local building department has final say on the required depth.
Footing holes should be at least 12 inches across. Add 6 to 8 inches of gravel at the bottom of each hole for drainage before pouring concrete. Posts should go at least one-third of their total length below grade. For a 10-foot post, that's about 3 feet underground. Short footings are the leading cause of a leaning pergola down the road.
Clearances to Know
Check these before finalizing your location:
3 feet minimum from property lines (some areas require more; check local zoning)
2 to 3 feet from existing structures
10 feet from overhead power lines
8 feet minimum headroom at the lowest point of the structure
Most jurisdictions require a building permit for a permanent pergola. Contact your local building department before breaking ground.
Common Mistakes Worth Avoiding
Low spots: Water pooling around footings breaks them down over time. Pick a spot with drainage that runs away from the structure.
Shallow footings: If the footings don't go below the frost line, freeze-thaw cycles will shift the structure. This is the most common cause of a tilting pergola.
Too close to fences: Tight clearance restricts airflow, looks cramped, and makes fence maintenance harder later.
Skipping 811: Call before you dig, every time. It's free and required by law in most states.
No permit: Unpermitted structures can cause real problems at resale and may have to come down if flagged during an inspection.
Insufficient Head Room: Structures with less than 8-ft of clearance can limit your options to place lights or overhead fans.
Conclusion
The best pergola location isn't necessarily the prettiest spot in the yard. It's the one that solves the real problems keeping you from spending more time outside.
Start with where you already want to be. Then work backwards: Is the sun position right? Does drainage work? Can you get footings deep enough? Once you've confirmed the spot is practical, the fun part of designing the actual structure begins.
Get the placement right, and your pergola becomes the most-used space you own.
Frequently Asked Questions
How much cooler does a pergola actually make the surrounding area?
Research from University of New Hampshire Extension shows shade can reduce ambient air temperature by up to 15 to 20 degrees Fahrenheit, and a study published in Building and Environment found pergola shade lowered perceived heat by roughly 16 degrees Celsius compared to full sun. Your real-world results depend on humidity, sun angle, and canopy design – but louver construction matters more than most people expect. A single-walled louver absorbs heat and radiates it downward, which can actually make the space feel warmer. A double-walled louver like The Luxury Pergola's Tri-Vault design insulates that heat transfer, so the space underneath stays significantly more comfortable. Adjustable louvers add another layer of control by letting you dial in shade angle throughout the day.
How far apart should pergola posts be?
Standard spacing is 8 to 12 feet for adequate structural support. Keep at least 3 feet between the structure and your property lines, 2 to 3 feet from existing structures, and 10 feet from overhead power lines. Your local zoning may require more setback than the minimum; check before you finalize your layout.
How deep should pergola posts be set?
Posts need to go at least one-third of their total length into the ground, in concrete, in holes that reach below the local frost line. The IRC sets a 12-inch minimum footing depth for the warmest climates. Colder regions commonly require 36 to 48 inches or more. Add 6 to 8 inches of gravel at the base of each hole for drainage. Check with your local building department for the specific requirement in your area.
Which direction should a pergola face for the most shade?
A north-facing pergola gets the least direct sun and stays the coolest all day. That's the best choice if avoiding heat is your top priority. For maximum coverage as the sun moves, orient the rafters north to south. As the sun sweeps east to west, north-to-south rafters cast the widest shadow across the structure throughout the day.
Should I attach my pergola to the house or build it freestanding?
It depends on your priorities. An attached pergola requires only two posts instead of four, which can reduce material costs – but the installation itself is more involved because the ledger board connection needs to be properly flashed, sealed, and anchored to your wall framing or rim joist. A freestanding pergola avoids that structural work entirely, though it requires four posts and a more robust foundation. Either way, proximity to the house is what drives everyday use: the closer your pergola is to your kitchen or dining room, the more it becomes part of your routine rather than a destination.
Sources
Primary research and official regulatory documents were prioritized over secondary sources throughout this article.
Thermal Comfort and Shade Science
1. University of New Hampshire Cooperative Extension (2024). Shade Matters. https://extension.unh.edu/blog/2024/07/shade-matters – Extension research documenting that shade can reduce ambient air temperature by as much as 15 to 20°F, and that shaded surfaces run 20 to 45°F cooler than unshaded ones.
2. Kurazumi, Y. et al. (2014). Evaluation of outdoor thermal comfort in sunlight, building shade, and pergola shade during summer in a humid subtropical region. Building and Environment, 82, 556-565. https://www.sciencedirect.com/science/article/abs/pii/S0360132314003229 – Peer-reviewed study finding that pergola shade reduced perceived thermal conditions by approximately 16°C versus unshaded sunlight at 800 W/m² solar radiation.
Solar Geometry and Sun Path
3. NOAA Global Monitoring Laboratory. Solar Position Calculator. https://gml.noaa.gov/grad/solcalc/azel.html – Official NOAA tool for calculating solar azimuth and elevation at any location and time of day.
4. Wikipedia contributors. Sun path. https://en.wikipedia.org/wiki/Sun_path – Overview of how solar altitude and azimuth vary by latitude and season.
Frost Depth and Foundation Requirements
5. National Centers for Environmental Information (NCEI), NOAA. Frost Protected Shallow Foundations and Air-Freezing Index Data. https://www.ncei.noaa.gov/products/land-based-station/frost-protected-shallow-foundations – Federal dataset documenting frost depth severity across U.S. regions, used by engineers and building officials to set minimum footing depths.
6. International Code Council. 2021 International Residential Code (IRC), Section R403.1.4. https://codes.iccsafe.org/content/IRC2021P3 – Model residential building code governing one- and two-family dwellings in most U.S. jurisdictions. Sets minimum footing depth and requires footings to extend below the local frost line.
7. Apex Pergola Design. Frost Depth by State for Footing Design. https://www.apexpergola.com/frost-depth – State-by-state summary of code-required frost depths for pergola pier foundations.
Electrical Safety Near Water
8. National Fire Protection Association. NFPA 70: National Electrical Code (NEC), Article 680. https://www.nfpa.org/codes-and-standards/nfpa-70-standard-development/70 – Governs electrical installations for swimming pools, hot tubs, and adjacent outdoor structures.
The Luxury Pergola Resource Library
9. The Luxury Pergola. Pergola Design Ideas. https://theluxurypergola.com/blogs/pergola-guide/pergola-ideas
10. The Luxury Pergola. Pergola on Deck Ideas. https://theluxurypergola.com/blogs/pergola-guide/pergola-on-deck-ideas
11. The Luxury Pergola. Poolside Pergola Guide. https://theluxurypergola.com/blogs/pergola-guide/create-the-perfect-poolside-pergola-for-ultimate-relaxation-and-style
12. The Luxury Pergola. Modern Louvered Pergola Guide. https://theluxurypergola.com/blogs/pergola-guide/modern-louvered-pergola-what-you-need-to-know
13. The Luxury Pergola. Pergola vs. Gazebo Guide. https://theluxurypergola.com/blogs/pergola-guide/pergola-vs-gazebo-which-should-you-choose
